DeepSeek has taken the AI world by storm. While it’s convenient to use DeepSeek on their hosted website, we know that there’s no place like 127.0.0.1. 😉
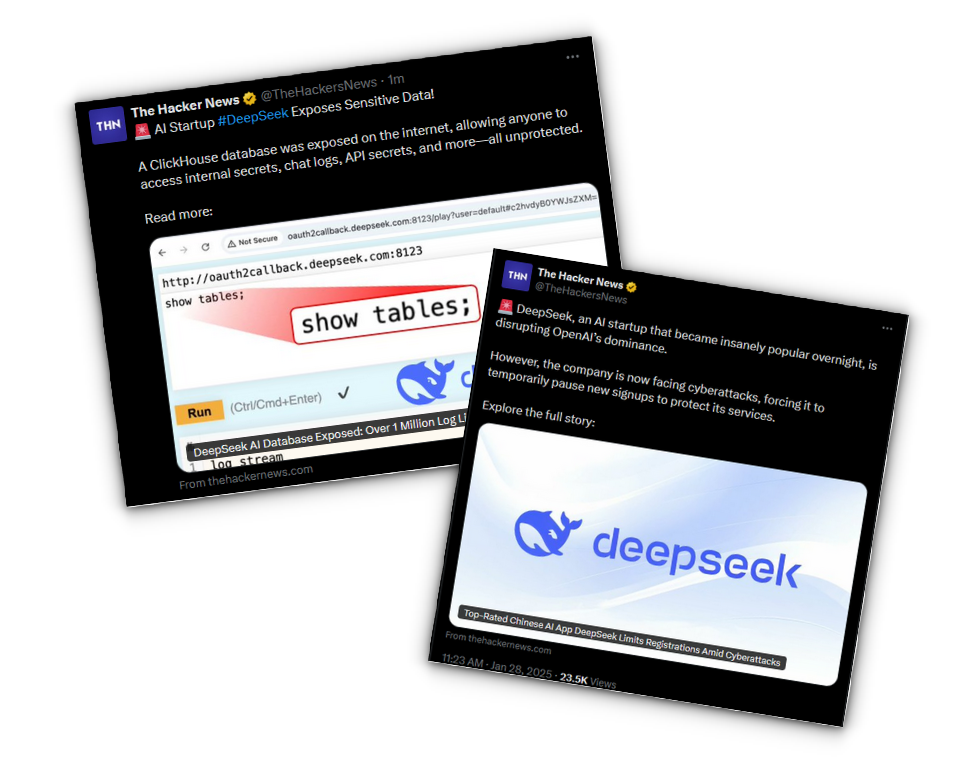
However, with recent events, such as a cyberattack on DeepSeek AI that has halted new user registrations, or DeepSeek AI database exposed, it makes me wonder why not more people choose to run LLMs locally.
Not only does running your AI locally give you full control and better privacy, but it also keeps your data out of someone else’s hands.
In this guide, we’ll walk you through setting up DeepSeek R1 on your Linux machine using Ollama as the backend and Open WebUI as the frontend.
Let’s dive in!
Step 1: Install Ollama
Before we get to DeepSeek itself, we need a way to run Large Language Models (LLMs) efficiently. This is where Ollama comes in.
What is Ollama?
Ollama is a lightweight and powerful platform for running LLMs locally. It simplifies model management, allowing you to download, run, and interact with models with minimal hassle.
The best part? It abstracts away all the complexities, no need to manually configure dependencies or set up virtual environments.
Installing Ollama
The easiest way to install Ollama is by running the following command in your terminal:
curl -fsSL https://ollama.com/install.sh | sh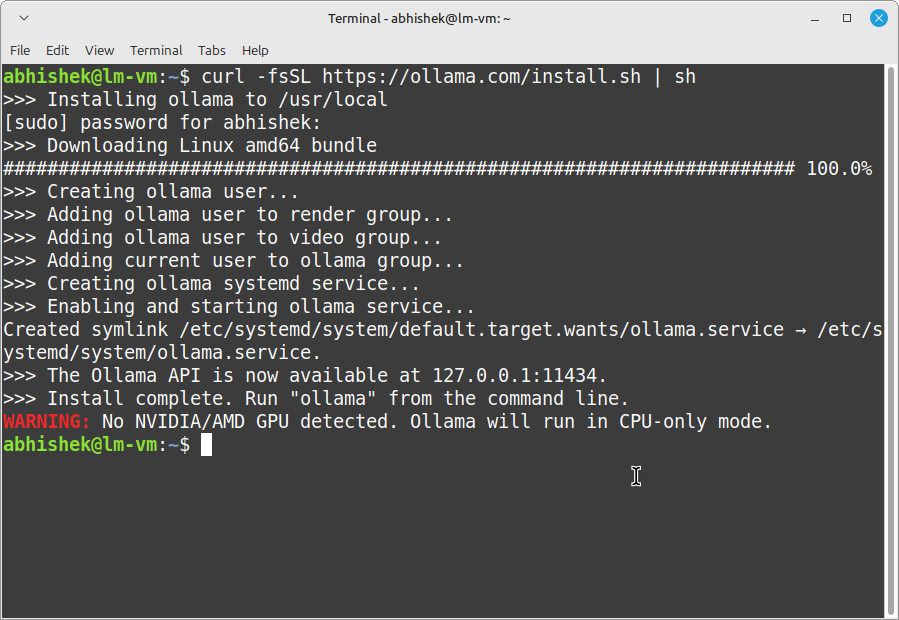
Once installed, verify the installation:
ollama --versionNow, let’s move on to getting DeepSeek running with Ollama.
Step 2: Install and run DeepSeek model
With Ollama installed, pulling and running the DeepSeek model is really simple as running this command:
ollama run deepseek-r1:1.5bThis command downloads the DeepSeek-R1 1.5B model, which is a small yet powerful AI model for text generation, answering questions, and more.
The download may take some time depending on your internet speed, as these models can be quite large.
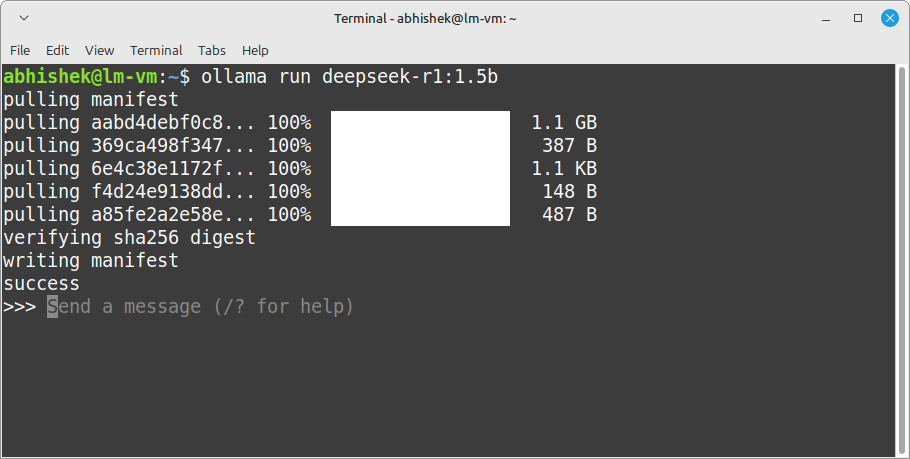
Once the download is complete, you can interact with it immediately in the terminal:
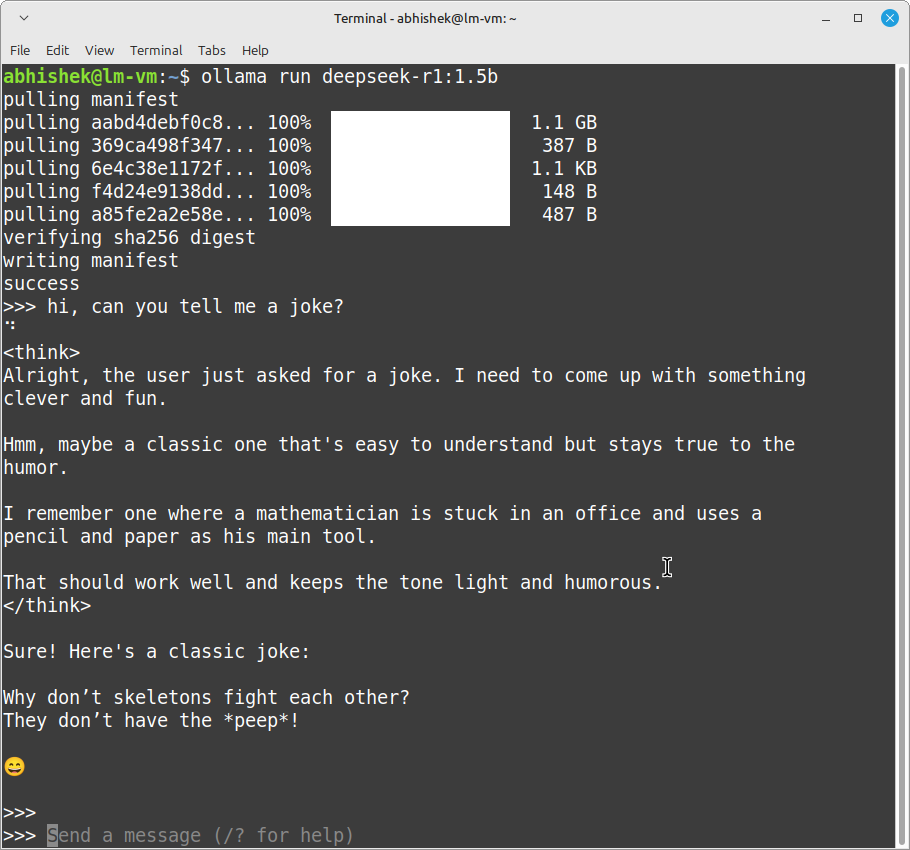
But let’s be honest, while the terminal is great for quick tests, it’s not the most polished experience. It would be better to use a Web UI with Ollama. While there are many such tools, I prefer Open WebUI.

Step 3: Setting up Open WebUI
Open WebUI provides a beautiful and user-friendly interface for chatting with DeepSeek. There are two ways to install Open WebUI:
- Direct Installation (for those who prefer a traditional setup)
- Docker Installation (my personal go-to method)
Don’t worry, we’ll be covering both.
Method 1: Direct installation
If you prefer a traditional installation without Docker, follow these steps to set up Open WebUI manually.
Step 1: Install python & virtual environment
First, ensure you have Python installed along with the venv package for creating an isolated environment.
Run the following command:
sudo apt install python3-venv -y
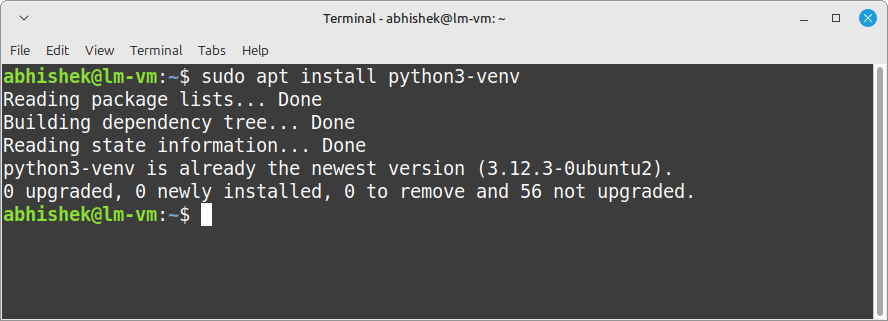
This installs the required package for managing virtual environments.
Step 2: Create a virtual environment
Next, create a virtual environment inside your home directory:
python3 -m venv ~/open-webui-venv
and then activate the virtual environment we just created:
source ~/open-webui-venv/bin/activate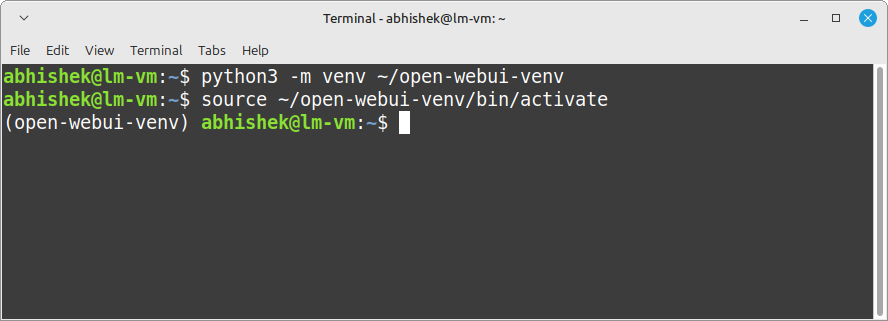
You’ll notice your terminal prompt changes, indicating that you’re inside the virtual environment.
Step 4: Install Open WebUI
With the virtual environment activated, install Open WebUI by running:
pip install open-webui
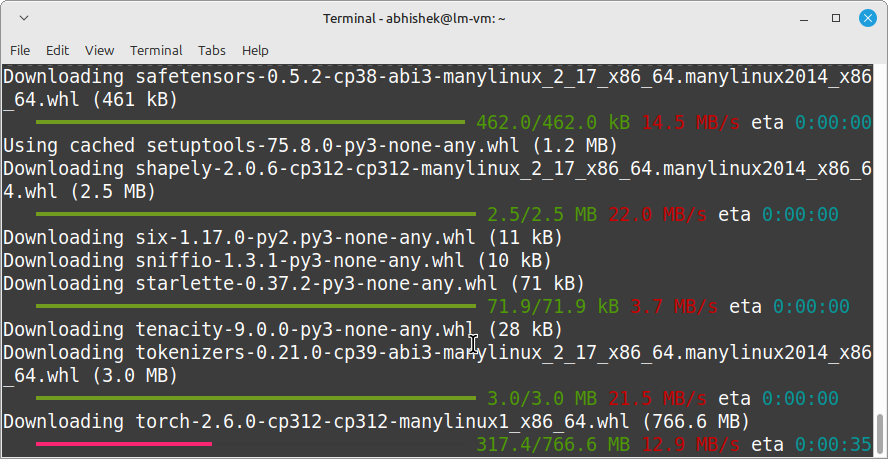
This downloads and installs Open WebUI along with its dependencies.
Step 5: Run Open WebUI
To start the Open WebUI server, use the following command:
open-webui serve
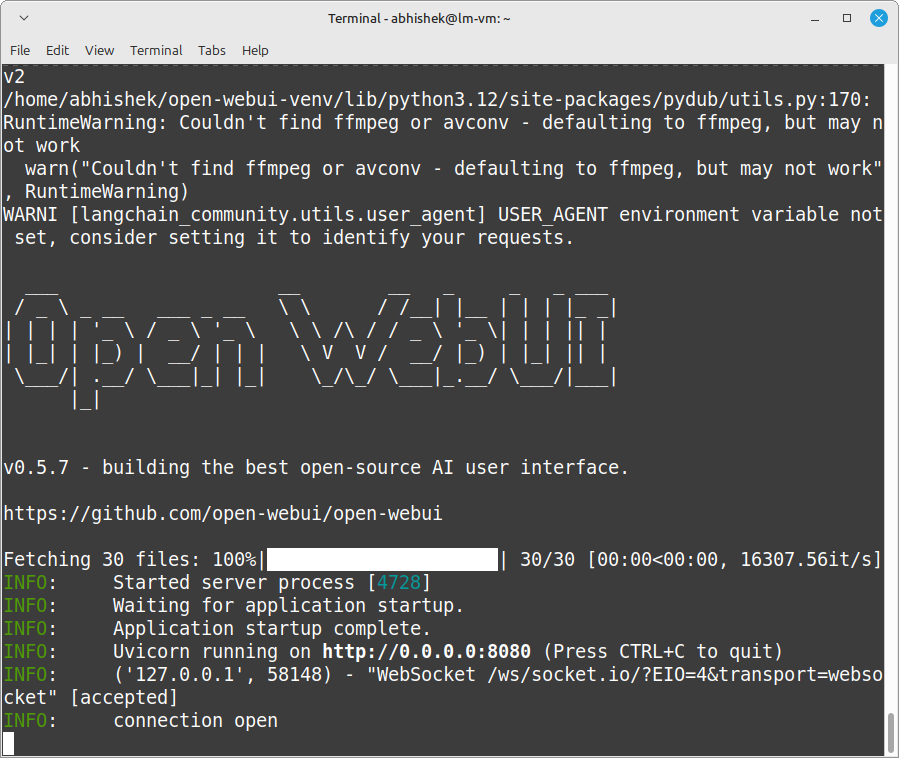
Once the server starts, you should see output confirming that Open WebUI is running.
Step 6: Access Open WebUI in your browser
Open your web browser and go to: http://localhost:8080
You’ll now see the Open WebUI interface, where you can start chatting with DeepSeek AI!
Method 2: Docker installation (Personal favorite)
If you haven’t installed Docker yet, no worries! Check out our step-by-step guide on how to install Docker on Linux before proceeding.
Once that’s out of the way, let’s get Open WebUI up and running with Docker.
Step 1: Pull the Open WebUI docker image
First, download the latest Open WebUI image from Docker Hub:
docker pull ghcr.io/open-webui/open-webui:main
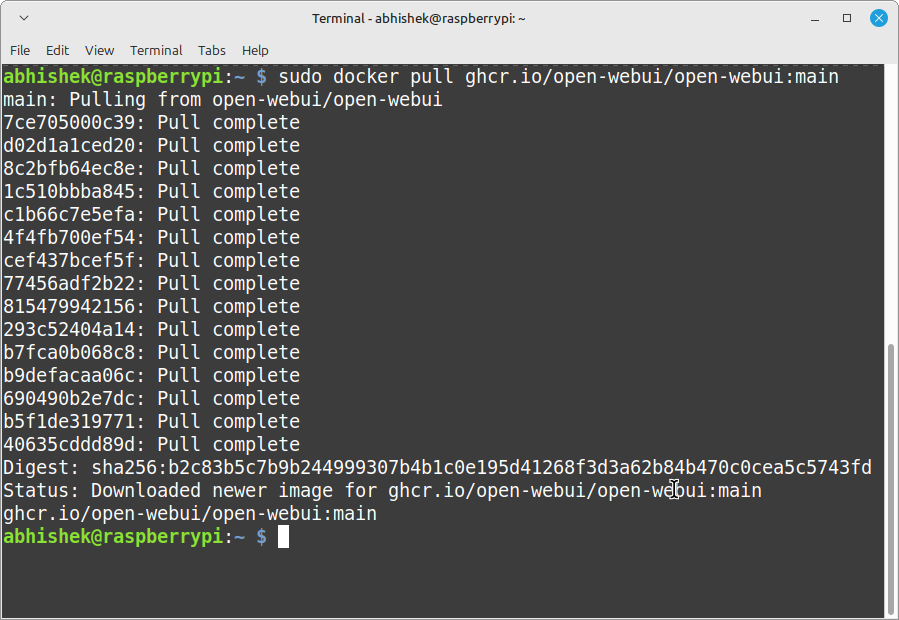
This command ensures you have the most up-to-date version of Open WebUI.
Step 2: Run Open WebUI in a docker container
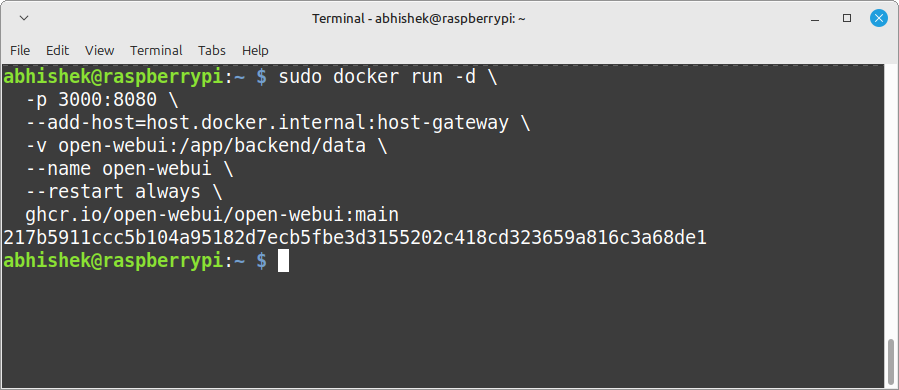
Now, spin up the Open WebUI container:
docker run -d
  -p 3000:8080
  --add-host=host.docker.internal:host-gateway
  -v open-webui:/app/backend/data
  --name open-webui
  --restart always
  ghcr.io/open-webui/open-webui:main
Don’t get scared looking at that big, scary command. Here’s what each part of the command actually does:
| Command | Explanation |
|---|---|
docker run -d |
Runs the container in the background (detached mode). |
-p 3000:8080 |
Maps port 8080 inside the container to port 3000 on the host. So, you’ll access Open WebUI at http://localhost:3000. |
--add-host=host.docker.internal:host-gateway |
Allows the container to talk to the host system, useful when running other services alongside Open WebUI. |
-v open-webui:/app/backend/data |
Creates a persistent storage volume named open-webui to save chat history and settings. |
--name open-webui |
Assigns a custom name to the container for easy reference. |
--restart always |
Ensures the container automatically restarts if your system reboots or if Open WebUI crashes. |
ghcr.io/open-webui/open-webui:main |
This is the Docker image for Open WebUI, pulled from GitHub’s Container Registry. |
Step 3: Access Open WebUI in your browser
Now, open your web browser and navigate to: http://localhost:8080 .You should see Open WebUI’s interface, ready to use with DeepSeek!
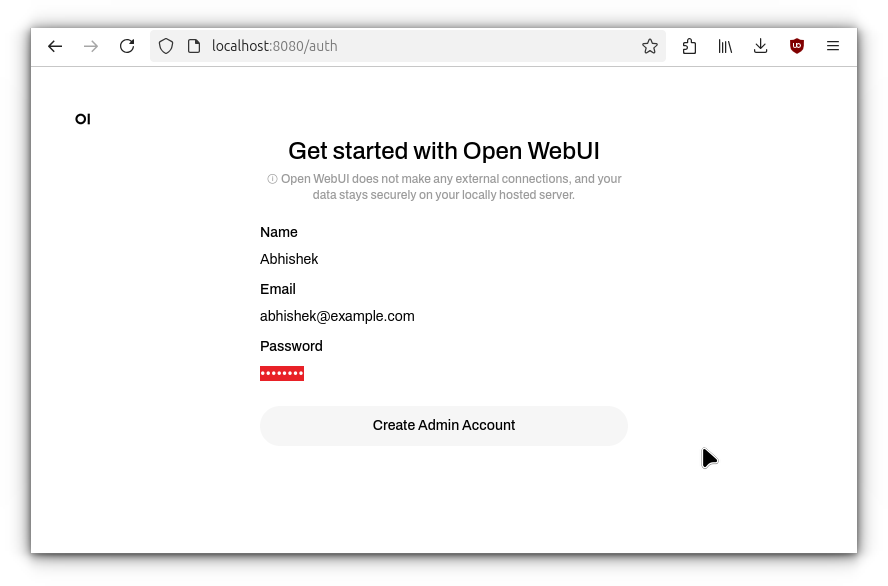
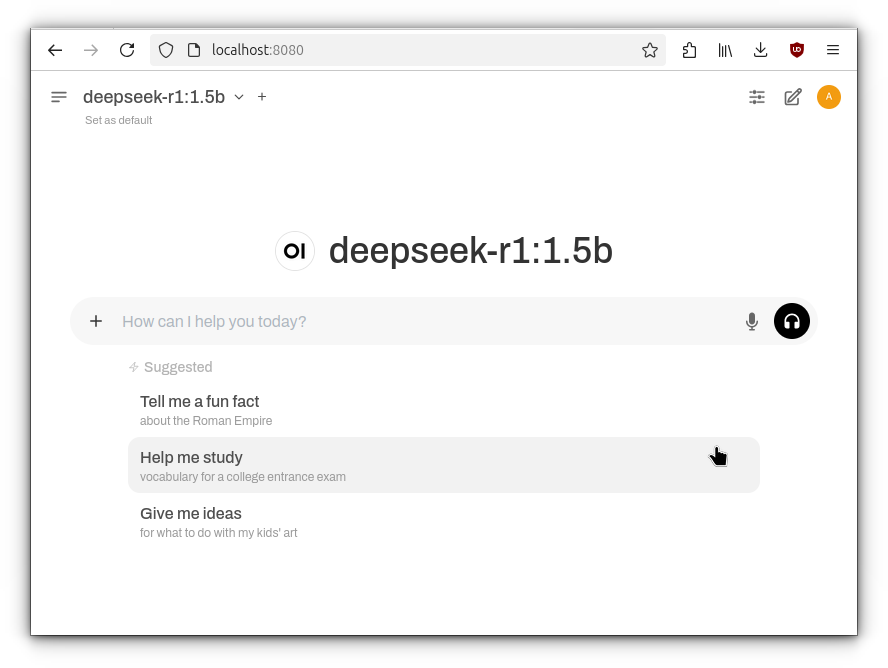
Once you click on “Create Admin Account,” you’ll be welcomed by the Open WebUI interface.
Since we haven’t added any other models yet, the DeepSeek model we downloaded earlier is already loaded and ready to go.
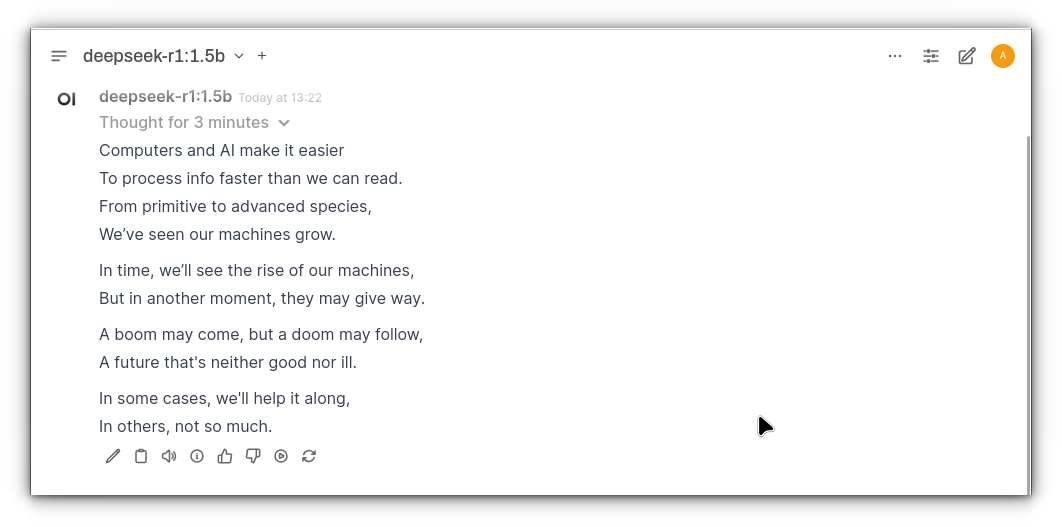
Just for fun, I decided to test DeepSeek AI with a little challenge. I asked it to: “Write a rhyming poem under 20 words using the words: computer, AI, human, evolution, doom, boom.”
And let’s just say… the response was a bit scary. 😅
Here’s the full poem written by DeepSeek R1:
Conclusion
And there you have it! In just a few simple steps, you’ve got DeepSeek R1 running locally on your Linux machine with Ollama and Open WebUI.
Whether you’ve chosen the Docker route or the traditional installation, the setup process is straightforward, and should work on most Linux distributions.
So, go ahead, challenge DeepSeek to write another quirky poem, or maybe put it to work on something more practical. It’s yours to play with, and the possibilities are endless.
For instance, I recently ran DeepSeek R1 on my Raspberry Pi 5, while it was a bit slow, it still got the job done.
Who knows, maybe your next challenge will be more creative than mine (though, I’ll admit, that poem about “doom” and “boom” was a bit eerie! 😅).
Enjoy your new local AI assistant, and happy experimenting! 🤖
Source: Read More


