

If you’ve ever dipped your toes into self-hosting, you know the struggle is real when it comes to exposing your local services to the internet securely.
Let’s say you have Nexcloud deployed on Raspberry Pi but it is on your local network, behind NAT. If you want to access it from outside your home network, it needs a lot of additional configuration and effort.
You’ll have to battle with port forwarding, dynamic IPs and what not and it can quickly snap the joy out of your homelab project.
But what if I told you that there’s a service that can not only solve these issues but also make your life significantly easier?
Enter Cloudflare Tunnels: a game-changer for homelab users who want to share their services without opening their network to the internet.
In this tutorial, we’ll dive into Cloudflare Tunnels, walk through how to set up your first tunnel & get it running on a Raspberry Pi. To demonstrate, I’ll even set up a self-hosted WordPress site accessible from anywhere without worrying about exposing ports or breaking the bank.
What is Cloudflare Tunnels?
Cloudflare Tunnels, formerly known as Argo Tunnels, is a service that allows you to expose services running on your local network to the public internet without the headache of dealing with port forwarding or configuring a firewall.
Essentially, it creates a secure, outbound-only connection from your machine to Cloudflare’s global edge network, and the best part? No inbound traffic is required.
This setup means your self-hosted services, like WordPress, Plex, or Nextcloud, remain protected behind your firewall but can still be accessed securely over the web.
Cloudflare Tunnels also integrate tightly with Cloudflare’s vast suite of security tools, including DDoS protection, SSL, and firewall rules, giving you peace of mind while sharing your services online.
Features
Cloudflare Tunnels is part of Cloudflare’s Zero Trust suite, which includes:
- DDoS Protection: Ensures your services are safeguarded from attacks.
- Automatic SSL: Your connections are secured end-to-end with HTTPS.
- DNS Management: Seamless integration with Cloudflare DNS.
- Traffic Monitoring: Get insights into requests and bandwidth usage through the dashboard.
- Firewall Rules: Apply precise security policies to your tunnels.
Pricing
One of the appealing things about Cloudflare Tunnels is its affordability. For homelab users, Cloudflare offers a free tier that is remarkably robust:
- Free Plan: Perfect for individual users, allowing you to run tunnels without any charge. This includes up to 50 tunnels with unlimited bandwidth, making it great for small projects or personal services.
- Pro Plan: Starting at $20/month, this plan offers more features like enhanced analytics, faster support, and increased security options, ideal for small businesses or more critical self-hosted environments.
Getting Started with Cloudflare Tunnel
Setting up Cloudflare Tunnels is simple and straightforward. Here’s how you can get started:
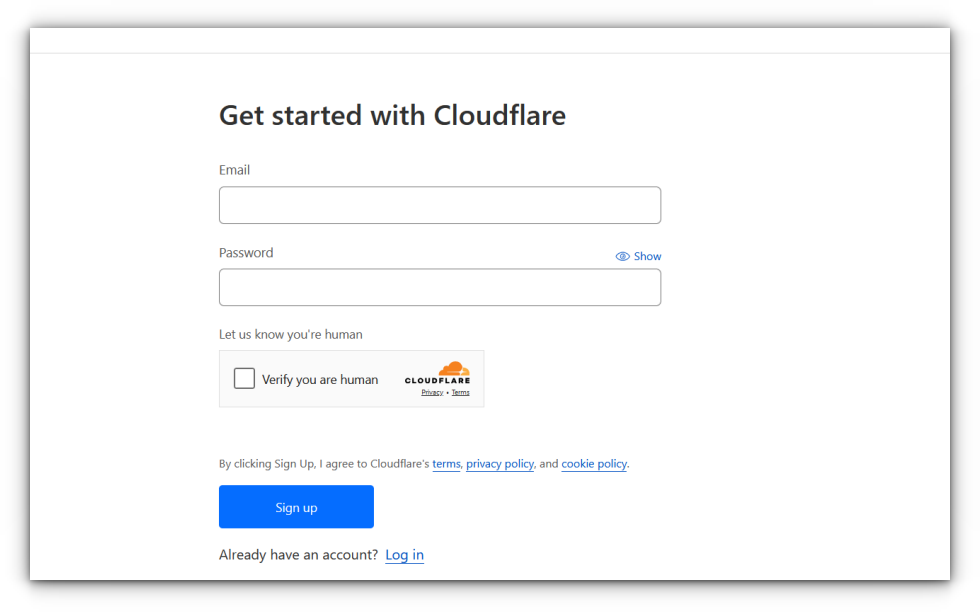
Create a Cloudflare Account: If you don’t already have one, head to Cloudflare’s website and sign up. It’s free and only takes a few minutes.
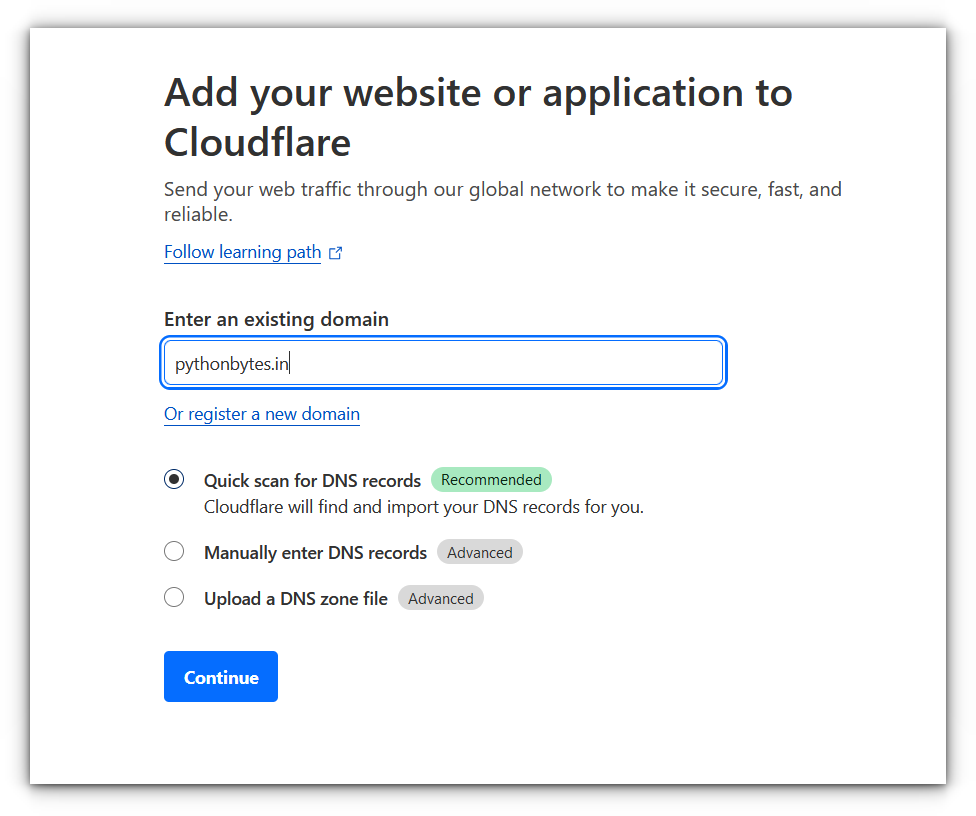
Add Your Domain: Once signed up, you’ll be prompted to add a domain. You can either transfer an existing domain to Cloudflare or register a new one through their service.
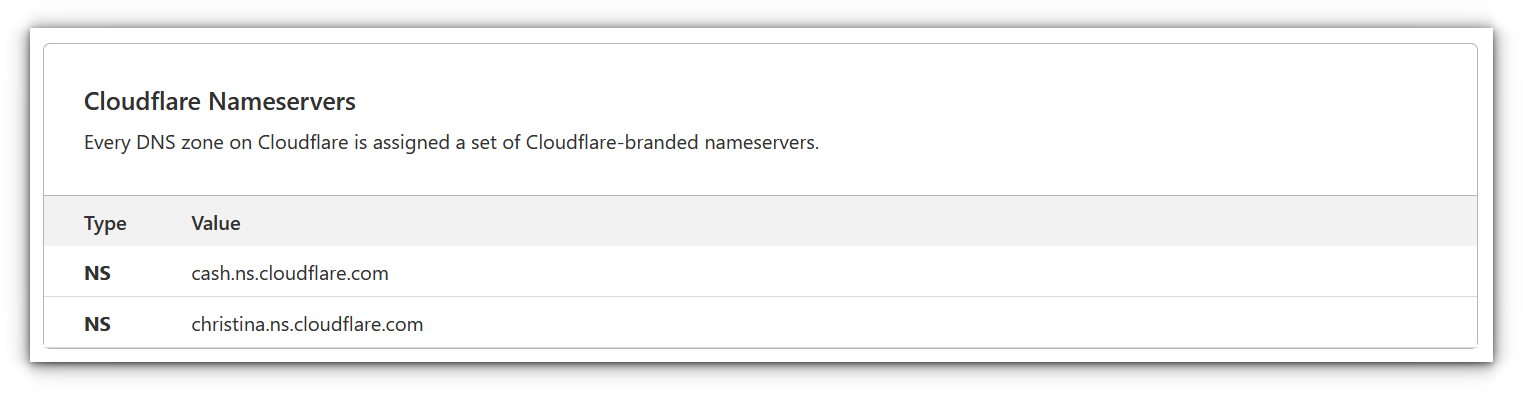
Set Up Cloudflare DNS: To use Cloudflare Tunnels, you’ll need to set your domain’s DNS to point to Cloudflare’s nameservers. It typically takes only a few minutes for the changes to propagate.
Accessing the Cloudflare dashboard
Once your account is set up, you’ll be greeted by Cloudflare’s intuitive dashboard. Here you can manage your domains, access security settings, and, most importantly, create and manage tunnels.
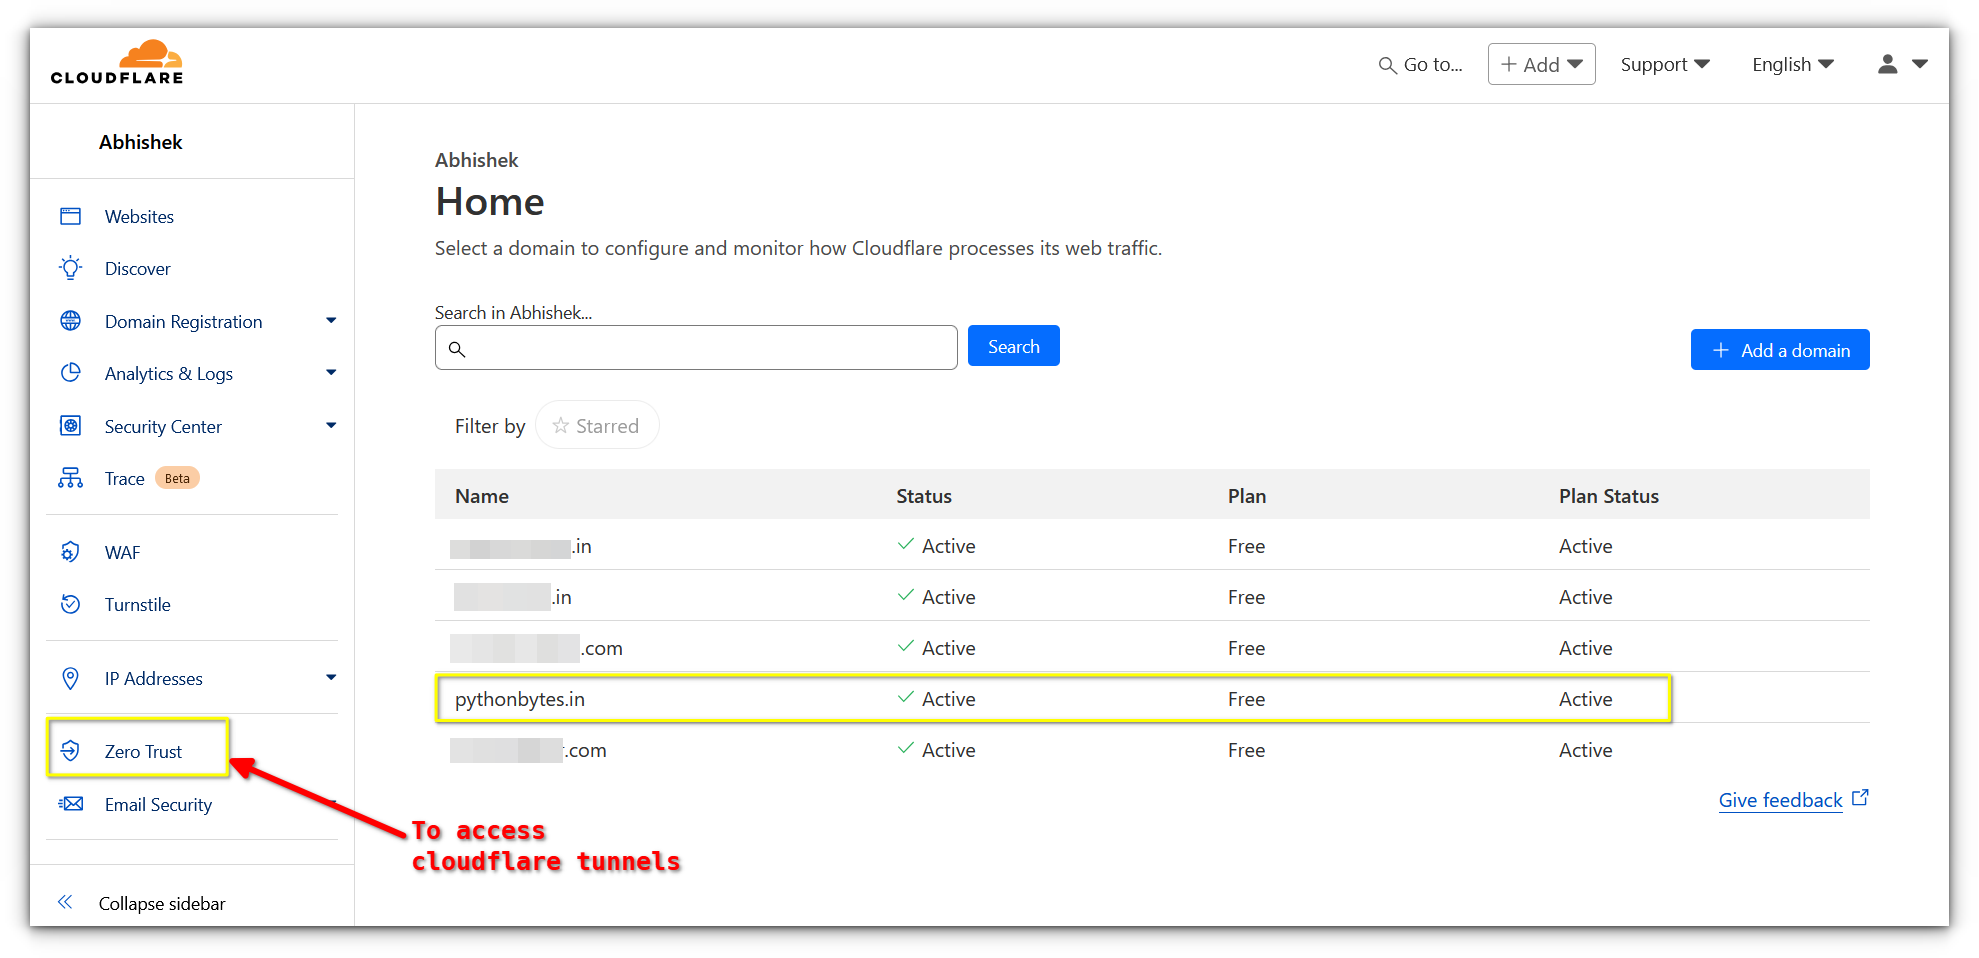
The left-hand panel gives you access to your domains, DNS settings, analytics, and security tools. Under the “Zero Trust” section, you’ll find “Tunnels,” which is where the magic happens.
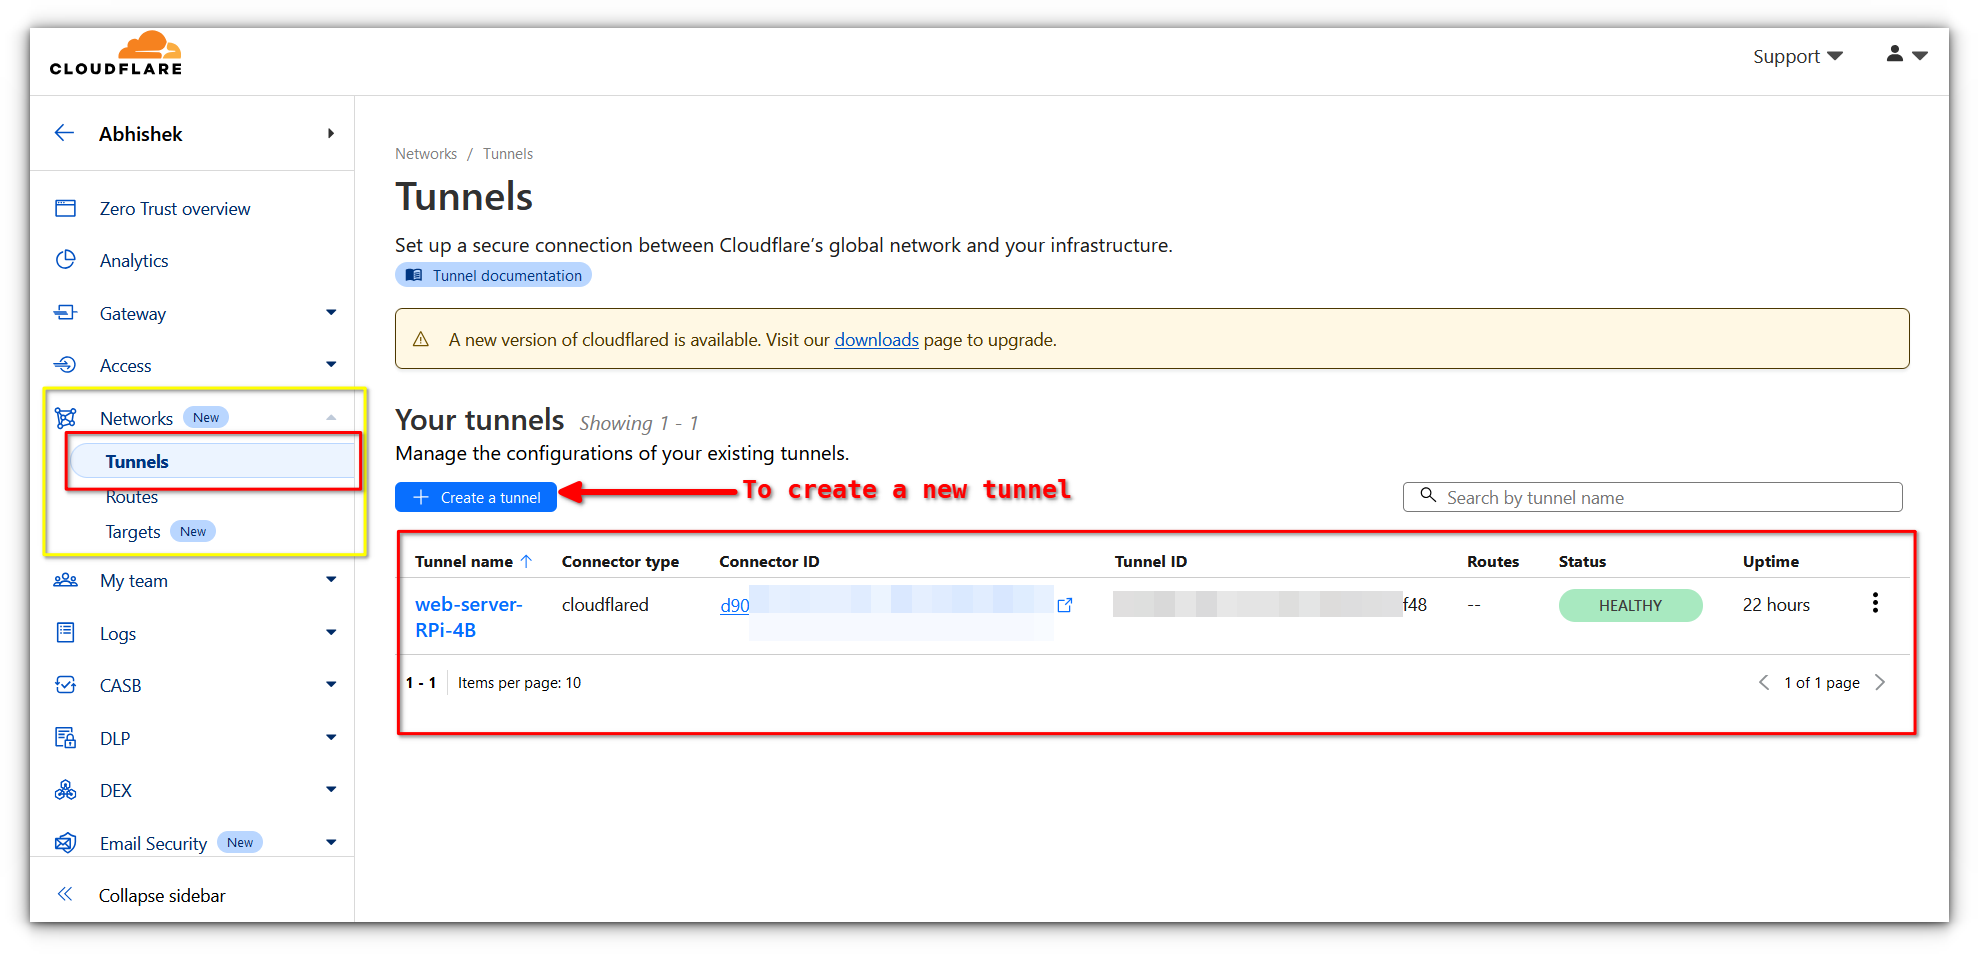
Setting up your first Tunnel
Let’s get practical. Say you want to expose a self-hosted WordPress instance running on a Raspberry Pi. Here’s how to set up your Cloudflare Tunnel.
Install Cloudflared on the server where the service is running, which is Raspberry Pi in my case.
curl -L https://github.com/cloudflare/cloudflared/releases/latest/download/cloudflared-linux-arm64.deb -o cloudflared.deb

sudo dpkg -i cloudflared.deb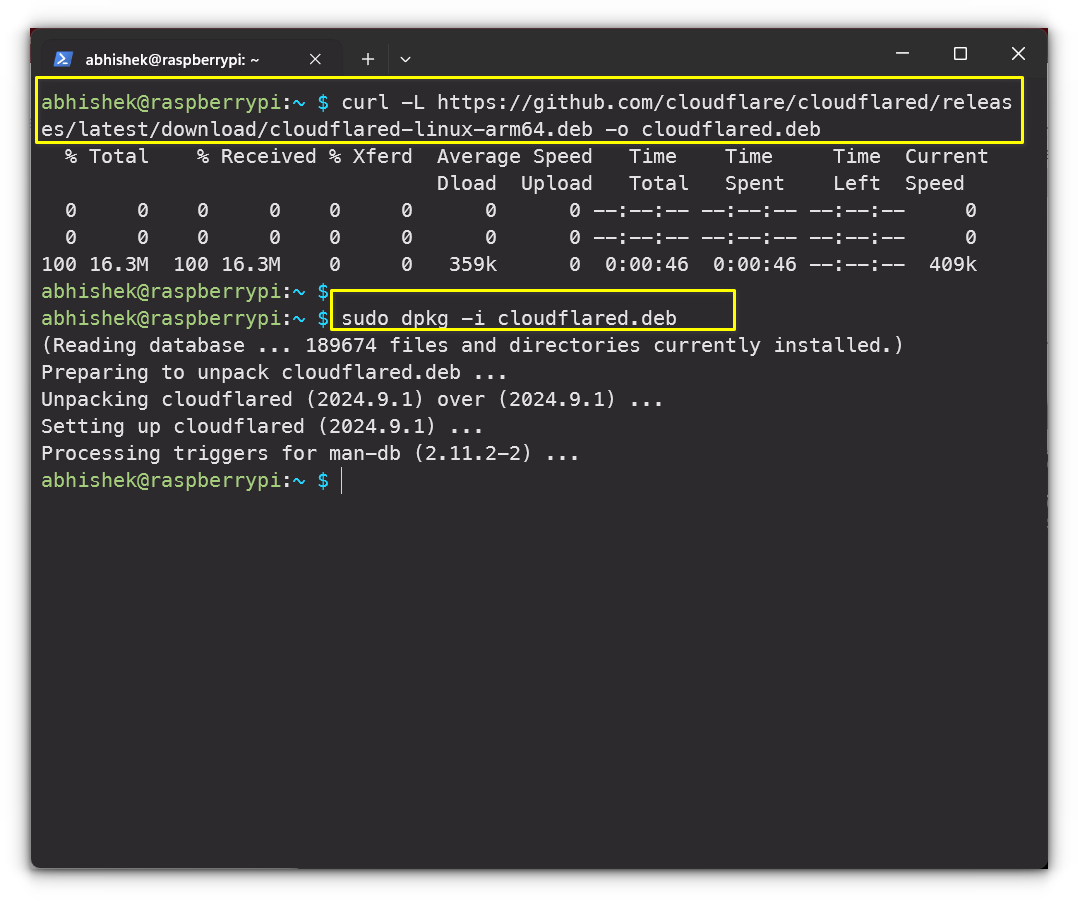
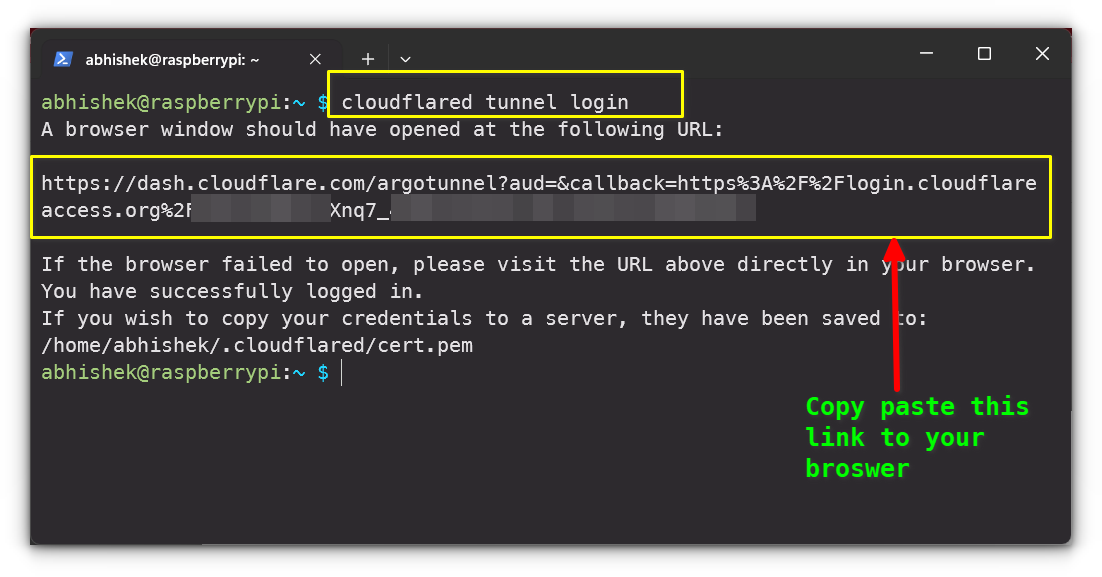
Once installed, authenticate it with your Cloudflare account by running:
cloudflared tunnel loginThis command will open a browser window where you can authorize your Pi to use Cloudflare Tunnels.
After logging in, create a tunnel by running:
cloudflared tunnel create my-tunnel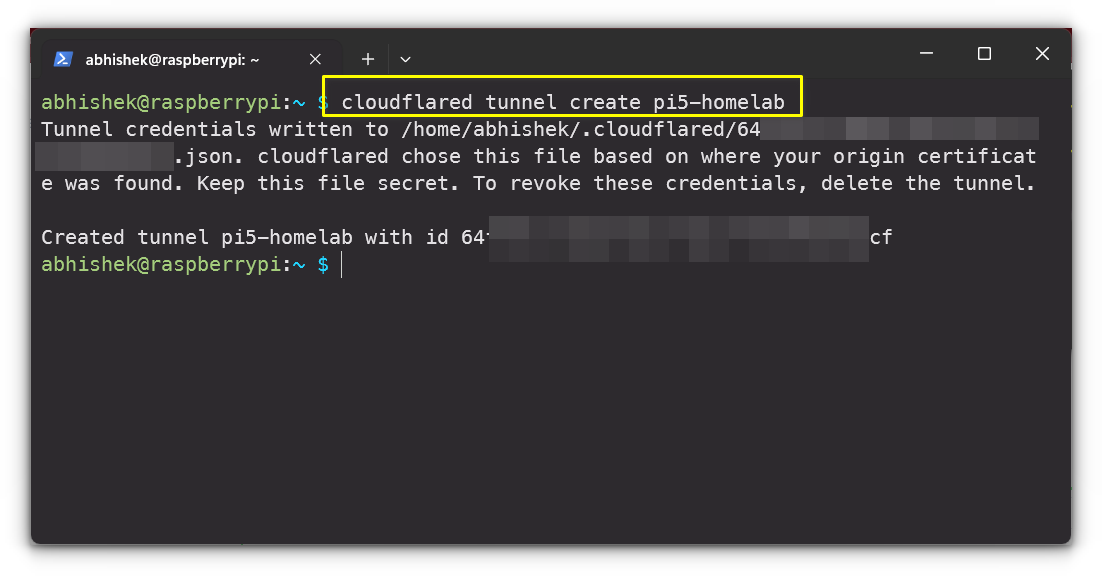
This creates a secure tunnel and gives you a unique identifier.
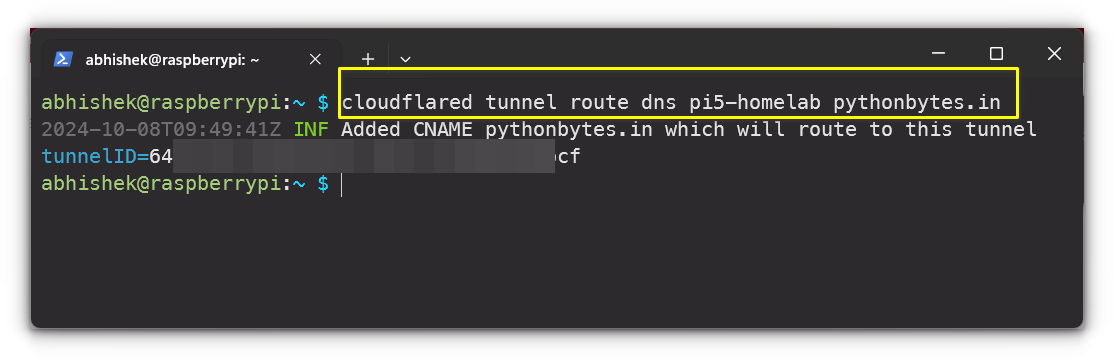
Next, specify the local service you want to expose, for example:
cloudflared tunnel route dns my-tunnel mydomain.comReplace mydomain.com with your actual domain, and ensure your service, in my case WordPress instance, is running on the Raspberry Pi.
Finally, start the tunnel with:
cloudflared tunnel run --url localhost:PORT my-tunnel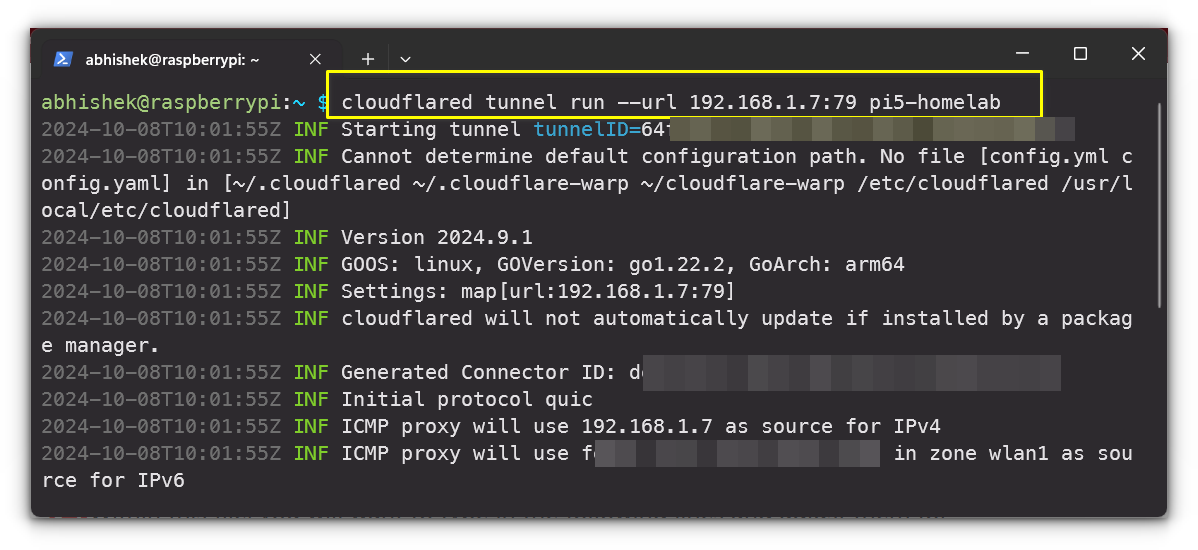
Your service should now be accessible via the domain you set up in Cloudflare DNS!
Testing
Once your Cloudflare Tunnel is live, it’s time to test it.
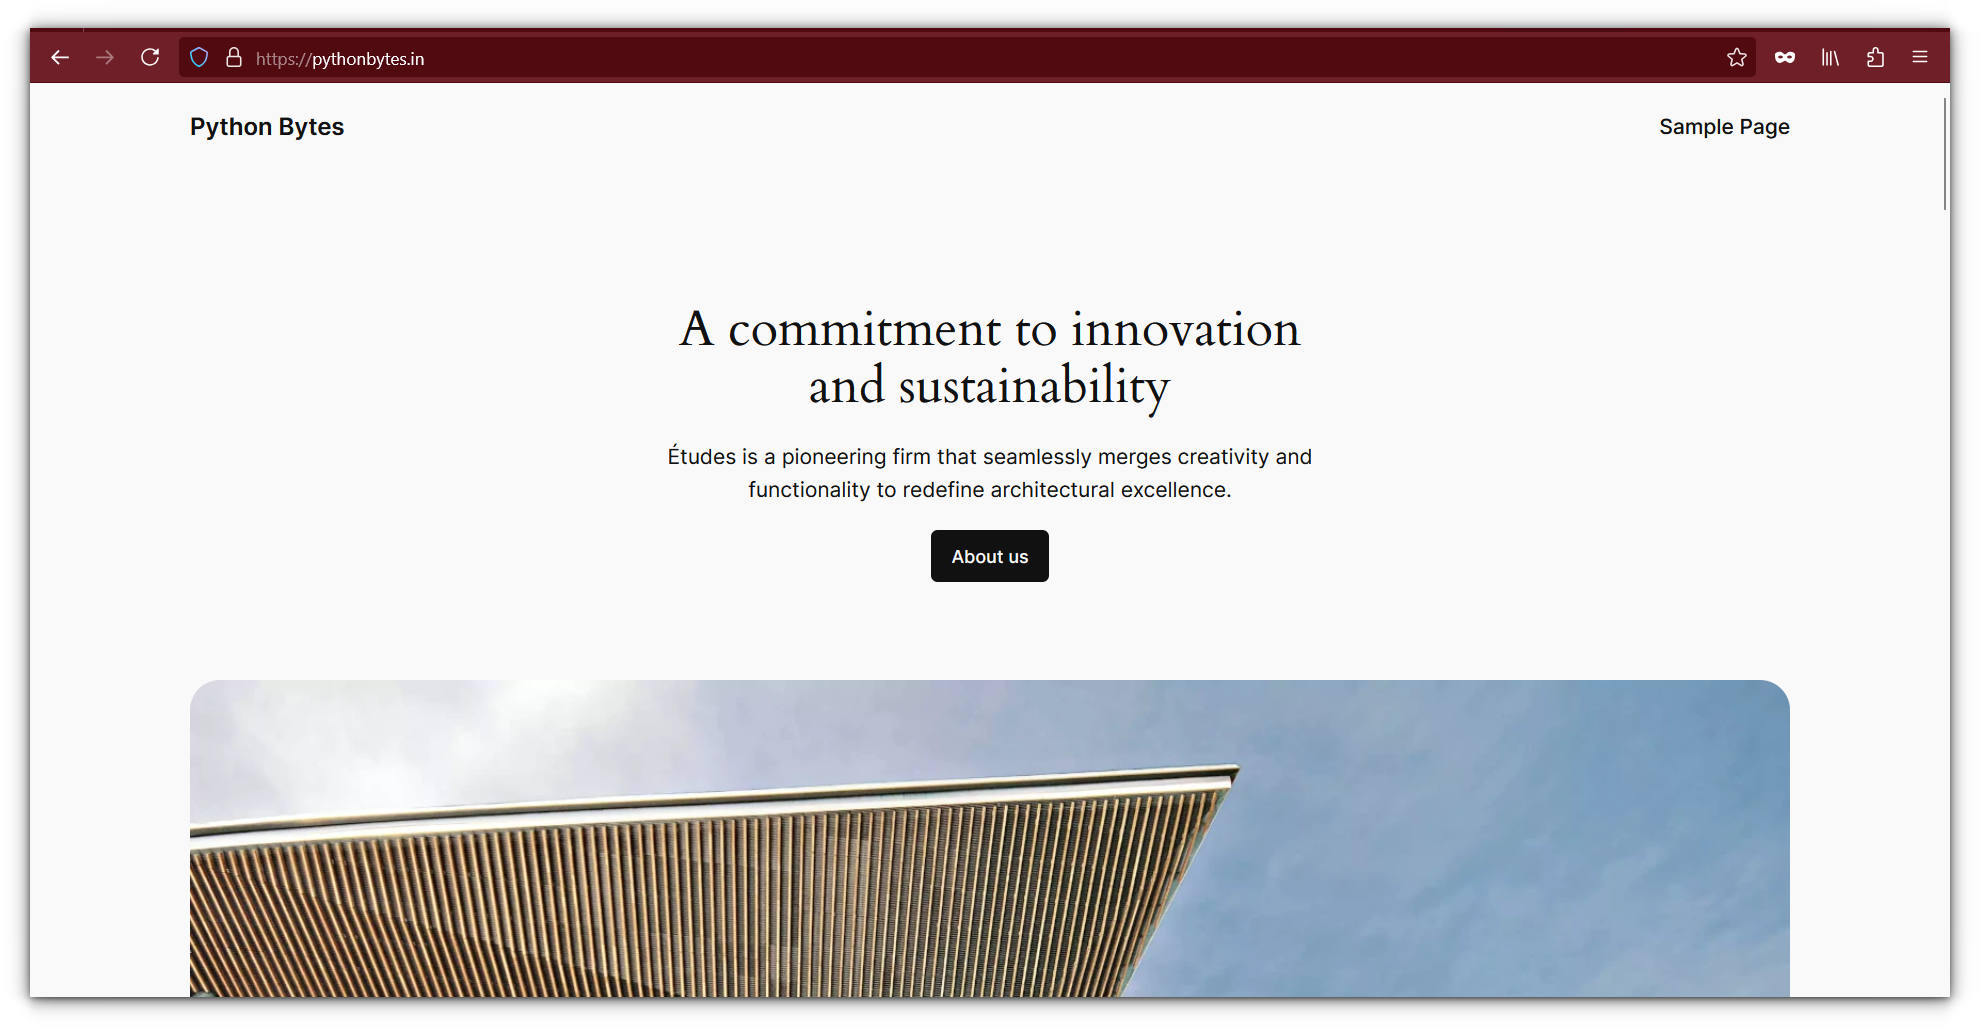
Simply open a browser, navigate to the domain or subdomain you assigned. In my case, it was a fresh WordPress install:
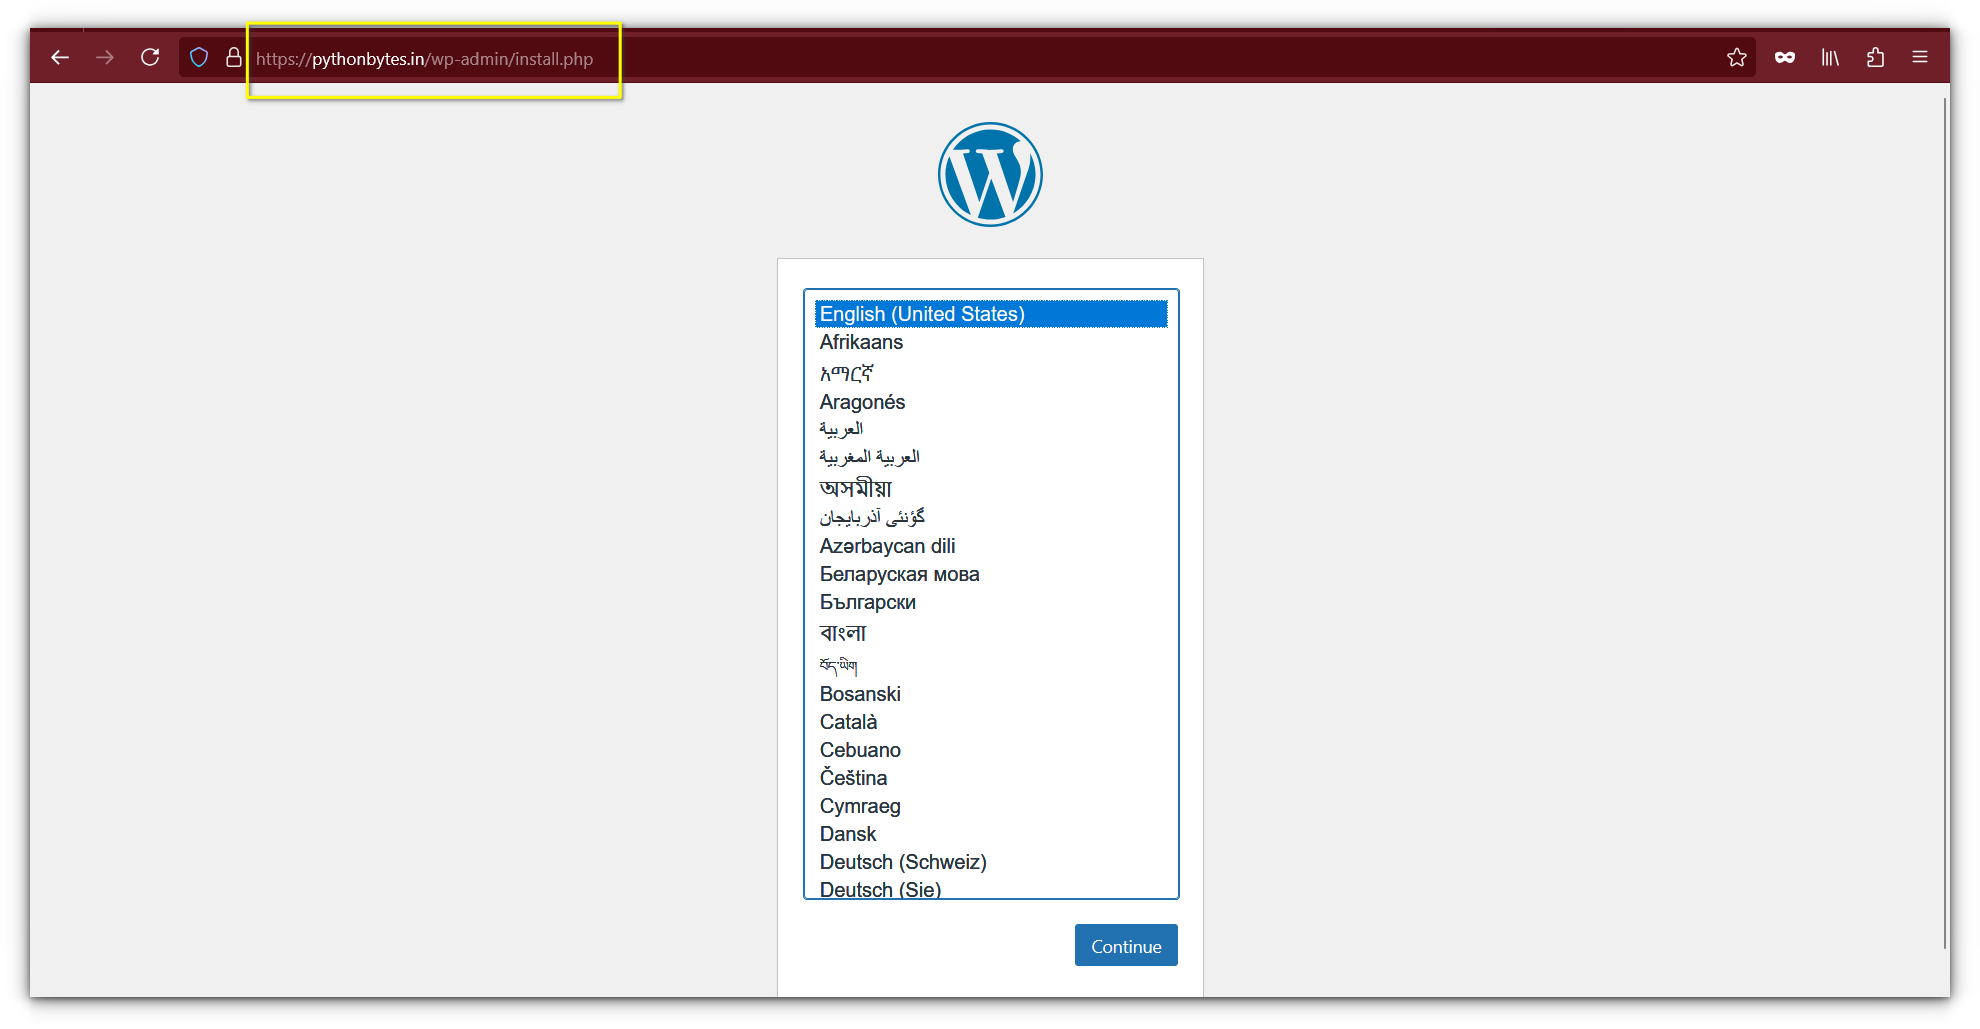
No port forwarding. No manual firewall rules. Just secure, hassle-free access to your site from anywhere.
Cloudflare Tunnels on Boot
Once you’ve confirmed that your Cloudflare Tunnel is working, the next step is to ensure it starts automatically whenever your Raspberry Pi boots up.
This can be easily achieved by configuring the Cloudflare daemon to read from a configuration file.
First, you need to create a config.yml file, which will store the tunnel settings. Open the file with the following command:
sudo nano ~/.cloudflared/config.ymlIn this file, you’ll need to input the necessary information specific to your setup. Adjust the following fields as needed:
- [TUNNELNAME]: Replace this with the name of your tunnel.
- [USERNAME]: Your system’s username.
- [UUID]: The UUID returned when you created the tunnel.
- [HOSTNAME]: The domain you want to use, such as
mywebsite.com. - [PORT]: The port on which your service is running (e.g., 79).
- [PROTOCOL]: Use the protocol required for your service, such as
http,https, ortcp.
Here’s an example of what the configuration might look like:
tunnel: [TUNNELNAME]
credentials-file: /home/[USERNAME]/.cloudflared/[UUID].json

ingress:
    - hostname: [HOSTNAME]
      service: [PROTOCOL]://localhost:[PORT]
    - service: http_status:404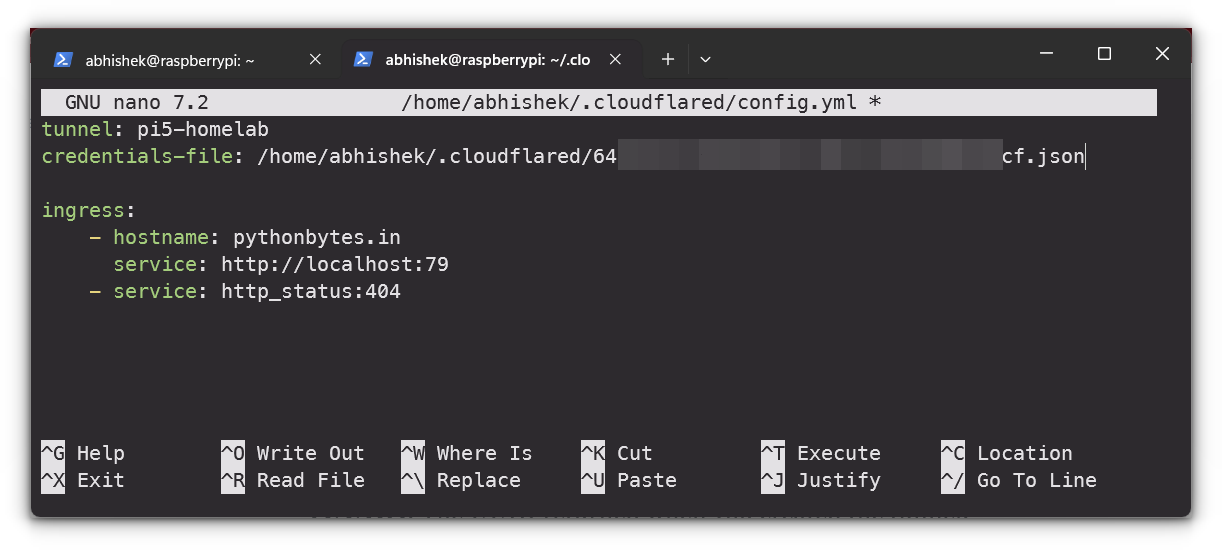
Depending on your service, you can choose different protocols like http, https, tcp, ssh, or even rdp if needed.
For example, a Minecraft server would use tcp://localhost:25655, while a web server might use http://localhost:8080.
After editing the file, save your changes by pressing CTRL + X, then Y, and finally hit ENTER
Now that your configuration file is set up, install it as a system service by running:
sudo cloudflared --config ~/.cloudflared/config.yml service installTo ensure your tunnel starts on boot, use this command to enable the Cloudflare service:
sudo systemctl enable cloudflaredFinally, you can manually start the tunnel to check if everything is working by running:
sudo systemctl start cloudflaredNNow,your Cloudflare Tunnel will automatically start whenever your Raspberry Pi boots up, ensuring continuous access to your services without any manual intervention.
Why use Cloudflare Tunnels?
For homelab users, Cloudflare Tunnels offers incredible flexibility:
- No Port Forwarding: You don’t need to tinker with your router’s settings to expose services.
- Security: Your local services remain behind your firewall, significantly reducing the risk of cyber threats.
- Cost-Effective: With the free tier offering unlimited bandwidth for personal use, it’s hard to beat Cloudflare Tunnels’ value.
Tips for Homelab Users
- Start Small: Don’t open all your services at once. Start by exposing one service and test its stability and security before expanding.
- Use Subdomains: If you’re running multiple services (like Nextcloud, Plex, and WordPress), use subdomains (e.g.,
nextcloud.yourdomain.com) to keep things organized. - Monitor Traffic: Keep an eye on your Cloudflare dashboard for any unusual traffic spikes, which could indicate a security issue.
- Keep system and services updated: Needless to say that you should keep the server updated and also update the services you are running, specially if there are security updates.
Final Thoughts
From my own experience, Cloudflare Tunnels has been a game-changer for hosting my personal projects and websites all for free.
It’s become my go-to tool for exposing services from my Raspberry Pi without ever having to deal with the hassle of port forwarding or worrying about security risks.
One of the things I truly appreciate is the added layer of security that comes built into the service, which lets me confidently put my projects online while keeping them protected.
Cloudflare, as the largest player in the web performance and security space, has built an incredibly robust network infrastructure.
They power a significant portion of the internet, and knowing that my personal projects benefit from the same level of protection as massive enterprises is a huge relief.
The best part? It’s all not that complicated to set up.
Source: Read More

