Have you ever thought of running high-end AAA games on a Raspberry Pi? Absurd right?
Spoiler alert: you can’t. Of course.
But, you may ask — what about the article’s title?
In fairness, please note that I mentioned “Play” instead of “Run.” That is the crucial aspect of my experiment 🤓
You cannot run the game, but what you can do is stream those demanding games from a powerful PC to your Raspberry Pi using Moonlight, and it works like a charm!
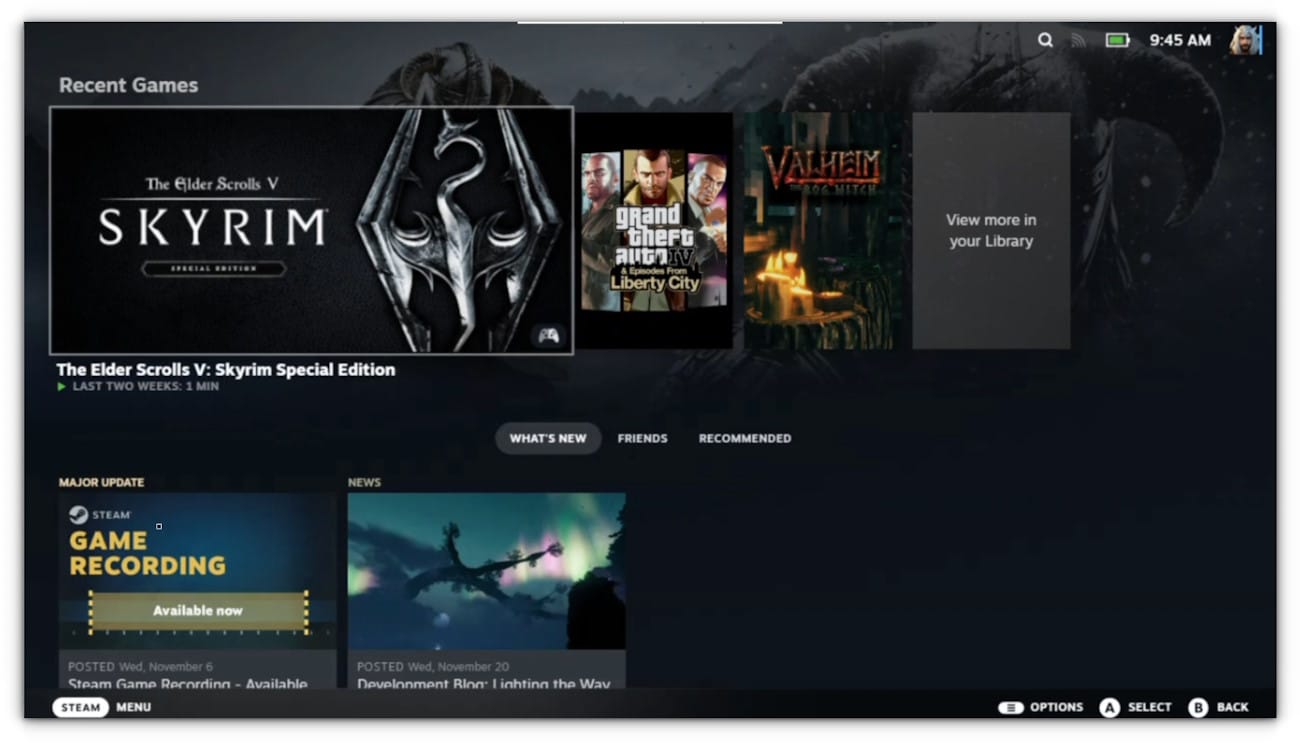
In this article, I’ll show you how I turned my humble Raspberry Pi 5 into a game-streaming powerhouse.
Stick with me for a breakdown of every step you need to replicate this feat. And don’t worry—I’ll try keeping the technical jargon at bay.
What is Moonlight?
Picture this: your beastly gaming rig is upstairs, but your comfy couch (and bigger TV) is downstairs.
Instead of running an HDMI cable across the house, you can use Moonlight to stream your games over your home network. Moonlight uses Nvidia’s GameStream technology to deliver smooth, high-definition, low-latency gameplay.
The Raspberry Pi, with its small form factor and affordable price, makes the perfect device for this setup.
Whether you’re using a Raspberry Pi 4 or the newer Raspberry Pi 5, Moonlight can help you bring AAA gaming to the comfort of any room.
What You’ll Need
Here’s the gear that I used for this project:
- Raspberry Pi 4/5 (the more powerful, the better)
- MicroSD Card (16 GB or larger, for the OS)
- Ethernet Cable (for low latency)
- USB Mouse and Keyboard
- Controller (Xbox or PlayStation, optional but recommended)
- A PC with a Compatible Nvidia GPU (running Sunshine, an open-source GameStream host)
Step 1: Preparing Your Raspberry Pi
Start by making sure your Raspberry Pi is updated. Open the terminal and run these commands:
sudo apt update && sudo apt full-upgrade -y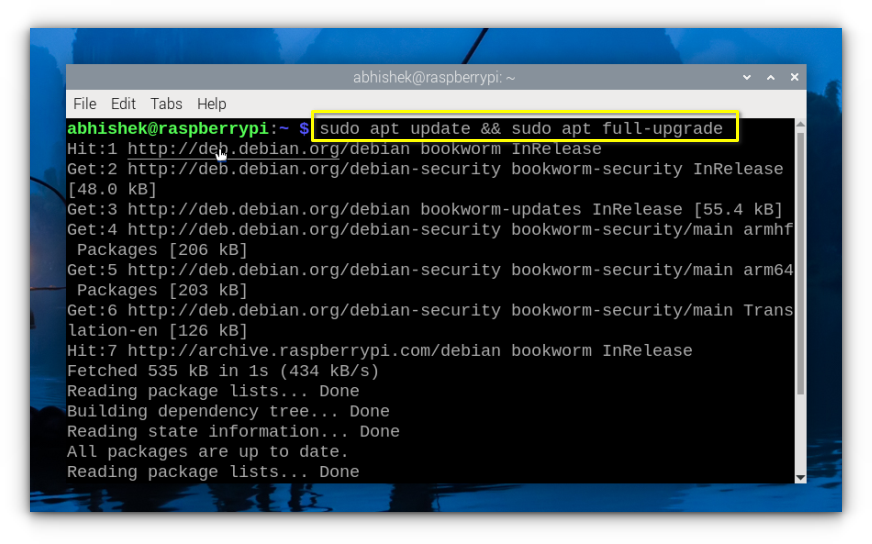
You will need curl for downloading the repository and pulseaudio for audio support. Install them with:
sudo apt install curl pulseaudio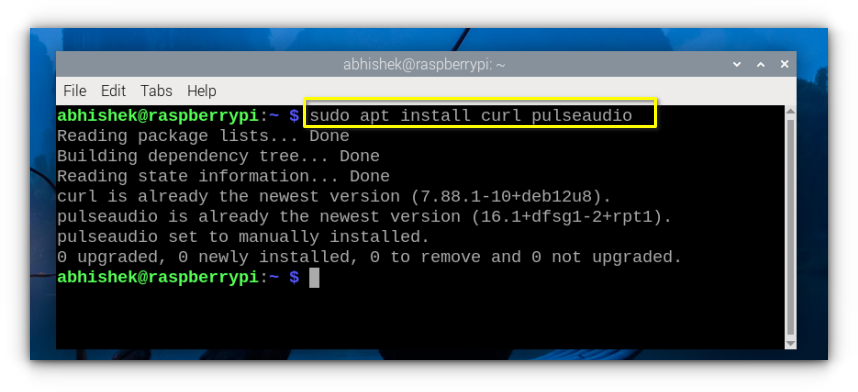
Set PulseAudio to start automatically when the Pi boots:
sudo systemctl --global enable pulseaudio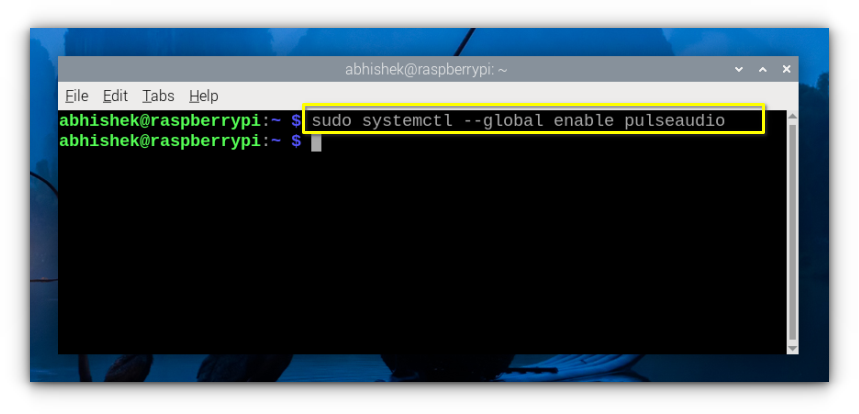
Step 2: Installing Moonlight
Run the following command to add the Moonlight package repository:
curl -1sLf 'https://dl.cloudsmith.io/public/moonlight-game-streaming/moonlight-qt/setup.deb.sh' | distro=raspbian codename=$(lsb_release -cs) sudo -E bash
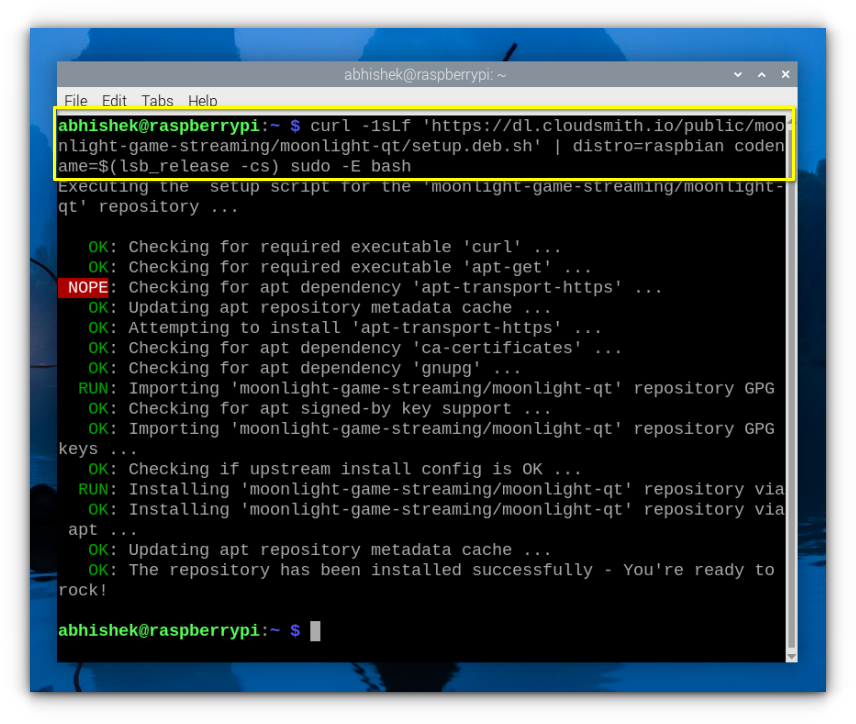
Once the repository is added, install Moonlight with:
sudo apt install moonlight-qt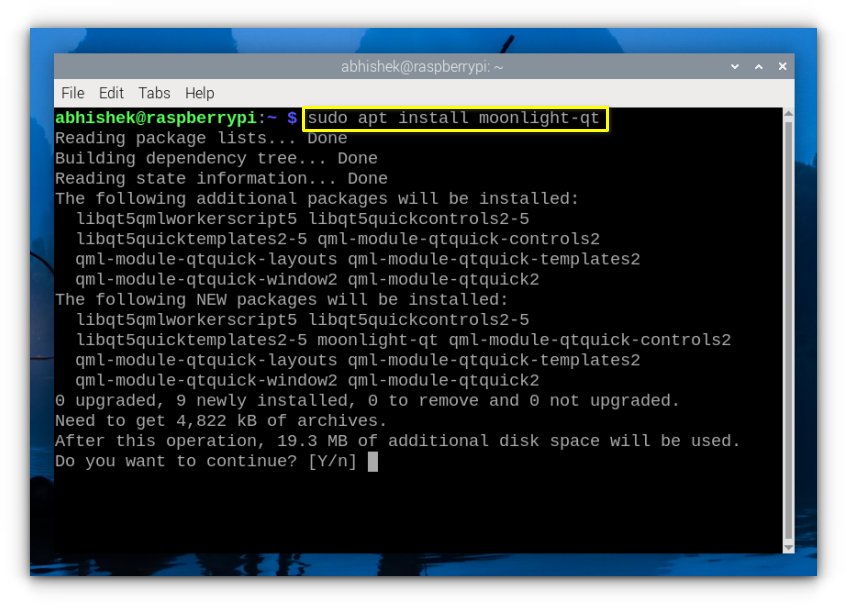
Step 3: Configuring Moonlight
Edit the crontab file to launch Moonlight automatically when your Pi starts. This way, you get a seamless experience.
crontab -e
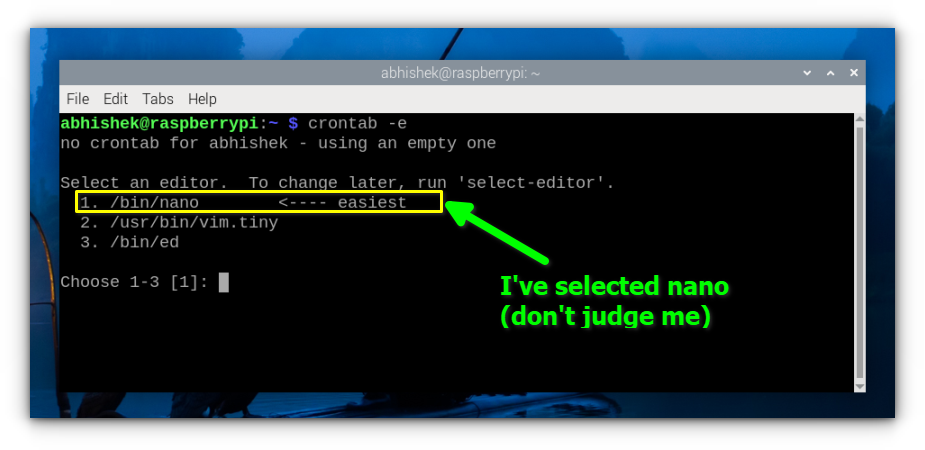
Add this line at the end of the file:
@reboot moonlight-qt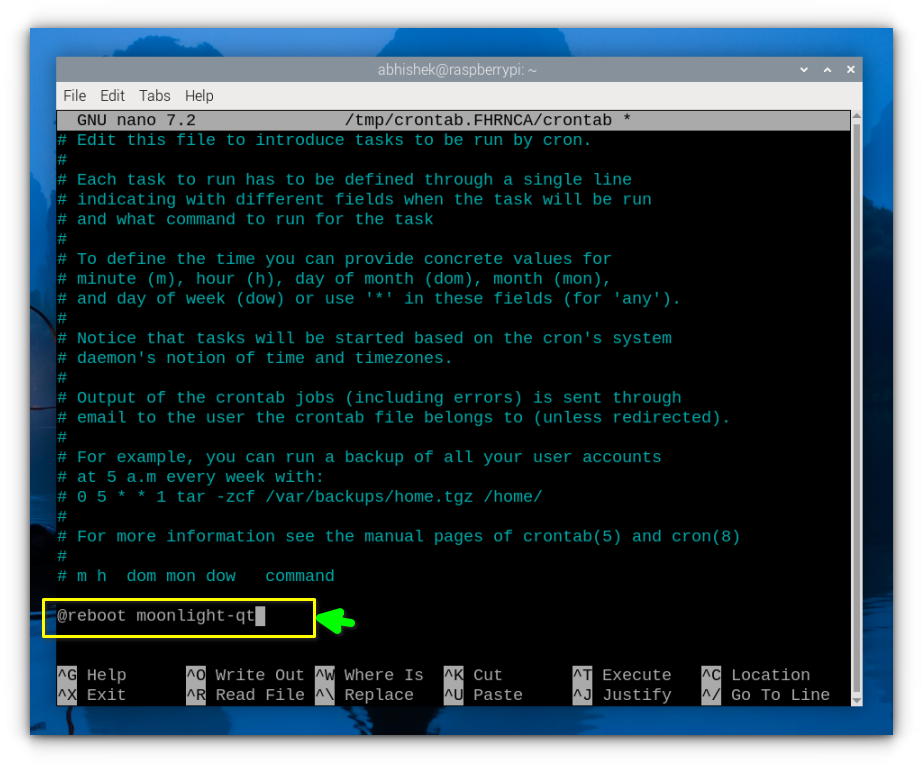
Reboot your Pi to apply the changes:
sudo reboot nowStep 4: Pairing Moonlight with your PC
Download and install Sunshine, an open-source GameStream server, on your PC. This is essential for pairing with Moonlight.
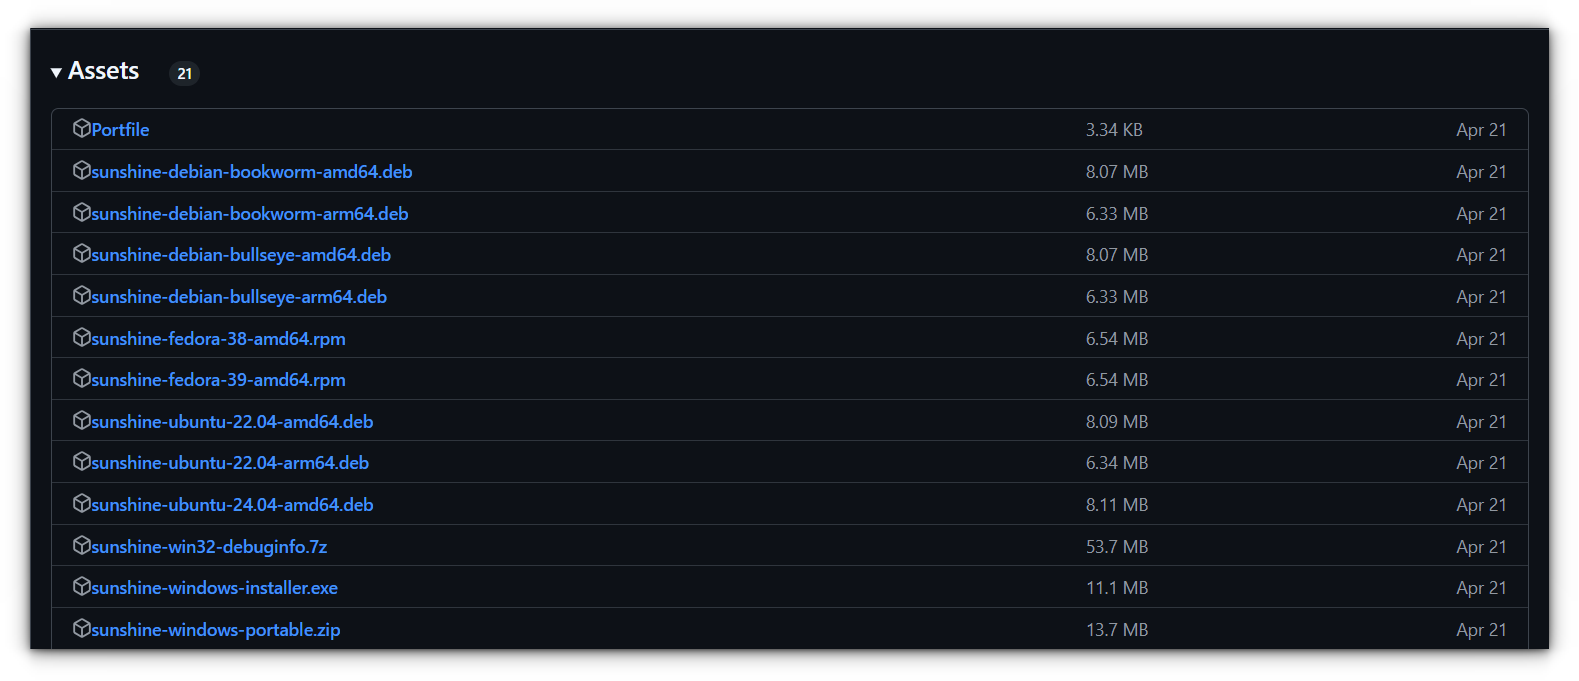
Once installed, it will redirect you to a browser window, where you need to set up a user first before you can access anything:
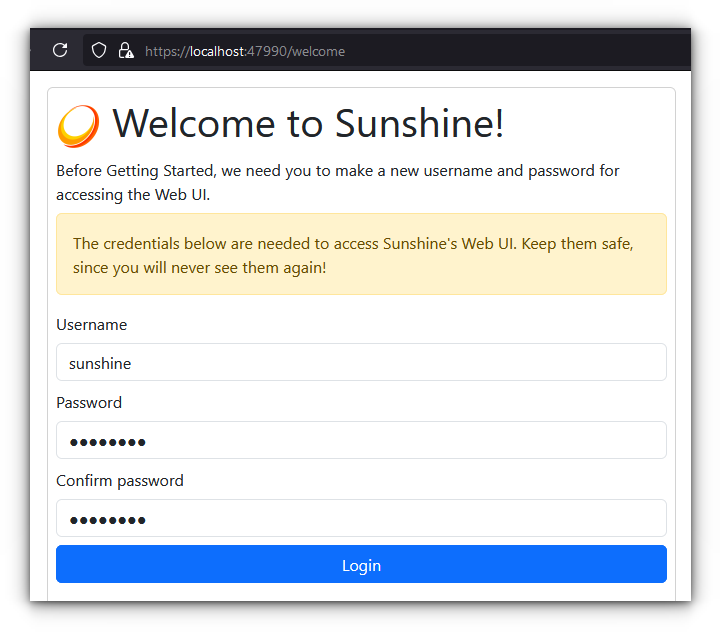
Once done, you are ready to launch Moonlight on your Raspberry Pi.
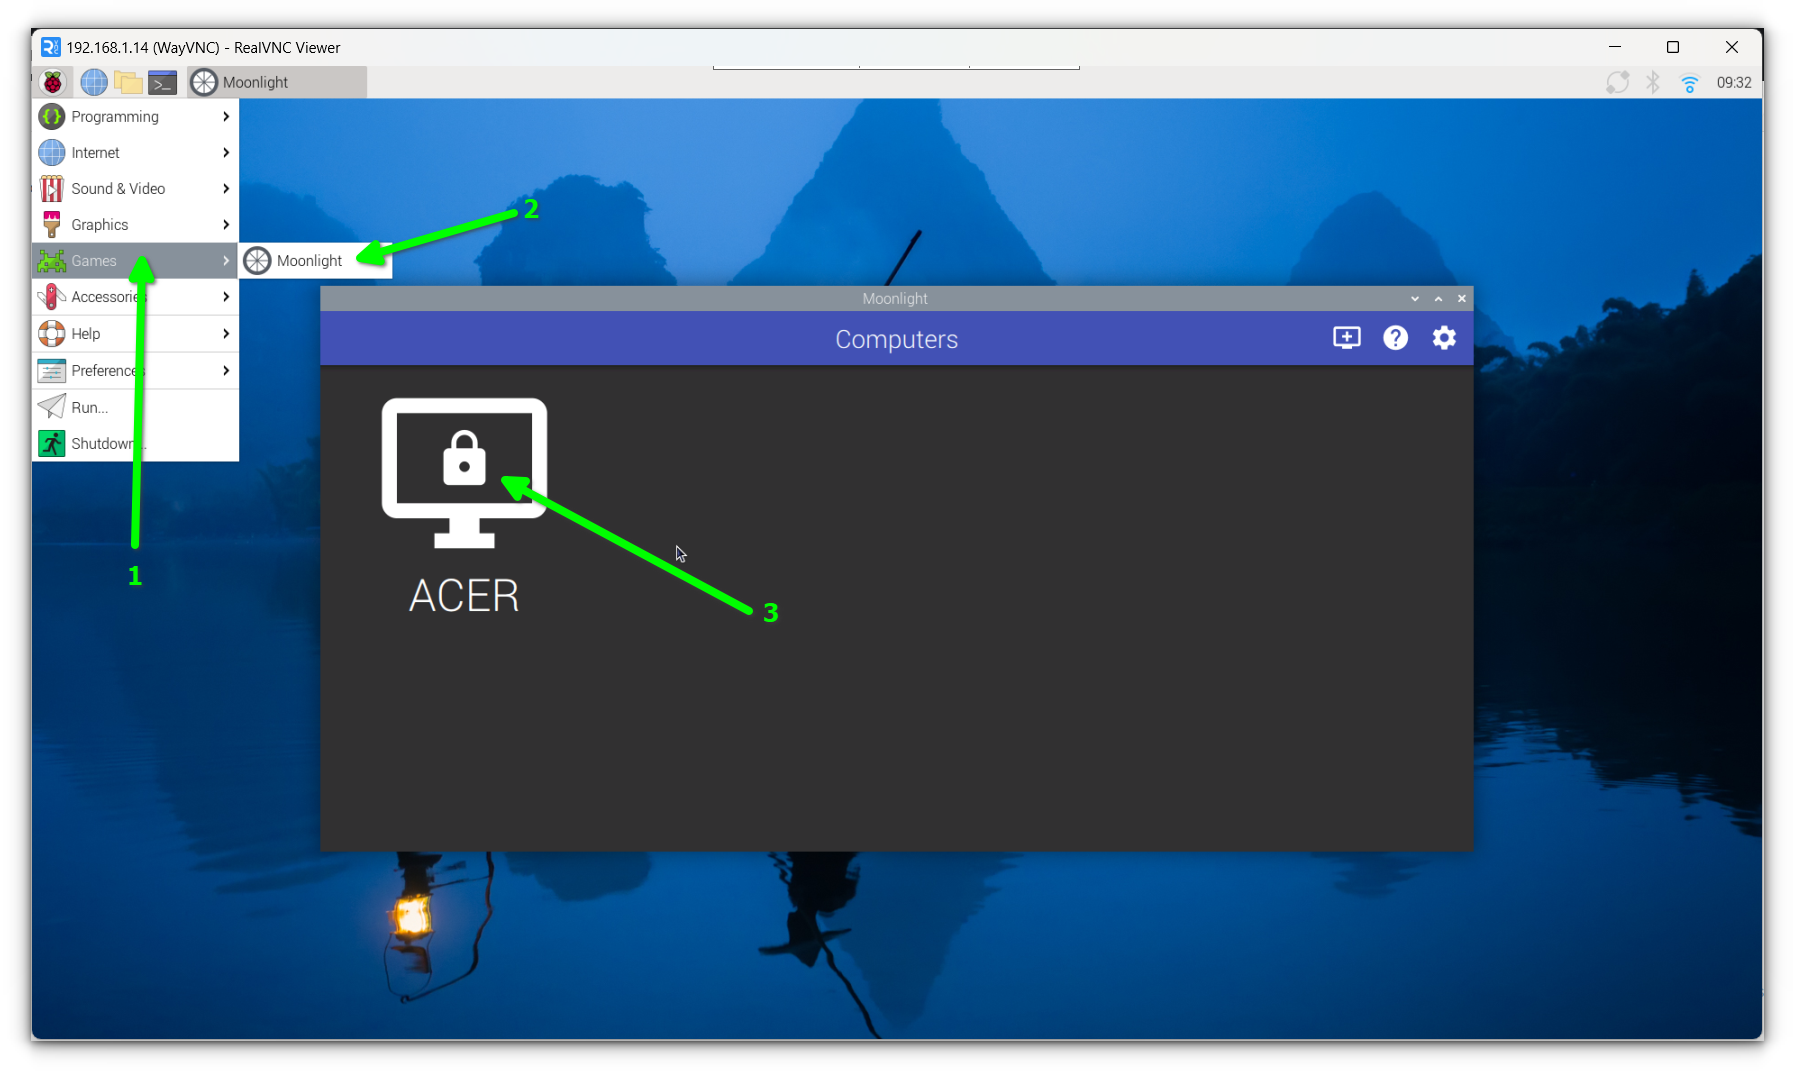
You’ll be prompted with a PIN code. Enter this PIN in the Sunshine web interface on your PC to complete the pairing.
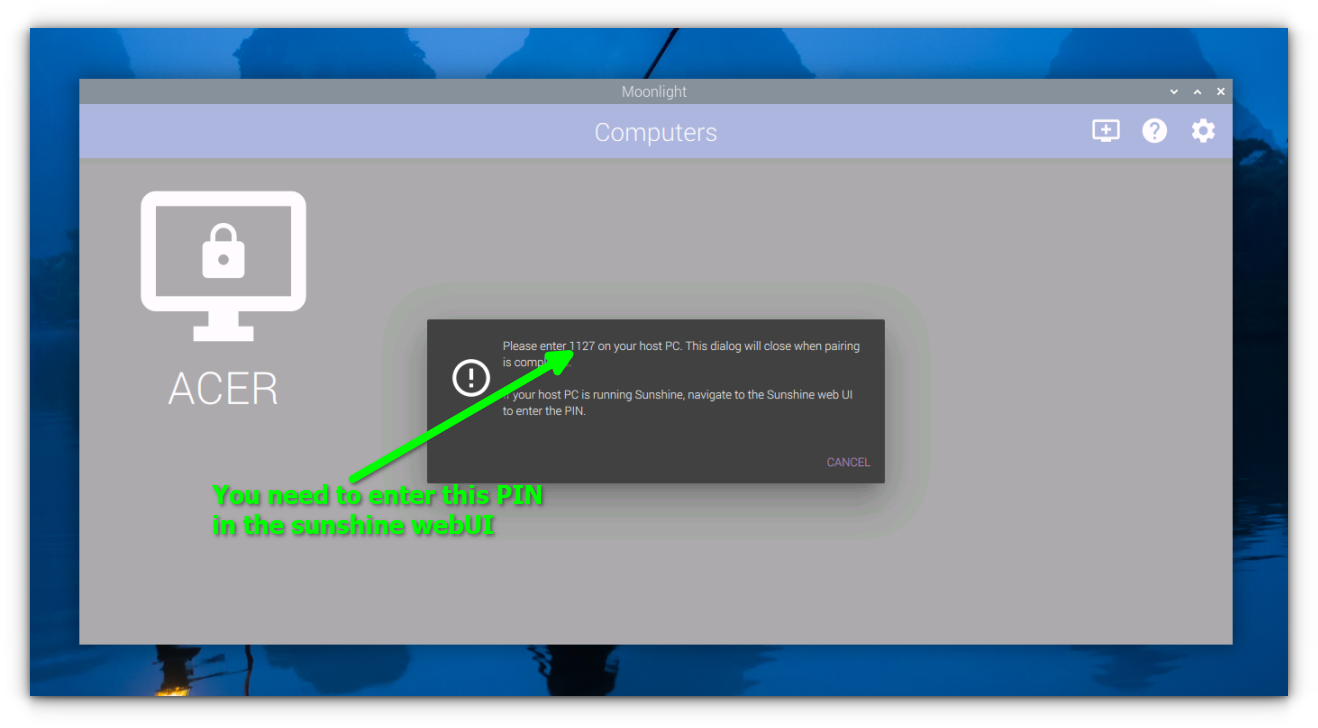
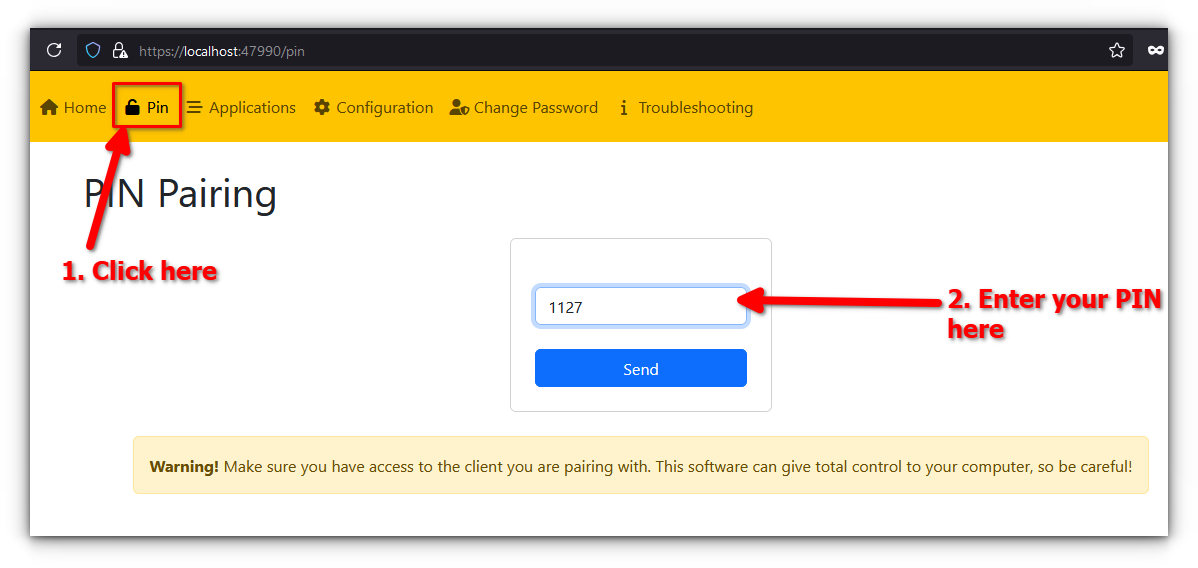
You need to enter this PIN here in the Sunshine web UI:
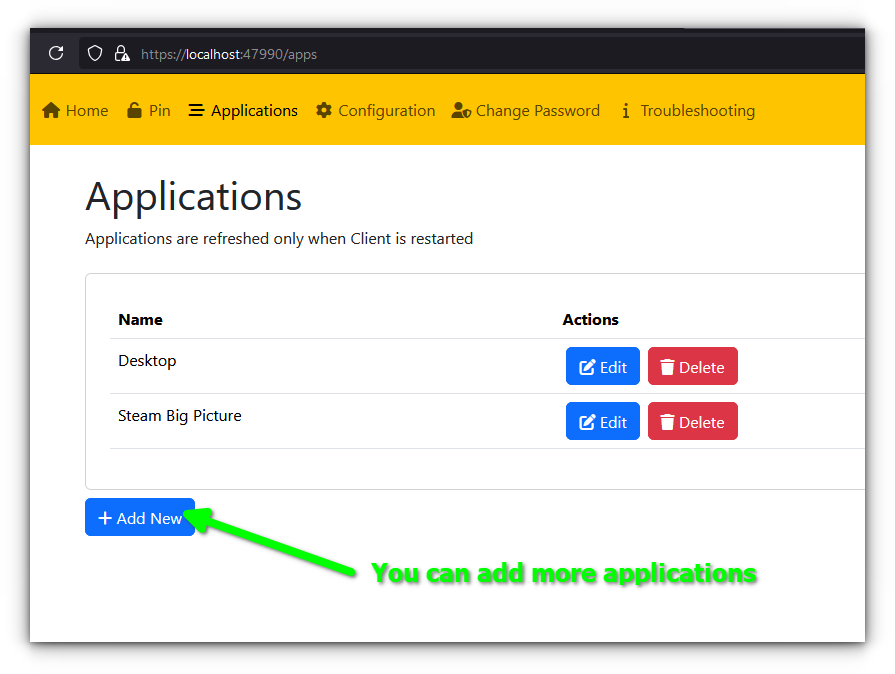
Sunshine should automatically add the desktop to stream, but you can manually use Sunshine’s web interface to add specific applications, the desktop, or games to the list of streamable apps.
Step 5: Start Streaming!
With everything set up, you can now stream games to your Raspberry Pi. Connect your controller, choose a game from the Moonlight interface, and enjoy the magic of high-performance gaming on your Pi.
If you are wondering the input lag and poor framerate, that’s all because I tested this whole setup on Wi-Fi just for the tutorial. Unlike me, you are smart and will use a wired connection.
Final Thoughts
Running AAA games directly on a Raspberry Pi is not an ideal thought because of what it’s built for. Thanks to Moonlight, you can stream games effortlessly on your Raspberry Pi, so it is always useful in one way or the other.
With a bit of preparation, your Raspberry Pi can transform into a versatile gaming client, letting you enjoy PC-quality gaming anywhere in your home.
💭 Have questions or tips of your own? Drop them in the comments below, I’d love to hear from you!
Happy streaming! 🎮
Source: Read More


