Men don’t grow up. Their toys get more expensive.
Stereotype? Perhaps. But there is some iota of truth in there, at least for me. Otherwise, I would not be getting excited about gadgets like drones, SBCs, DIY electronics, etc.
In an earlier article, I shared my experience with a Raspberry Pi powered Robotic dog.
I mentioned that I’d probably experiment with some of their other kits. I received the GalaxyRVR recently. Here’s my experience with this kit so far.
SunFounder GalaxyRVR Mars Rover Kit
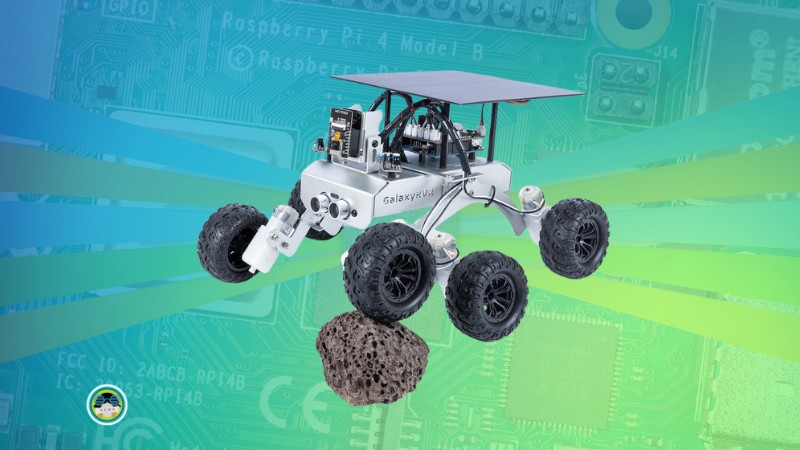
The SunFounder GalaxyRVR is an Arduino-based Mars rover kit that provides an immersive experience of exploring Mars-like terrains.
Well, not exactly a Mars-like terrain but you get the gist. It can climb some obstacles easily thanks to its sturdy aluminum alloy frame and rocker-bogie suspension system powered by six motors.
It can easily walk on diverse surfaces such as sand, rocks, grass, and mud pits.
GalaxyRVR comes with a solar panel and rechargeable battery. You can use the type-C cable to charge it or leave it under the sun like an actual Mars rover.
There is an ESP32 CAM to provide you with a first-person view which gives you the rover-like exploration feel.
Ultrasonic and infrared sensors adds the obstacle avoidance capabilities. The LED on the ESP32 cam lets you run the GlalaxyRVR even in the dark.
GalaxyRVR assembly experience
SunFounder’s GalaxyRVR Arduino Assembly Kit
This is an assembly kit, which means you get different parts in a package and have to put them together. I find this DIY approach interesting. When the kit is assembled properly, it gives a sense of achievement.
There are small parts, lots of screws, some motors and metal and acrylic parts. You also get screw drivers and other necessary tools in the box.
Compared to the PiDog, the assembly was rather easy this time. There are a few videos and I followed it entirely in under two hours. Don’t judge me for that, I was watching cricket match in parallel.
The official documentation is also helpful in assembling as well as using the GalaxyRVR.
Assembling the GalaxyRVR following the official tutorial videos
I did not put the solar roof on the Rover. I don’t want to leave it under the sun even if it emulates an actual mars rover.
Another good thing is that you don’t need to install and upload code. The kit comes with Arduino UNO, which already has the code to run your rover.
And the GalaxyRVR is assembled
So it makes it a kind of plug-and-play device once your device is assembled to play 😄
Experiencing the GalaxyRVR
The rover is controlled through SunFounder Controller app which is available in Google Play and App Store. You need to switch your mobile device’s wireless network and connect it to the rover’s network.
From this app, you can control the rover. You can turn the camera on for first person view and move the rover through the virtual joysticks. The feed from the camera is displayed on the controller app screen itself.
Running the rover is like controlling an RC toy. The rover can actually climb through a few small obstacles, but there is a limit to it, even if it’s a 6×6 vehicle 😄
You can also set it into obstacle avoidance mode and let it roam on its own. However, in a diverse environment, it may end up stuck and you’ll have to put it back on a normal path manually. Can’t do that on Mars, can we?
The controller also allows you to turn the headlights on/off.
GalaxyRVR in action
There is also an option to use voice command, however, I didn’t find it particularly enticing. Basically, the SunFounder Controller app integrates with the mobile device’s voice recognition engine. So you say something into your phone and it gets translated to text. But I would have preferred if I was commanding the Rover directly.
The RGB LED lighting under the rover gives it a good look, specially under the dark circumstances.
The next step: course mode
Once you have assembled the rover and played with it, you may find it boring. After all, it looks like a glorified remote-controlled toy.
But that’s not the case. The official documentation also has a course mode for the rover.
The course mode has 13 lessons that teach you the rover’s behind-the-scenes mechanism. You’ll learn how the servo motor and other parts work, how to control them using programs, and more.
You can also program the LED light to change color based on maneuvers and obstacles.
The learning and fun doesn’t stop with the GalaxyRVR.
Conclusion
Basically, it’s like one of those RC monster trucks, but here, you assemble it yourself. Unlike those commercial RC toys, this one has an actual computer on it. If you have some experience with Arduino Uno boards and Python and AI projects, I believe you can put some AI brains on it.
It is even more useful if you have children in the family. My three-year-old treats it mainly as a toy, but for older kids, this is a learning opportunity.
Summer is here, and I find that it is the perfect time to engage children in DIY electronics and robotics projects. These projects foster their curiosity and creativity while providing a fun and educational experience.
Kits like PiDog and GalaxyRVR make it easier to introduce kids to the world of electronics and robotics.
Additionally, these projects can help children develop a deeper understanding of science and technology, which can have a lasting impact on their future academic and professional pursuits. Just my 2 cents.
The GalaxyRVR costs $129.99 and it comes with Arduino and everything else you would need.
Source: Read More

