
In this section, we focused primarily on generating read-only credentials and how to use them to connect to the database.
Generate Database Credentials
The Mission Control tool generates read-only database credentials for a targeted instance, which remain active for 30 minutes. These credentials allow users to run select or read-only queries, making it easier to explore data on a cloud instance. This feature is especially helpful for verifying data-related issues without taking a database backup.
Steps to generate database credentials
-
Log in to Mission Control.
-
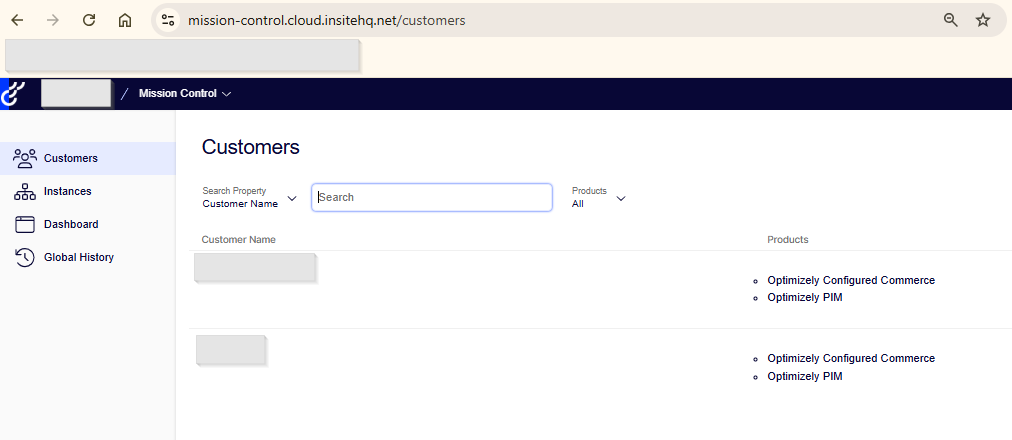
Navigate to the Customers tab.
-
Select the appropriate Customer.
-
Choose the Environment for which you need the credentials.

-
Click the Action dropdown in the left pane.
-
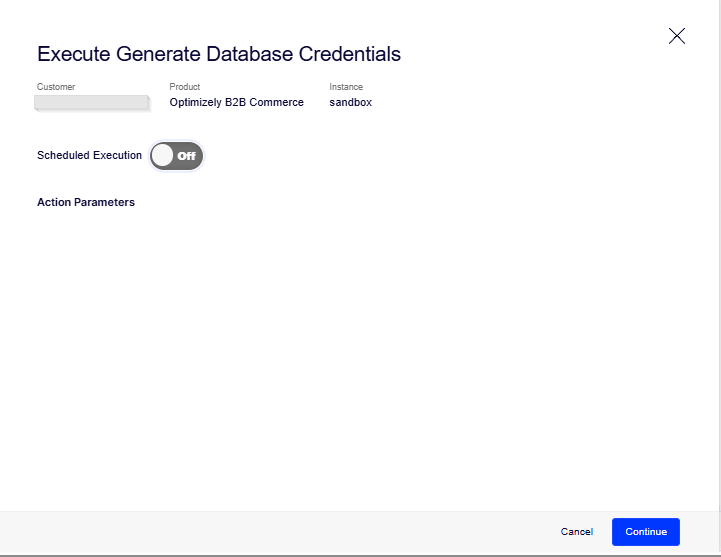
Select Generate Database Credentials.

-
A pop-up will appear with a scheduler option.
-
Click Continue to initiate the process.
-
After a short time, the temporary read-only credentials will be displayed.

Once the temporary read-only credentials are generated, the next step is to connect to the database using those credentials.
To do this:
-
Download and install Azure Data Studio
Download Azure Data Studio -
Open Azure Data Studio after installation.

-
Click “New Connection” or the “Connect” button.

-
Use the temporary credentials provided by Mission Control to connect:
-
Server Name: Use the server name from the credentials.
-
Authentication Type: SQL Login
-
Username and Password: As provided in the credentials.
-
-
Once connected, you can execute SELECT queries to explore or verify data on the cloud instance.

For more details, refer to the official Optimizely documentation on Generating Database Credentials.
For Part I, visit: Optimizely Mission Control – Part I
Source: Read MoreÂ