Over the past three years working with Marketing Cloud Personalization (formerly Interaction Studio), I’ve always been intrigued by the Mobile icon and its capabilities. A few months ago, I decided to take a hands-on approach by developing my own application to explore this functionality firsthand, testing its implementation and understanding its real-world impact. And that is what this blog is about.
The Overall Process
The overall steps of the Marketing Cloud Personalization Mobile integration goes as follows:
- Have an Application
 (Understatement)
 - Have access to the app project and code .
- Integrate the Evergage SDK library to the app .
- Create a Mobile App inside Personalization UI
- Create a connection between the app and the Personalization Dataset
- Track views and actions of the user in the app (code implementation) .
- Publish and track campaign actions and push notifications .
 (Understatement)
 .
. .
.


That’s all… easy right?. Within this blog we will review how to do the connection between MCP and the mobile app and how to create a first interaction (steps 1 and part of step 6).
For this demo, I developed an iOS application using the Swift programming language. While I’m not yet an expert, I’ve been steadily learning how to navigate Xcode and implement functionality using Swift. This project has been a great opportunity to expand my skills in iOS development and better understand the tools and frameworks available within Apple’s ecosystem.
Integrate the Evergage SDK in the App
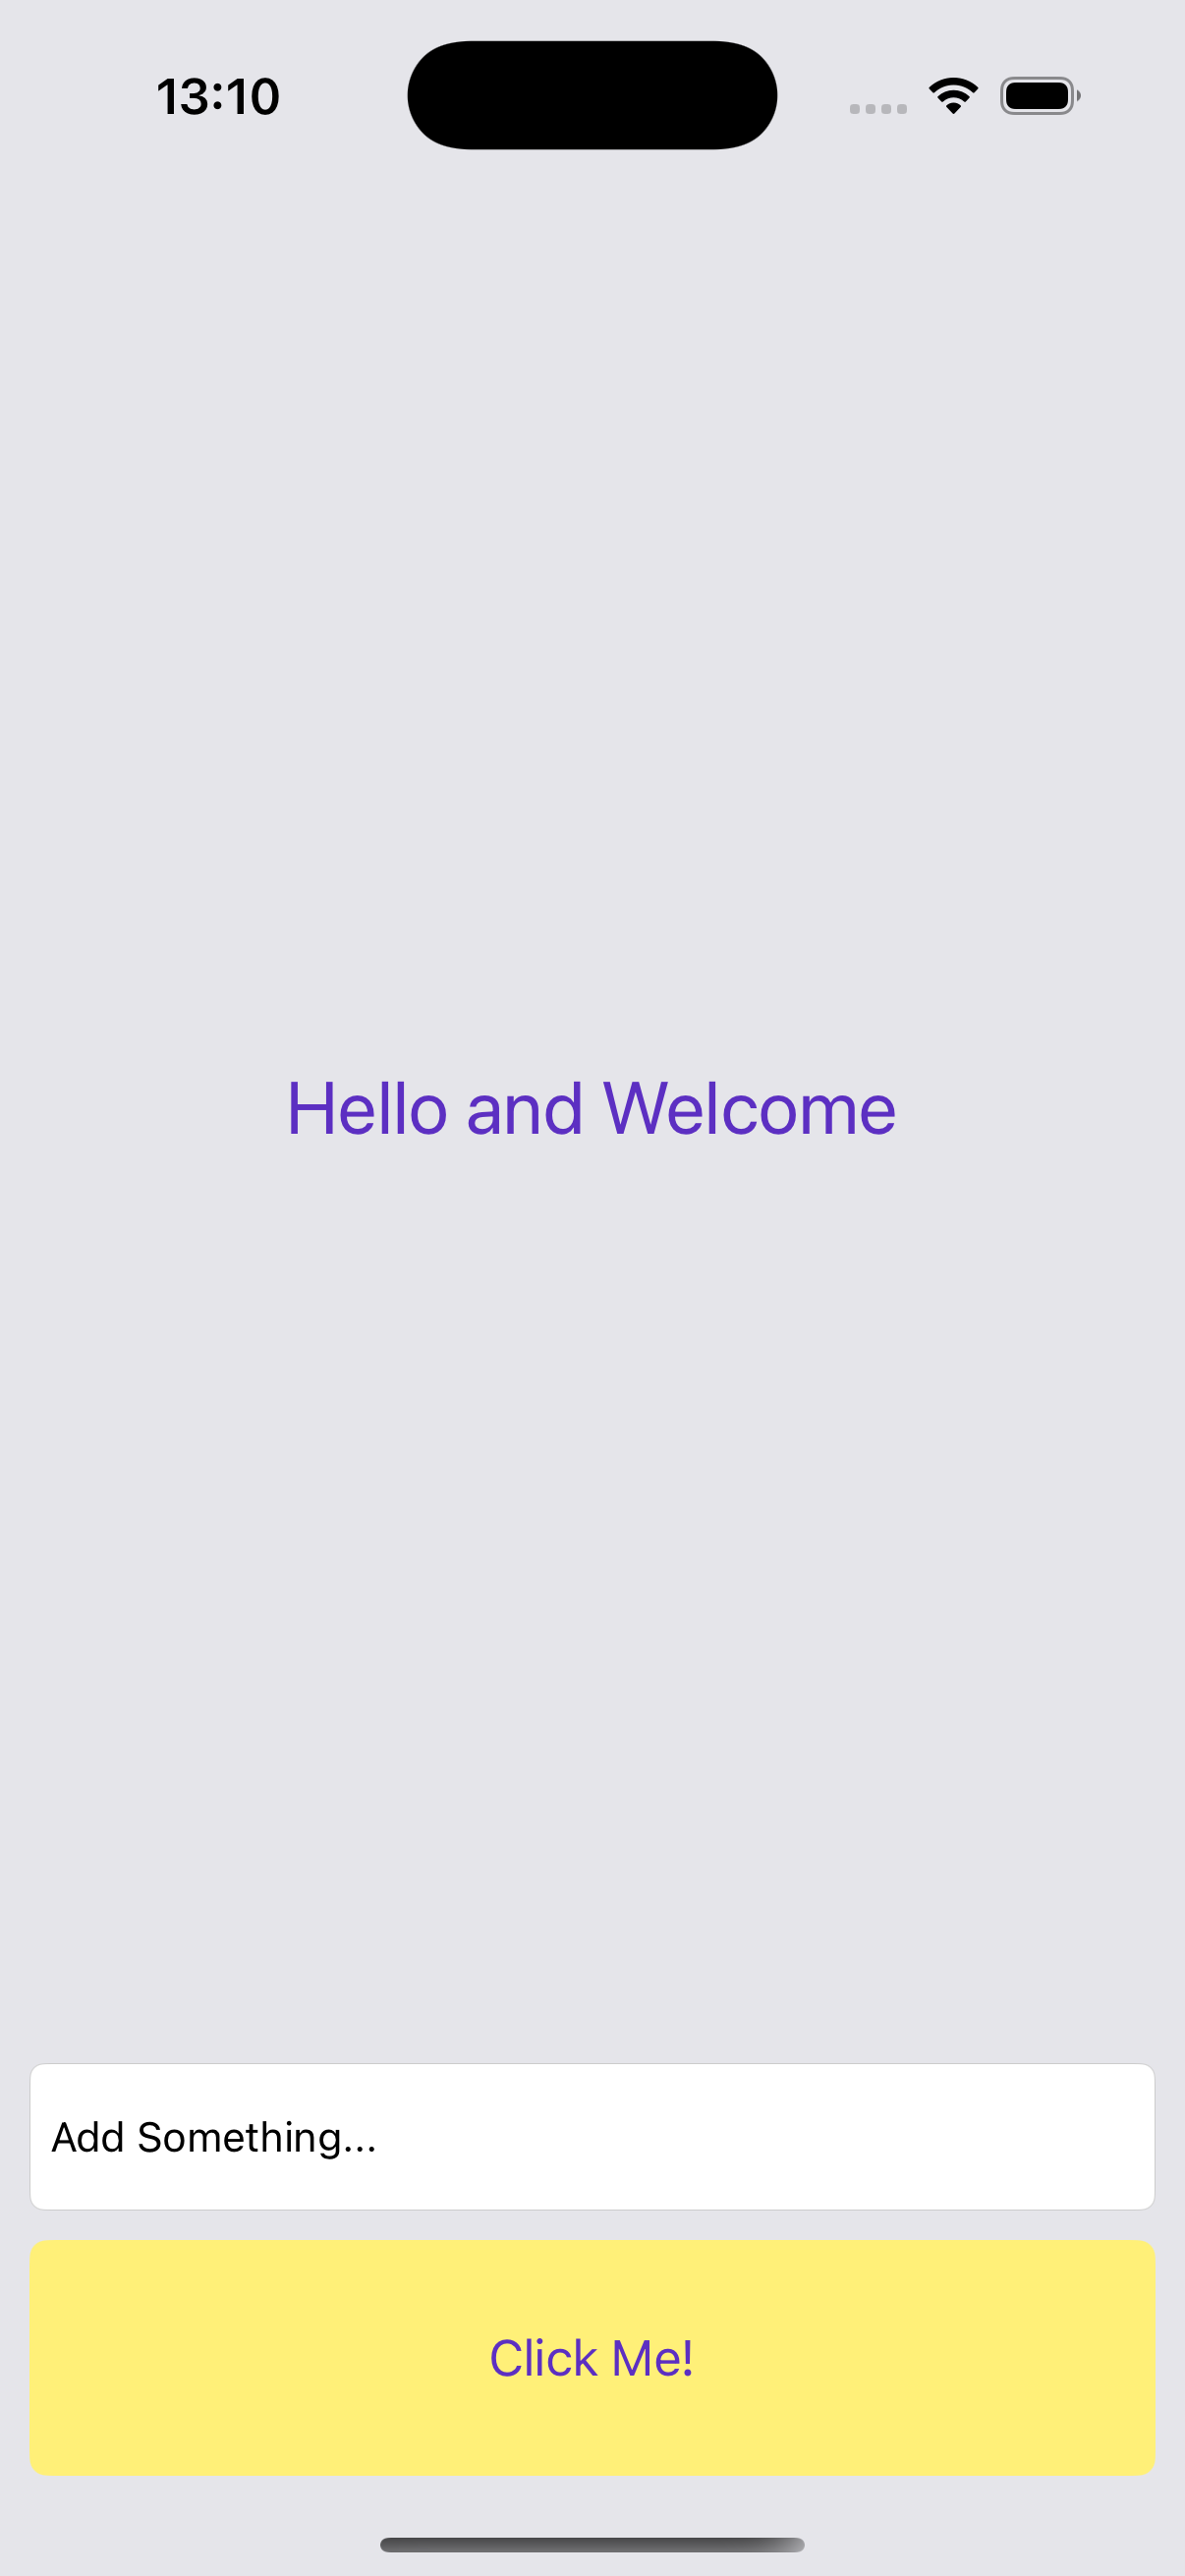
The iOS app I create is very simple (for now), it just a label, a button and an input field. The user types something in the input field, then clicks the button and the data is sent to the label to be shown.
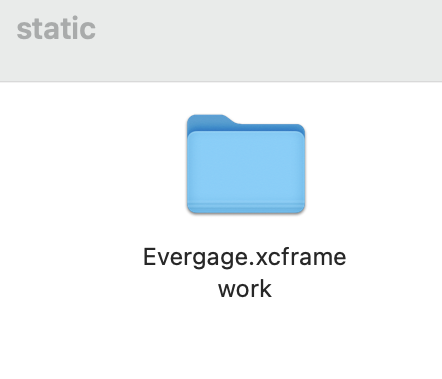
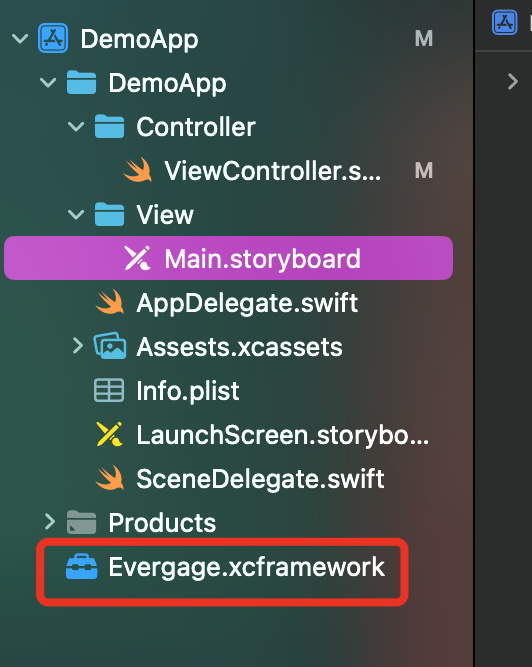
So, we need to add the Evergage SDK inside the app project. Download the Evergage iOS SDK (v1.4.1), unzip it and open the static folder. There, the Evergage.xcframework is the one we are about to use. When you have the folder ready, you need to copy the folder into your app. You should have something like this:
After you added your folder, you need to Build your app again with Command + B.
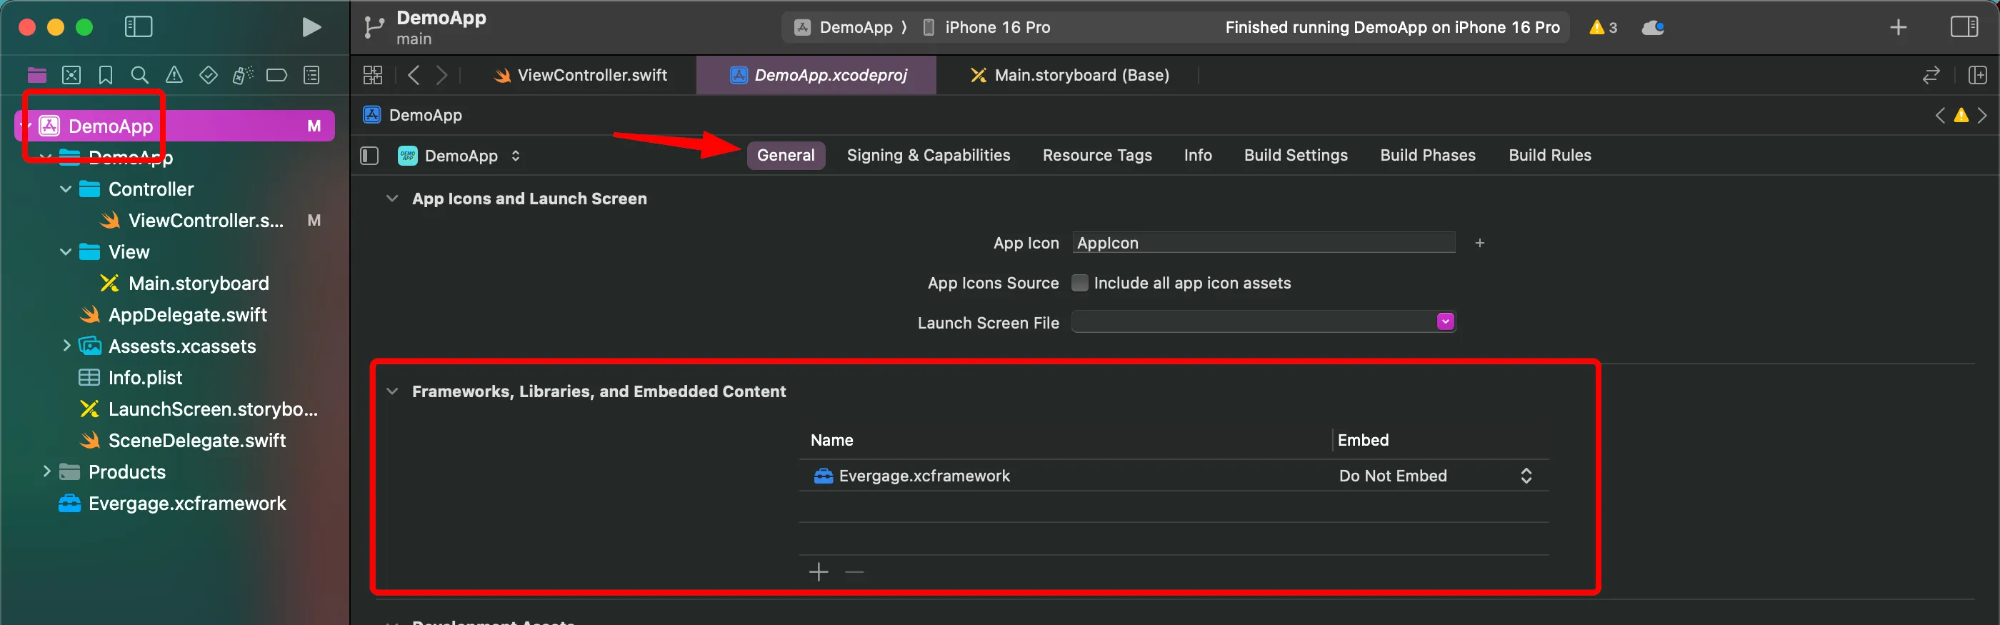
Now we need to validate the framework is there, so go to Target -> General -> Frameworks, Libraries and Embedded Content. You should see something like this, and since I’m using the static folder, the Do Not Embed is ok.
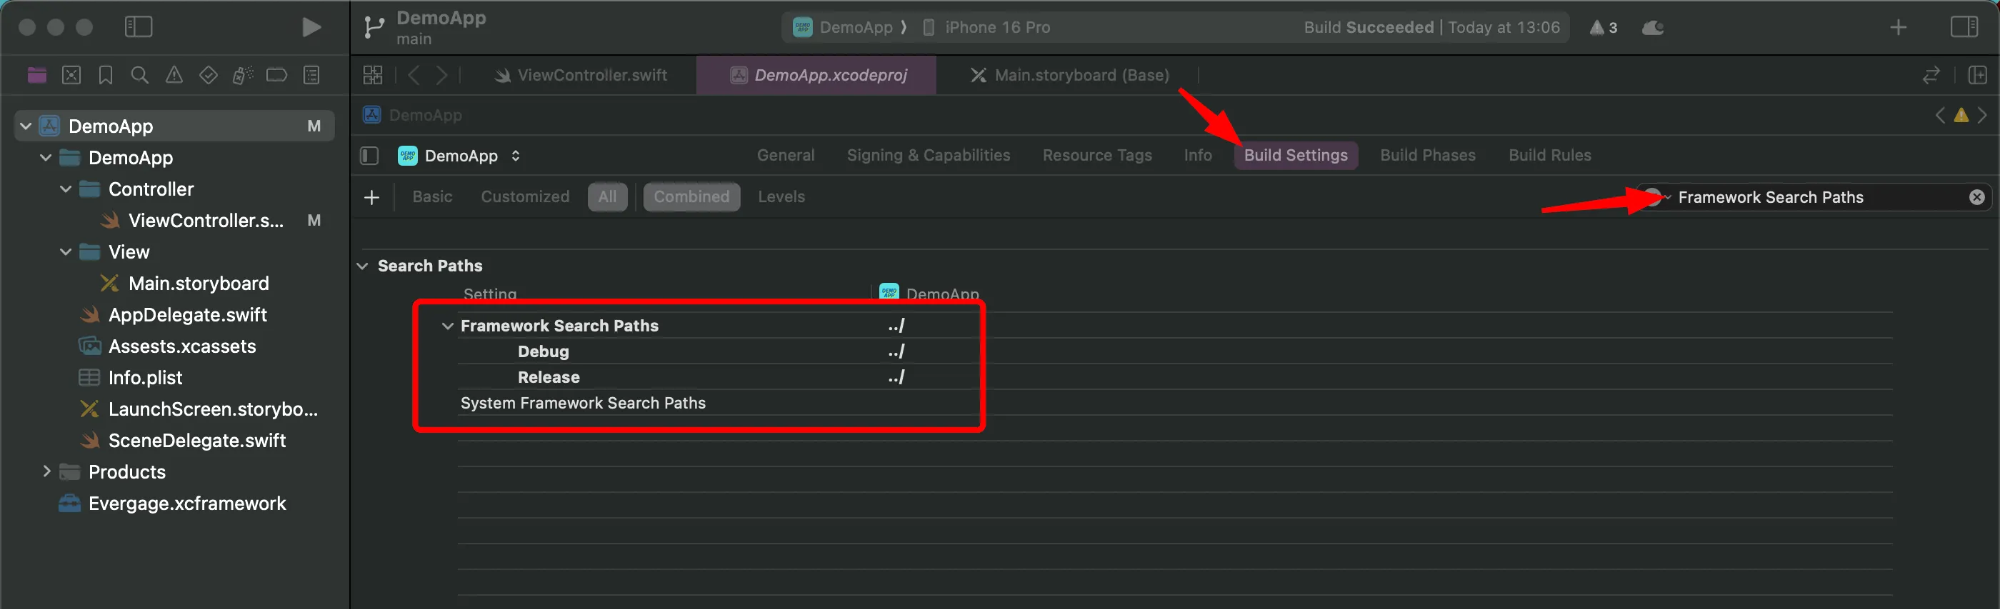
Validate the Framework Search Path contains a path where the framework was copied/installed. This step would probably be done manually since sometimes the path doesn’t appear. Build the app again to validate if no errors appears.
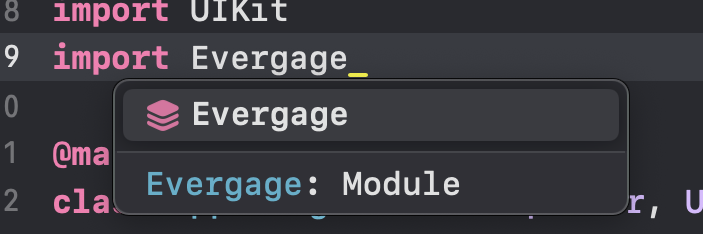
To validate this works, go to the AppDelegate.swift and type Import Evergage, if no errors appear, you are good to go 
Create a Mobile App Inside Personalization
Next, we have to create the Native App inside the Personalization dataset of your choice.
Hoover over Mobile and click Add Native App

Fill the information of the App Name and Bundle ID. For the Bundle ID, go to Target > General > Identity
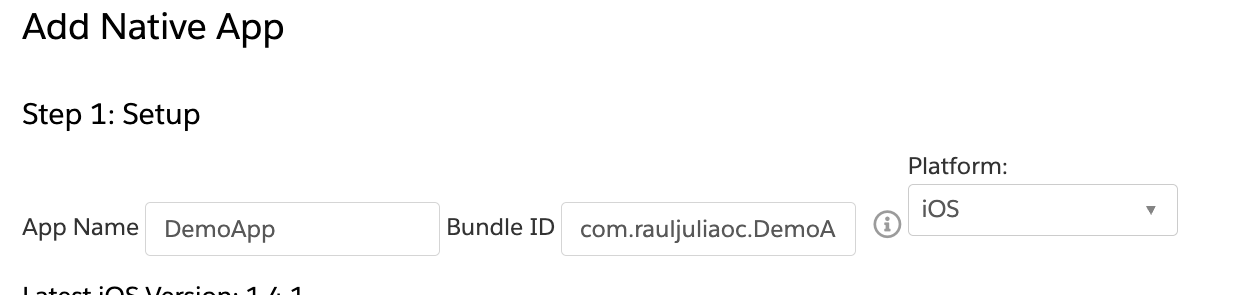
You will with something like this:
Create the Connection to the Dataset
In the AppDelegate.swift , we will do the equivalent to add the JavaScript beacon on the page.
- First, we need to import the
Evergageclass reference. This allow the start of the Marketing Cloud Personalization iOS SDK. Our tracking interactions now should be done inside aUIViewControllerinherited classes. - Change the
didFinishLaunchingWithOptionstowillFinishLaounchingWithOptions - Inside the
applicationfunction we do the following:- Create a singleton instance of Evergage. A Singleton is a creational design pattern that lets you ensure that a class has only one instance, while providing a global access point to this instance. So with this, it provides a global access point to the instance, which can be used to coordinate actions across our app.
- Set the user id. For this, we set the
evergage.userIdusing theevergage.anonymousId, but if we already have the email or an id for the user, we should passed right away. - Start the Evergage configuration. Here we pass the Personalization’s account id and dataset id. Other values set are the
usePushNotificationsand theuseDesignMode. The last one help us to connect the Personalization web console for action mapping screen.
//Other imports
Import Evergage

@main
class AppDelegate: UIResponder, UIApplicationDelegate {


    func application(_ application: UIApplication, willFinishLaunchingWithOptions launchOptions: [UIApplication.LaunchOptionsKey: Any]?) -> Bool{

        //Create an singleton instance of Evergage
        let evergage = Evergage.sharedInstance()

        //Set User ID as anonymous
        evergage.userId = evergage.anonymousId

        //Start the Evergage Configuration with our Dataset information
        evergage.start { (clientConfigurationBuilder)   in
            clientConfigurationBuilder.account = "ACCOUNT_ID"
            clientConfigurationBuilder.dataset = "DATASET_ID"
            // if we want to user push notification campaings
            clientConfigurationBuilder.usePushNotifications = true
            //Allow user-initiated gesture to connect to the Personalization web console for action mapping screens.
            clientConfigurationBuilder.useDesignMode = true
        }


        // Override point for customization after application launch.
        return true
    }
}
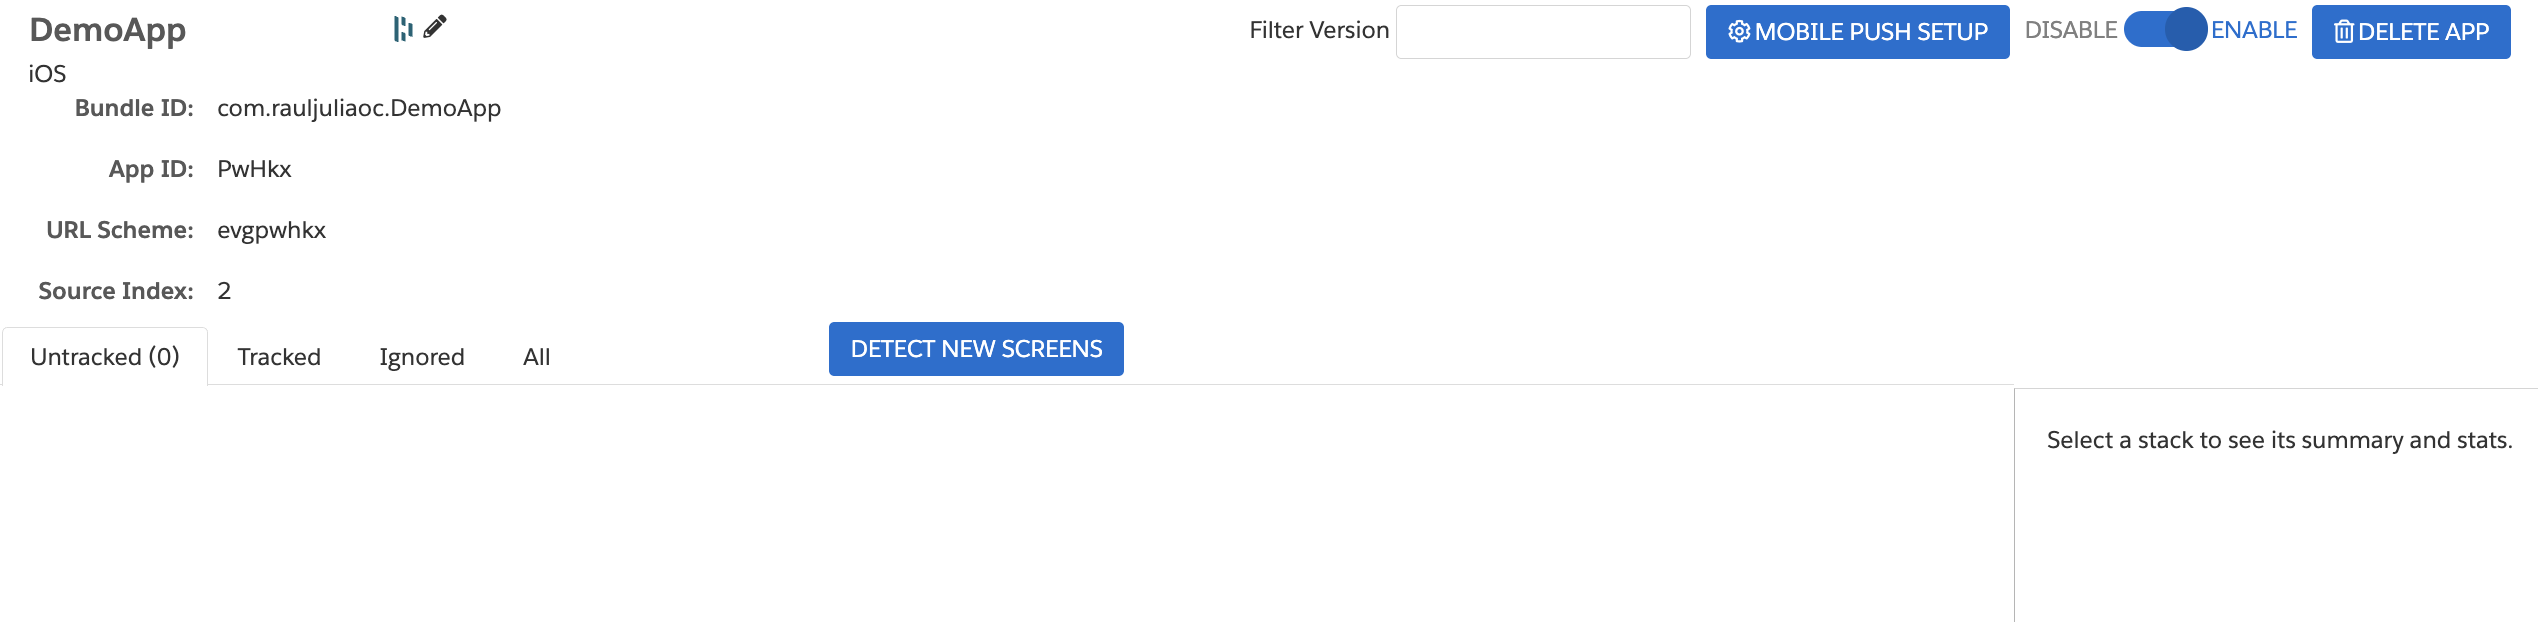
If we launch the app at this very moment, we will get the following inside Marketing Cloud personalization

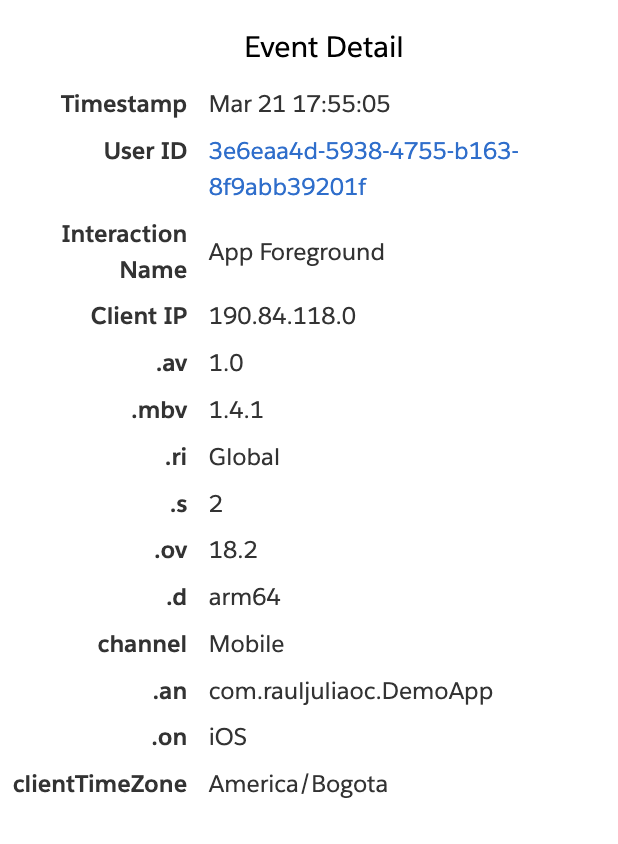
This is very good and with that we are certain its working and sending the information to Marketing Cloud Personalization.
Track Actions
So, in order to track a screen we can use the evergageScreen . We use this property as part of the EVGScreen and EVGContext classes for tracking and personalization. This is possible when the app is using UIViewController for each of the screens or pages we have.
class ViewController: UIViewController {
override func viewDidLoad() {
super.viewDidLoad()
// Do any additional setup after loading the view.
trackScreen()
}
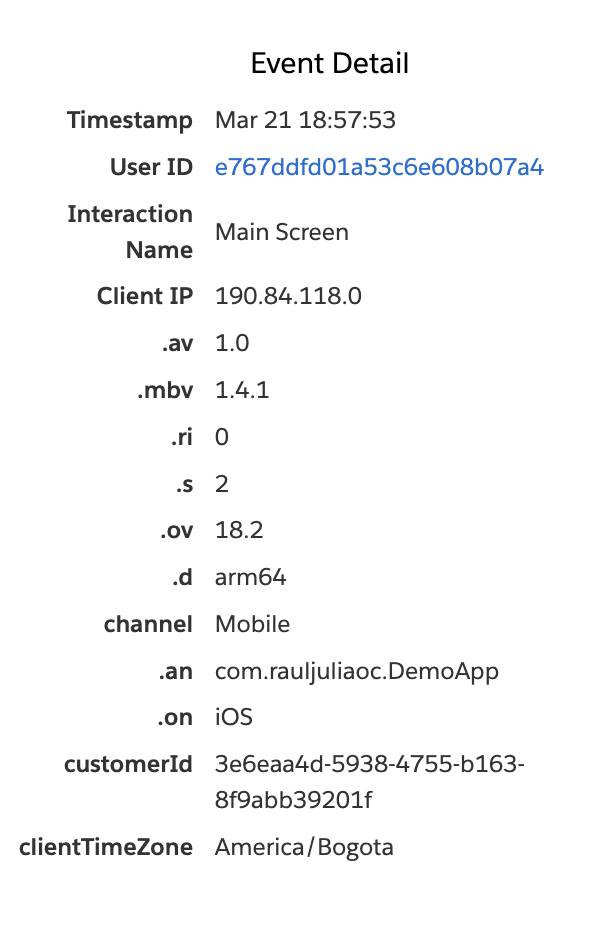
func trackScreen(){
evergageScreen?.trackAction("Main Screen")
}
}
If we would want to track the action of click a button, we can do something similar, for example this:
@IBAction func handleClick(_ sender: UIButton) {

        labelText.text = inputField.text
        evergageScreen?.trackAction("Button clicked")

    }
In this code, each time the user clicks a button, the handleClick function will trigger the action. the inputField.text will be assign to the labelText.text and the trackAction function will be triggered and the action will sent to our dataset.
Wrapping Up Part 1: What’s next?
That wraps up the first part of this tutorial! We’ve covered the basic about how to add the Personalization SDK inside a mobile iOS application, how to create a Mobile App within Personalization and do a very basic action tracking in a view. In Part 2, we’ll dive into tracking more complex actions like view item and view item detail which are part of the catalog object action’s for tracking items.
Source: Read MoreÂ

