Understanding Unit Testing
Unit testing is a crucial aspect of software development, especially in complex applications like Android apps. It involves testing individual units of code, such as methods or classes, in isolation. This ensures the correctness of each component, leading to a more robust and reliable application.
Why Unit Testing in MVVM?
The Model-View-ViewModel (MVVM) architectural pattern is widely adopted in Android app development. It separates the application into three distinct layers:
- Model: Handles data logic and interacts with data sources.
- View: Responsible for the UI and user interactions.
- ViewModel: Acts as a bridge between the View and Model, providing data and handling UI logic.
Unit testing each layer in an MVVM architecture offers numerous benefits:
- Early Bug Detection: Identify and fix issues before they propagate to other parts of the app.
- Improved Code Quality: Write cleaner, more concise, and maintainable code.
- Accelerated Development: Refactor code and add new features with confidence.
- Enhanced Collaboration: Maintain consistent code quality across the team.
Setting Up the Environment
- Android Studio: Ensure you have the latest version installed.
- Testing Framework: Add the necessary testing framework to your app/build.gradle file:
testImplementation 'junit:junit:4.13.2'
androidTestImplementation 'androidx.test.ext:junit:1.1.5'
androidTestImplementation 'androidx.test.espresso:espresso-core:3.5.1'
- Testing Library: Consider using a testing library like Mockito or MockK to create mock objects for testing dependencies.
Unit Testing ViewModels
- Create a Test Class: Create a separate test class for each ViewModel you want to test.
- Set Up Test Dependencies: Use dependency injection frameworks like Dagger Hilt or Koin to inject dependencies into your ViewModel. For testing, use mock objects to simulate the behavior of these dependencies.
- Write Test Cases: Write comprehensive test cases covering various scenarios:
- Input Validation: Test how the ViewModel handles invalid input.
- Data Transformation: Test how the ViewModel transforms data from the Model.
- UI Updates: Test how the ViewModel updates the UI through LiveData or StateFlow.
- Error Handling: Test how the ViewModel handles errors and exceptions.
Example:
@RunWith(AndroidJUnit4::class)
class MyViewModelTest {

    @Test
    fun `should update the UI when data is fetched successfully`() {
        // ... (Arrange)
        val viewModel = MyViewModel(mockRepository)

        // ... (Act)
        viewModel.fetchData()

        // ... (Assert)
        viewModel.uiState.observeForever { uiState ->
            assertThat(uiState.isLoading).isFalse()
            assertThat(uiState.error).isNull()
            assertThat(uiState.data).isEqualTo(expectedData)
        }
    }
}
Unit Testing Repositories
- Create Test Classes: Create separate test classes for each Repository class.
- Set Up Test Dependencies: Use dependency injection to inject dependencies into your Repository. For testing, use mock objects to simulate the behavior of data sources like databases or network APIs.
- Write Test Cases: Write test cases to cover:
- Data Fetching: Test how the Repository fetches data from remote or local sources.
- Data Storage: Test how the Repository stores and retrieves data.
- Data Manipulation: Test how the Repository processes and transforms data.
- Error Handling: Test how the Repository handles errors and exceptions.
Example:
@RunWith(AndroidJUnit4::class)
class MyRepositoryTest {

    @Test
    fun `should fetch data from remote source successfully`() {
        // ... (Arrange)
        val mockApi = mock(MyApi::class.java)
        val repository = MyRepository(mockApi)

        // ... (Act)
        repository.fetchData()

        // ... (Assert)
        verify(mockApi).fetchData()
    }
}
Implementing SonarQube
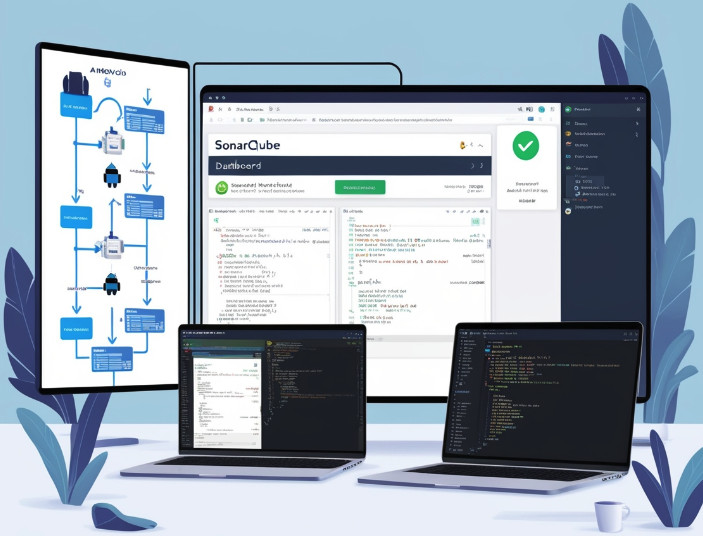
SonarQube is a powerful tool for code quality and security analysis. Here’s a detailed guide on how to integrate SonarQube with your Android project:
- Set Up SonarQube Server:
- Install SonarQube Server: Download and install the SonarQube server on your machine or a server.
- Configure SonarQube: Configure the server with database settings, user authentication, and other necessary parameters.
- Start SonarQube Server: Start the SonarQube server.
- Configure SonarQube Scanner:
- Install SonarQube Scanner: Download and install the SonarQube Scanner.
- Configure Scanner Properties: Create a sonar-scanner.properties file in your project’s root directory and configure the following properties:
sonar.host.url=http://localhost:9000
sonar.login=your_sonar_login
sonar.password=your_sonar_password
sonar.projectKey=my-android-project
sonar.projectName=My Android Project
sonar.sources=src/main/java
sonar.java.binaries=build/intermediates/javac/release/classes
- Integrate SonarQube with Your Build Process:
- Gradle: Add the SonarQube Gradle plugin to your build.gradle file:
plugins { Â Â id 'org.sonarsource.scanner-gradle' version '3.3' }Configure the plugin with your SonarQube server URL and authentication token.
- Maven: Add the SonarQube Maven plugin to your pom.xml file. Configure the plugin with your SonarQube server URL and authentication token.
- Run SonarQube Analysis:
- Execute the SonarQube analysis using the SonarQube Scanner. This can be done manually or integrated into your CI/CD pipeline.
- Analyze the Results:
- Once the analysis is complete, you can view the results on the SonarQube dashboard. The dashboard provides insights into code quality, security vulnerabilities, and potential improvements.
Implementing Test Coverage with Bitrise
Test coverage measures the percentage of your code that is covered by tests. It’s a crucial metric to assess the quality of your test suite. Here’s how to measure test coverage with Bitrise:
- Configure Code Coverage Tool: Add a code coverage tool like JaCoCo to your project. Configure it to generate coverage reports in a suitable format (e.g., XML).
- Add Code Coverage Step to Bitrise Workflow: Add a step to your Bitrise Workflow to generate the code coverage report. This step should execute your tests and generate the report.
- Upload Coverage Report to SonarQube: Add a step to upload the generated code coverage report to SonarQube. This will allow SonarQube to analyze the report and display the coverage metrics.
Best Practices for Unit Testing
- Write Clear and Concise Tests: Use descriptive names for test methods and variables.
- Test Edge Cases: Consider testing scenarios with invalid input, empty data, or network errors.
- Use a Testing Framework: A testing framework like JUnit provides a structured way to write and run tests.
- Leverage Mocking: Use mocking frameworks like Mockito or MockK to isolate units of code and control their behavior.
- Automate Testing: Integrate unit tests into your CI/CD pipeline to ensure code quality.
- Review and Refactor Tests: Regularly review and refactor your tests to keep them up-to-date and maintainable.
By following these guidelines and incorporating unit testing into your development process, you can significantly improve the quality and reliability of your Android apps.
Source: Read MoreÂ

