
Navigation is one of the most important parts of any mobile application. Users expect to move seamlessly between screens such as home, settings, profile, and more.
While Flutter provides built-in navigation using Navigator, managing routes can quickly become complex in large apps. That’s where routing packages like AutoRoute come in. AutoRoute streamlines navigation by generating strongly typed routes, reducing boilerplate, and making your codebase easier to maintain.
This article will guide you through setting up and using AutoRoute in a Flutter project. By the end, you will have a working project with multiple screens and a structured routing system.
Table of Contents
Prerequisites
Before starting, you should have:
Flutter SDK installed and configured (Flutter installation guide).
A basic understanding of Flutter widgets, stateless vs. stateful widgets, and the
NavigatorAPI.Familiarity with running commands in the terminal.
An IDE like Android Studio, VS Code, or IntelliJ.
If you already know how to build simple Flutter apps, you are ready.
What We Will Build
We will create a Flutter app with four screens:
Control Screen: the main screen with buttons to navigate to other screens.
Screen 1, Screen 2, Screen 3: simple pages that demonstrate navigation.
Our navigation will be managed entirely by AutoRoute, ensuring a clean and scalable project structure.
Step 1: Setting Up the Project
Start by creating a new Flutter project:
flutter create auto_route_example
Navigate into the project folder and open the pubspec.yaml file. Add the following dependencies:
<span class="hljs-attr">dependencies:</span>
  <span class="hljs-attr">auto_route:</span> <span class="hljs-string">^7.8.4</span>

<span class="hljs-attr">dev_dependencies:</span>
  <span class="hljs-attr">auto_route_generator:</span> <span class="hljs-number">7.3</span><span class="hljs-number">.2</span>
  <span class="hljs-attr">build_runner:</span>
Run the command below to install packages:
flutter pub get
Step 2: Organizing the Project Structure
For scalability, keep your project organized. Create the following folder structure inside lib:
/lib
  /screens
    /sub_screens
      screen1.dart
      screen2.dart
      screen3.dart
    control_screen.dart
  /route_config
    app_route.dart
main.dart
This structure separates screens from routing logic, making the app more maintainable.
Step 3: Defining Routes with AutoRoute
Before we start annotating the actual screens, let’s first set up the route configuration. This file will act as the map of our app’s navigation: it tells AutoRoute which paths exist and which screens they should point to.
Create lib/route_config/app_route.dart and add the following:
<span class="hljs-keyword">import</span> <span class="hljs-string">'package:auto_route/annotations.dart'</span>;
<span class="hljs-keyword">import</span> <span class="hljs-string">'package:auto_route/auto_route.dart'</span>;
<span class="hljs-keyword">import</span> <span class="hljs-string">'app_route.gr.dart'</span>; <span class="hljs-comment">// generated file</span>

<span class="hljs-meta">@AutoRouterConfig</span>()
<span class="hljs-class"><span class="hljs-keyword">class</span> <span class="hljs-title">AppRouter</span> <span class="hljs-keyword">extends</span> $<span class="hljs-title">AppRouter</span> </span>{
  <span class="hljs-meta">@override</span>
  <span class="hljs-built_in">List</span><AutoRoute> <span class="hljs-keyword">get</span> routes => [
        AutoRoute(path: <span class="hljs-string">'/'</span>, page: Controlscreen.page),
        AutoRoute(path: <span class="hljs-string">'/screen1'</span>, page: Screen1.page),
        AutoRoute(path: <span class="hljs-string">'/screen2'</span>, page: Screen2.page),
        AutoRoute(path: <span class="hljs-string">'/screen3'</span>, page: Screen3.page),
      ];
}
Breaking the code down:
@AutoRouterConfig()tells AutoRoute: “Here is the central routing configuration. Please use this to generate the navigation system.”class AppRouter extends $AppRouter:AppRouteris our router definition.$AppRouterwill be generated by AutoRoute once we run code generation. It contains the heavy lifting (like route classes and helpers).
List<AutoRoute> get routes => [...]
This is where we declare our app’s navigation map.
Each
AutoRoutehas a path (/screen1) and a page (Screen1.page).
Example:
/→Controlscreen(our starting page)./screen1→Screen1./screen2→Screen2./screen3→Screen3.
Right now, these pages (Screen1.page, and so on) don’t exist yet. We’ll create and annotate them in Step 6.
page: Screen1.pageThis
.pagegetter will only become available after we annotate the screens with@RoutePage.AutoRoute relies on that annotation to generate the correct page factories.
Why do this before screens?
By defining routes early, you set a clear navigation blueprint for your app. Later, when we create the screens, we’ll simply “hook them into” this structure with @RoutePage. This helps keep the tutorial logical: define the map first, then build the destinations.
Step 4: Generating Route Files
To generate route files, run:
flutter pub run build_runner build
Or, to watch for changes automatically:
flutter pub run build_runner watch
This creates app_route.gr.dart in the route_config folder. The file includes strongly typed classes for each screen, such as Controlscreen, Screen1, Screen2, and Screen3.
This means instead of relying on raw strings for navigation, you’ll use these generated classes, reducing bugs from typos and providing better IDE autocompletion.
Step 5: Setting Up AutoRoute in main.dart
In main.dart, configure the app to use AutoRoute:
<span class="hljs-keyword">import</span> <span class="hljs-string">'package:flutter/material.dart'</span>;
<span class="hljs-keyword">import</span> <span class="hljs-string">'package:flutter/services.dart'</span>;
<span class="hljs-keyword">import</span> <span class="hljs-string">'route_config/app_route.dart'</span>;

<span class="hljs-keyword">void</span> main() {
  runApp(<span class="hljs-keyword">const</span> MyApp());
}

<span class="hljs-class"><span class="hljs-keyword">class</span> <span class="hljs-title">MyApp</span> <span class="hljs-keyword">extends</span> <span class="hljs-title">StatelessWidget</span> </span>{
  <span class="hljs-keyword">const</span> MyApp({<span class="hljs-keyword">super</span>.key});

  <span class="hljs-meta">@override</span>
  Widget build(BuildContext context) {
    <span class="hljs-keyword">final</span> appRouter = AppRouter();

    SystemChrome.setSystemUIOverlayStyle(
      <span class="hljs-keyword">const</span> SystemUiOverlayStyle(
        statusBarColor: Colors.transparent,
        statusBarIconBrightness: Brightness.dark,
      ),
    );

    <span class="hljs-keyword">return</span> MaterialApp.router(
      title: <span class="hljs-string">'Flutter AutoRoute Example'</span>,
      theme: ThemeData(
        colorScheme: ColorScheme.fromSeed(seedColor: Colors.brown),
        useMaterial3: <span class="hljs-keyword">true</span>,
      ),
      routerConfig: appRouter.config(),
    );
  }
}
Key points in this code:
MaterialApp.routerreplaces the traditionalMaterialAppwhen using AutoRoute.appRouter.config()provides AutoRoute’s configuration.
Step 6: Creating Screens
In Flutter, each page or section of your app is typically represented by a screen. Screens are just widgets (usually wrapped in a Scaffold) that contain the UI and logic for that page. Since we are using AutoRoute, each screen that we want to navigate to must be annotated with @RoutePage.
The @RoutePage annotation tells AutoRoute, “This widget is a route. Please include it in the generated route system.”
Without this annotation, AutoRoute will not know about the screen, and you won’t be able to navigate to it using the router.
screen1.dart
<span class="hljs-keyword">import</span> <span class="hljs-string">'package:auto_route/annotations.dart'</span>;
<span class="hljs-keyword">import</span> <span class="hljs-string">'package:flutter/material.dart'</span>;

<span class="hljs-meta">@RoutePage</span>(name: <span class="hljs-string">'Screen1'</span>)
<span class="hljs-class"><span class="hljs-keyword">class</span> <span class="hljs-title">Screen1</span> <span class="hljs-keyword">extends</span> <span class="hljs-title">StatelessWidget</span> </span>{
  <span class="hljs-keyword">const</span> Screen1({<span class="hljs-keyword">super</span>.key});

  <span class="hljs-meta">@override</span>
  Widget build(BuildContext context) {
    <span class="hljs-keyword">return</span> Scaffold(
      appBar: AppBar(title: <span class="hljs-keyword">const</span> Text(<span class="hljs-string">'Screen 1'</span>)),
      body: <span class="hljs-keyword">const</span> Center(child: Text(<span class="hljs-string">'Welcome to Screen 1'</span>)),
    );
  }
}
Breaking the code here down:
@RoutePage(name: 'Screen1')This annotation registers the widget as a routable page.
The
nameparameter gives AutoRoute a clear identifier for the screen, which will also be reflected in the generatedapp_route.gr.dartfile.
class Screen1 extends StatelessWidgetDefines the screen as a stateless widget because it has no dynamic state in this example.
For more complex pages (like forms or dashboards), you could use
StatefulWidget.
ScaffoldProvides the basic layout structure for Material Design apps.
Contains the
AppBar(top bar with the title) and thebody(main content area).
AppBar(title: const Text('Screen 1'))- Displays a top app bar with the title “Screen 1”.
body: Center(child: Text('Welcome to Screen 1'))Centers the text in the middle of the screen.
In real applications, this is where you’d add your widgets (lists, forms, dashboards, and so on).
Repeating for Other Screens
Follow the exact same structure for Screen2 and Screen3:
Create
screen2.dartandscreen3.dartinsidesub_screens.Annotate each class with
@RoutePageand give it a unique name (Screen2,Screen3).Update the UI inside the
bodyto reflect which screen it is.
For example:
<span class="hljs-meta">@RoutePage</span>(name: <span class="hljs-string">'Screen2'</span>)
<span class="hljs-class"><span class="hljs-keyword">class</span> <span class="hljs-title">Screen2</span> <span class="hljs-keyword">extends</span> <span class="hljs-title">StatelessWidget</span> </span>{
  <span class="hljs-keyword">const</span> Screen2({<span class="hljs-keyword">super</span>.key});

  <span class="hljs-meta">@override</span>
  Widget build(BuildContext context) {
    <span class="hljs-keyword">return</span> Scaffold(
      appBar: AppBar(title: <span class="hljs-keyword">const</span> Text(<span class="hljs-string">'Screen 2'</span>)),
      body: <span class="hljs-keyword">const</span> Center(child: Text(<span class="hljs-string">'Welcome to Screen 2'</span>)),
    );
  }
}
Why is this important?
AutoRoute scans your project and looks for @RoutePage annotations. It then generates strongly typed navigation classes so you can write context.router.push(const Screen2()) instead of manually typing route strings like '/screen2'. This eliminates human error (like typos in route strings) and makes navigation easier to maintain as your app grows.
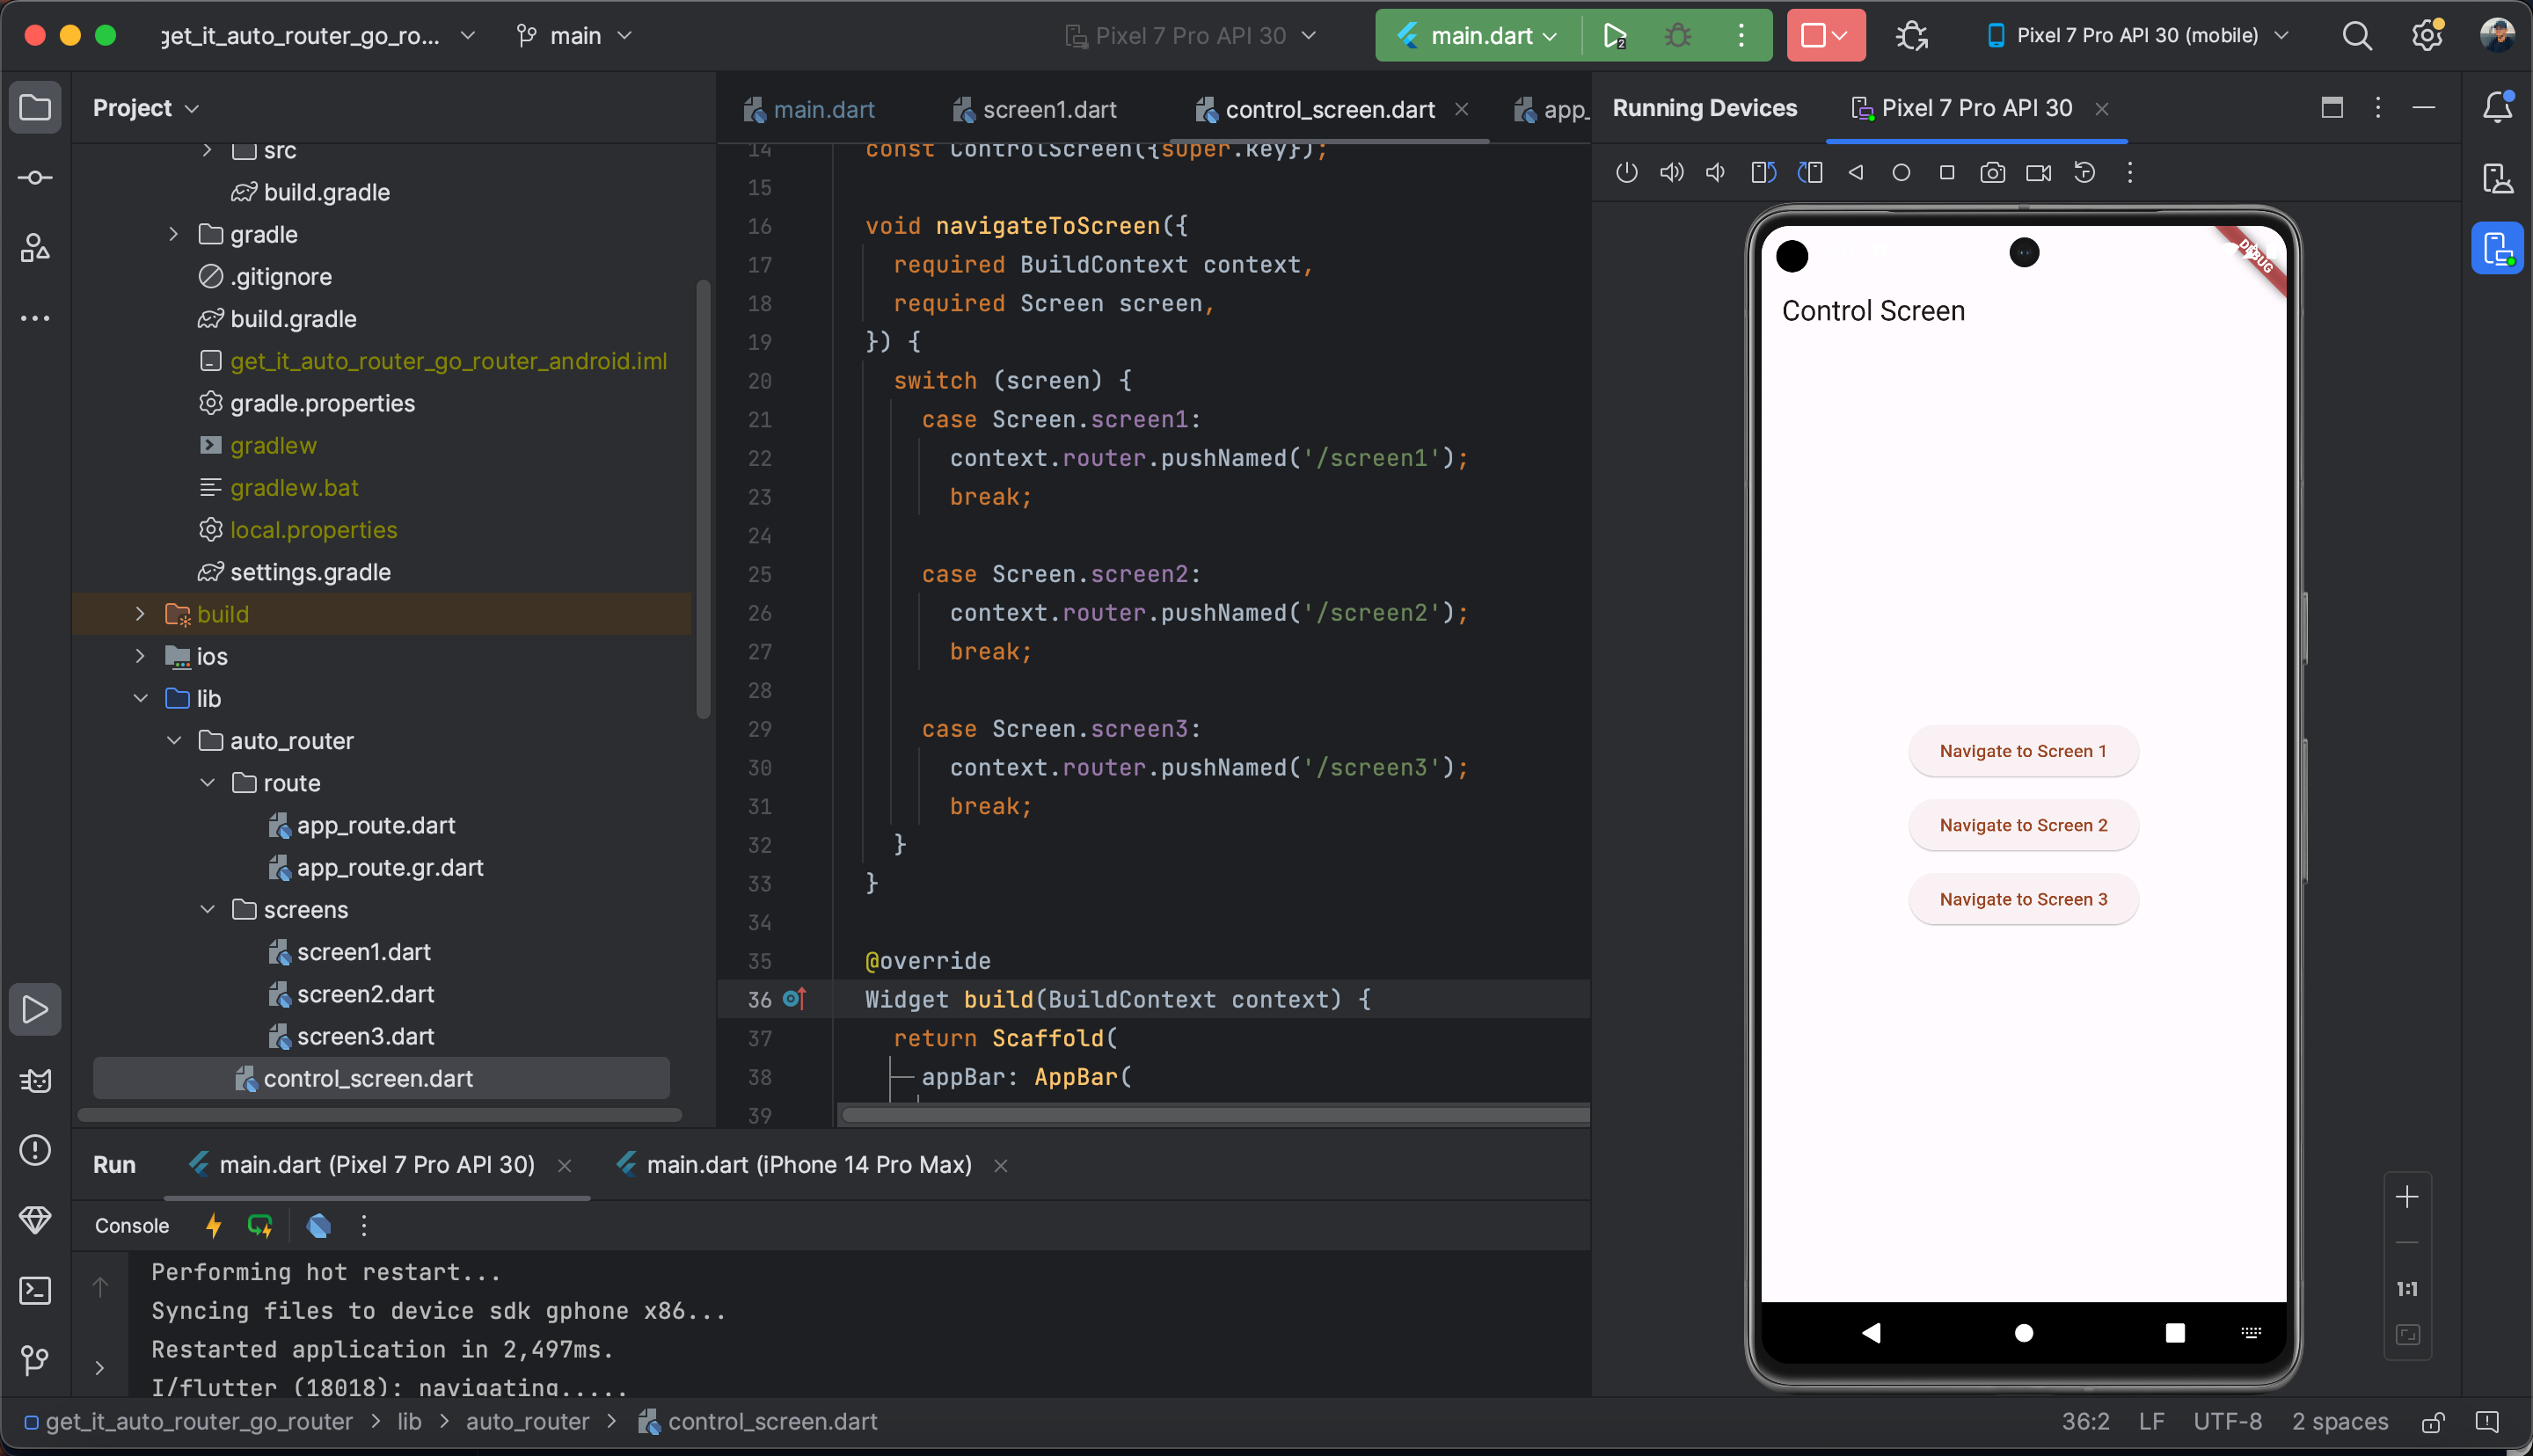
Step 7: Control Screen
The ControlScreen acts as the entry point of our app. It’s the first screen that loads when the app starts (because in app_route.dart, we set / > Controlscreen).
This screen doesn’t show any complex content, instead, it provides buttons to navigate to other screens. Think of it like a menu or dashboard that directs you to the other routes.
<span class="hljs-keyword">import</span> <span class="hljs-string">'package:auto_route/annotations.dart'</span>;
<span class="hljs-keyword">import</span> <span class="hljs-string">'package:auto_route/auto_route.dart'</span>;
<span class="hljs-keyword">import</span> <span class="hljs-string">'package:flutter/material.dart'</span>;

<span class="hljs-keyword">enum</span> Screen { screen1, screen2, screen3 }

<span class="hljs-meta">@RoutePage</span>(name: <span class="hljs-string">'Controlscreen'</span>)
<span class="hljs-class"><span class="hljs-keyword">class</span> <span class="hljs-title">ControlScreen</span> <span class="hljs-keyword">extends</span> <span class="hljs-title">StatelessWidget</span> </span>{
  <span class="hljs-keyword">const</span> ControlScreen({<span class="hljs-keyword">super</span>.key});

  <span class="hljs-keyword">void</span> navigateToScreen(BuildContext context, Screen screen) {
    <span class="hljs-keyword">switch</span> (screen) {
      <span class="hljs-keyword">case</span> Screen.screen1:
        context.router.pushNamed(<span class="hljs-string">'/screen1'</span>);
        <span class="hljs-keyword">break</span>;
      <span class="hljs-keyword">case</span> Screen.screen2:
        context.router.pushNamed(<span class="hljs-string">'/screen2'</span>);
        <span class="hljs-keyword">break</span>;
      <span class="hljs-keyword">case</span> Screen.screen3:
        context.router.pushNamed(<span class="hljs-string">'/screen3'</span>);
        <span class="hljs-keyword">break</span>;
    }
  }

  <span class="hljs-meta">@override</span>
  Widget build(BuildContext context) {
    <span class="hljs-keyword">return</span> Scaffold(
      appBar: AppBar(title: <span class="hljs-keyword">const</span> Text(<span class="hljs-string">'Control Screen'</span>)),
      body: Center(
        child: Column(
          mainAxisAlignment: MainAxisAlignment.center,
          children: [
            ElevatedButton(
              onPressed: () => navigateToScreen(context, Screen.screen1),
              child: <span class="hljs-keyword">const</span> Text(<span class="hljs-string">'Navigate to Screen 1'</span>),
            ),
            <span class="hljs-keyword">const</span> SizedBox(height: <span class="hljs-number">10</span>),
            ElevatedButton(
              onPressed: () => navigateToScreen(context, Screen.screen2),
              child: <span class="hljs-keyword">const</span> Text(<span class="hljs-string">'Navigate to Screen 2'</span>),
            ),
            <span class="hljs-keyword">const</span> SizedBox(height: <span class="hljs-number">10</span>),
            ElevatedButton(
              onPressed: () => navigateToScreen(context, Screen.screen3),
              child: <span class="hljs-keyword">const</span> Text(<span class="hljs-string">'Navigate to Screen 3'</span>),
            ),
          ],
        ),
      ),
    );
  }
}
Step-by-step breakdown of the code:
@RoutePage(name: 'Controlscreen')Marks
ControlScreenas a routable page.AutoRoute will generate a
Controlscreen.pageentry for use inapp_route.dart.
enum Screen { screen1, screen2, screen3 }We define an enum for our target screens.
This makes the navigation method cleaner and less error-prone than typing raw strings in multiple places.
navigateToScreen(BuildContext context, Screen screen)A helper method that checks which screen we want (based on the enum) and then calls
context.router.pushNamed('/screenX').context.routercomes from AutoRoute, it gives you access to the app’s navigation stack.pushNamed('/screen1')matches the path we defined earlier inapp_route.dart:AutoRoute(path: <span class="hljs-string">'/screen1'</span>, page: Screen1.page),That’s how the button → path → route connection works.
UI Layout (
Scaffold)AppBar(title: Text('Control Screen'))adds a title bar at the top.Columnwith 3 buttons: each button callsnavigateToScreen()with a different enum value.
Example:
Button 1
navigateToScreen(context, Screen.screen1): navigates to/screen1.Button 2: navigates to
/screen2.Button 3: navigates to
/screen3.
How It Works Together
App start: The router loads
/, which points toControlscreen.User taps a button:
navigateToScreen()runs and callscontext.router.pushNamed('/screenX').AutoRoute matches path: It looks up
/screenXin the route list we defined inapp_route.dart.Generated code takes over:
app_route.gr.dart(generated by AutoRoute) creates and pushes the correct screen widget onto the stack.
The result: navigation works without manually writing Navigator.push boilerplate. AutoRoute handles everything for you.
Screenshots


Best Practices When Using AutoRoute
Always organize routes in a dedicated folder (
route_config) to separate concerns.Use strongly typed routes (generated classes) instead of raw strings. For example, use
Screen1()instead of'/screen1'.Leverage nested routes for complex apps (e.g., tabs, authentication flows).
Use guards in AutoRoute to protect routes that require authentication.
Keep screens independent, avoid placing navigation logic inside screen widgets unless necessary.
Conclusion
AutoRoute simplifies navigation in Flutter applications by generating boilerplate code, ensuring type safety, and offering advanced features like nested navigation and guards. With a clean project structure and best practices, you can scale your Flutter app with confidence.
For deeper learning and advanced features, refer to the official documentation:
AutoRoute on pub.dev
Source: freeCodeCamp Programming Tutorials: Python, JavaScript, Git & MoreÂ
