
Cloud platforms and infrastructure allow you to easily deploy and host backend services and applications. In this article, you’ll learn how to run a Node.js/Express application away from the confines of your local personal computer to make it accessible globally on the cloud. We’ll use Amazon Web Services to do this.
But before we get started, here are some prerequisites for the tutorial:
-
An active AWS account
-
Basic beginner to intermediate knowledge of Node.js and Express
-
Knowledge of Linux commands
With that, let’s get started.
Expected takeaways
At the end of this guide, you should be equipped with basic knowledge of:
-
AWS EC2 and other hosting mediums
-
Linux
-
Networking
Table Of Contents
Introduction
Deploying backend applications on the cloud is pretty straightforward thanks to the advent of public cloud service providers like AWS.
You can host these applications on the cloud using several methods, depending on your application’s complexity and use cases.
For the AWS platform, you could deploy on:
-
AWS EC2 (Elastic Cloud Compute): This option lets you deploy a virtual operating system server which serves as the backbone on which the application is hosted. It’s suitable for complex monolithic backend applications.
-
AWS Lambda: This is popularly termed AWS serverless which allows speedy execution of functions when needed. It doesn’t require consistent uptime hours. This is more suited for simple backend functions with specific use cases.
For the purpose of this tutorial, we will be exploring the AWS EC2 option for deploying a Node.js application. We will also cover using a dedicated reverse proxy to give you easy access to your deployed application.
How to Set Up AWS
Firstly, I assume that you have an AWS account (minimum free tier). If you don’t, kindly navigate here and set up your account.
After you have logged in successfully, you will have access to all the various AWS products available. Search for AWS EC2 on the search bar. Once you click that, you will see the EC2 dashboard.
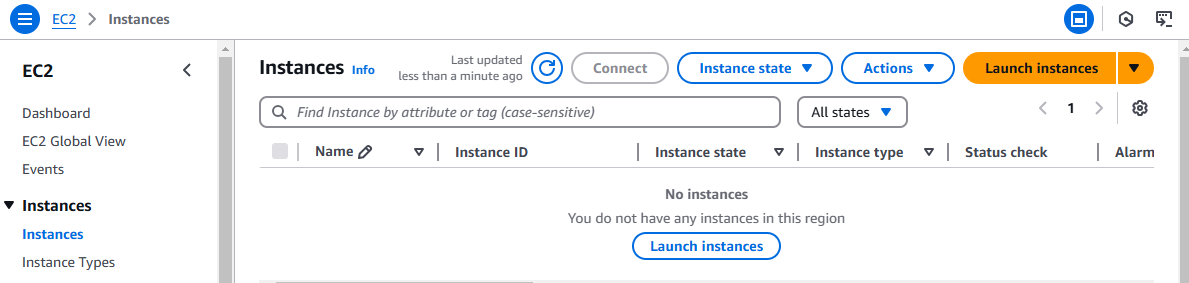
We’ll now create a new EC2 instance.
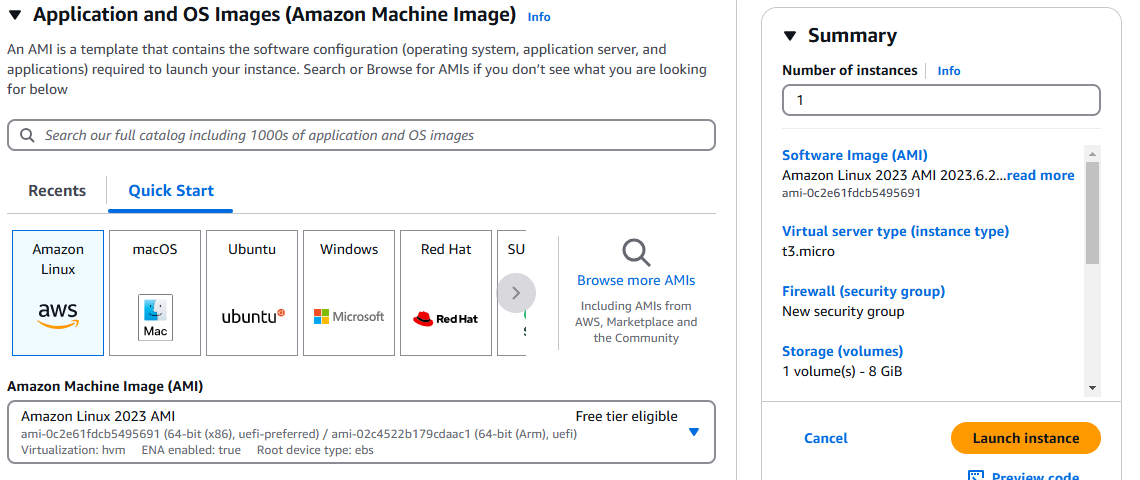
For cost-effectiveness and simplicity, we’ll use the free tier options made available by AWS. First, you’ll begin by creating an instance name. You can set this according to your preference.
Next, you’ll choose a specific operating system to serve as the operating system for your virtual sever. In this tutorial, I’ll be opting for the Ubuntu Linux distro.
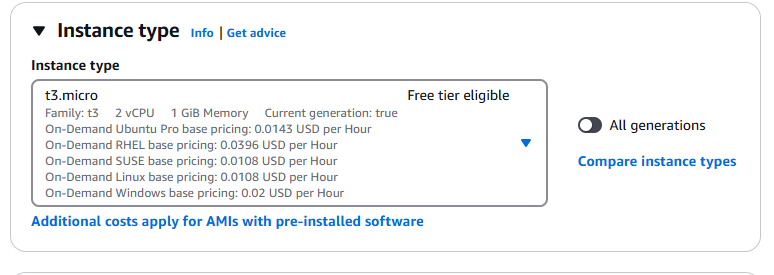
Next you’ll choose a compatible compute instance type. AWS provides free access to t2.micro and t3.micro which will suffice for hosting your application.
This part allows you to configure ssh to enable remote access to your server. In my case, I opted out since I intend to use the EC2 connect console option.
After completing the steps above you’ll configure the network settings. This is where your knowledge of Networking will come in handy.
Automatically, AWS creates and assigns a virtual private cloud network to your soon-to-be-launched EC2 instance. You can customize it to suit your purposes, but for this tutorial, we’ll go with the default VPC assigned. Also, we’ll leave the subnet and auto-assign IP the way it is.
For the firewall settings, it comes with two options: create a security group or use an existing security group. For ease of use with the EC2 instance you’ll create, you can configure the Firewall setting by creating a new security group, specifying the network types, and restricting the IP address of users trying to access the EC2 instance you’ll create. Further, you still might want to use any of your preformed firewall configurations in the “use existing security group” option.
You can leave other sections as they are, and then go ahead and create your EC2 instance.
Once you’ve successfully created the EC2 instance, you can connect to the instance via the options provided.
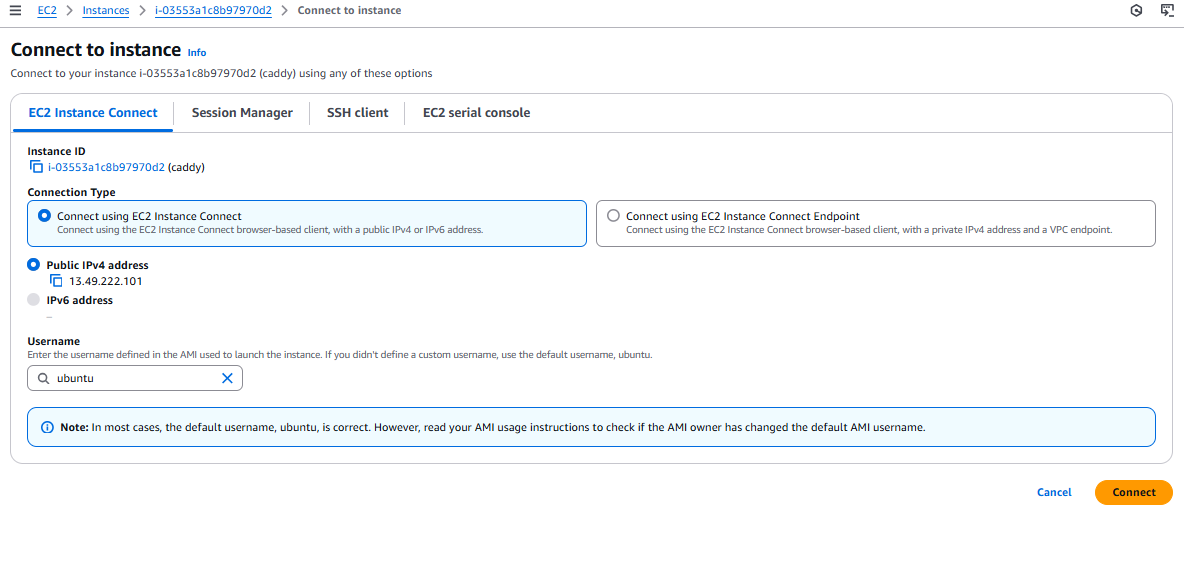
For the purpose of this tutorial, you’ll use the EC2 instance connect option to access your EC2 instance. Once you’ve clicked on the button, you will then be brought into the Linux console.
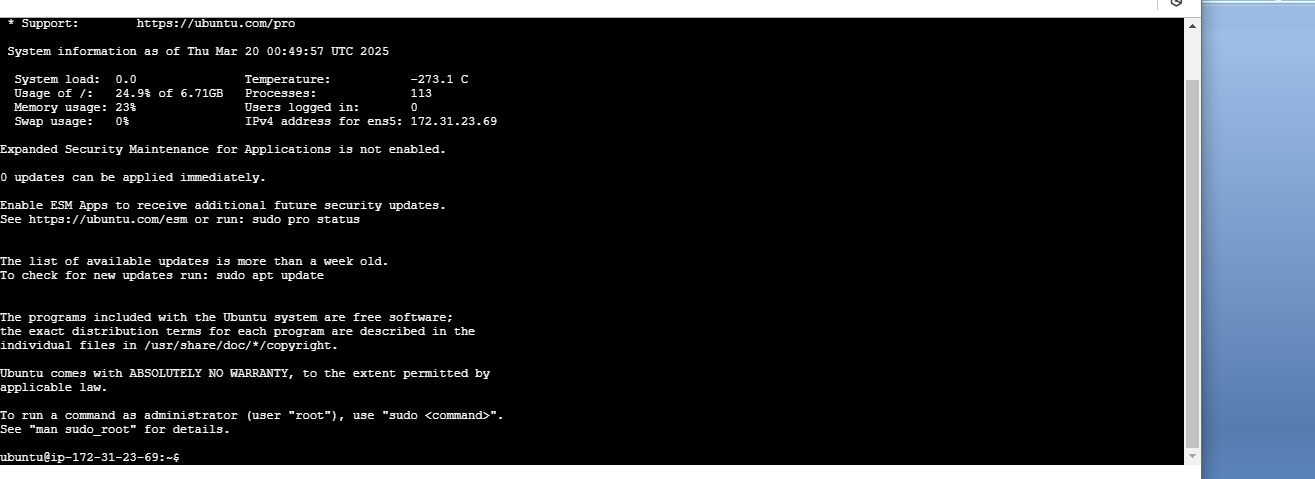
To begin, you’ll immediately update your operating system packages using the sudo command.
The sudo apt update command will get this done. With your packages up to date, now you can install the relevant packages needed to get your Node.js application powered on: the Node.js installer package and npm (node package manager) tools, respectively.
Then install them using the sudo apt install nodejs npm command.
With this done, you’ve gotten everything ready to run your application.
How to Deploy the Node.js Application
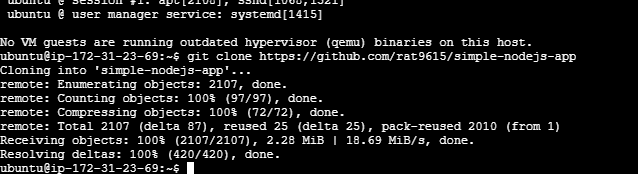
We’ll use a simple Node.js/Express application in this tutorial. You can find the source code here. Inside your EC2 console, clone the application source code using the git clone https://github.com/rat9615/simple-nodejs-app command.
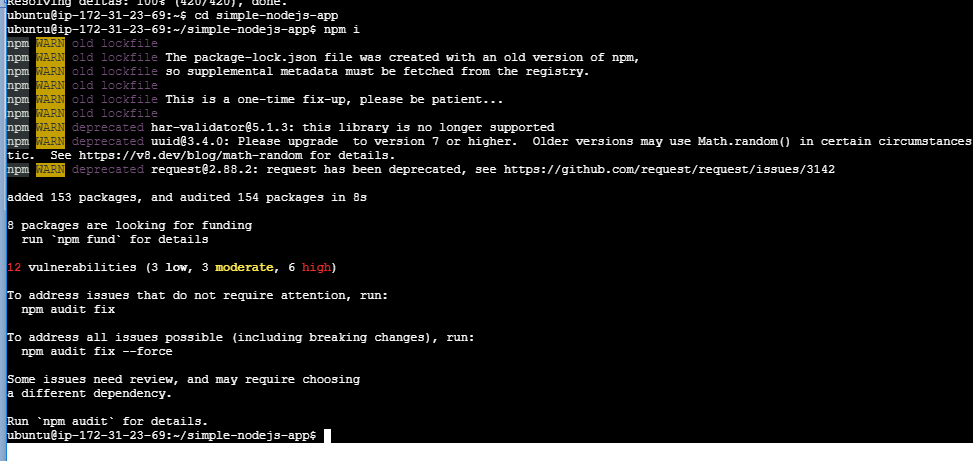
After successfully cloning the code project, execute the command cd simple-nodejs-app to navigate into the code folder directory. Now, install the various necessary application dependencies that are included in the code project’s package.json file by executing npm install:
After completing the above steps, the npm start command will bring your application to life. You should then see a success message on your screen.
But if you navigate to the EC2 instance public IP address with the Instance IP address sub-port 3000, you’ll still see an error – so what haven’t we completed?
Here is where your knowledge of Networking comes in again. Now, navigate back to your cloud EC2 compute dashboard and go to the security groups. These contain and enforce your inbound and outbound rules.
But before we go on, what are inbound and outbound rules?
-
Inbound rules allow you to easily configure access to the cloud resource via any route. They ensure that only those who are expressly authorized are granted access. These routes include, but are not limited to, SSH, HTTP, HTTPS, and TCP.
-
Outbound rules allow you to easily configure the flow of cloud resources information to the external world. Only authorized Internet protocol addresses will get access to the information requested.
So now, you’ll be creating a new inbound rule which will give you access to the backend API endpoint at port 3000:
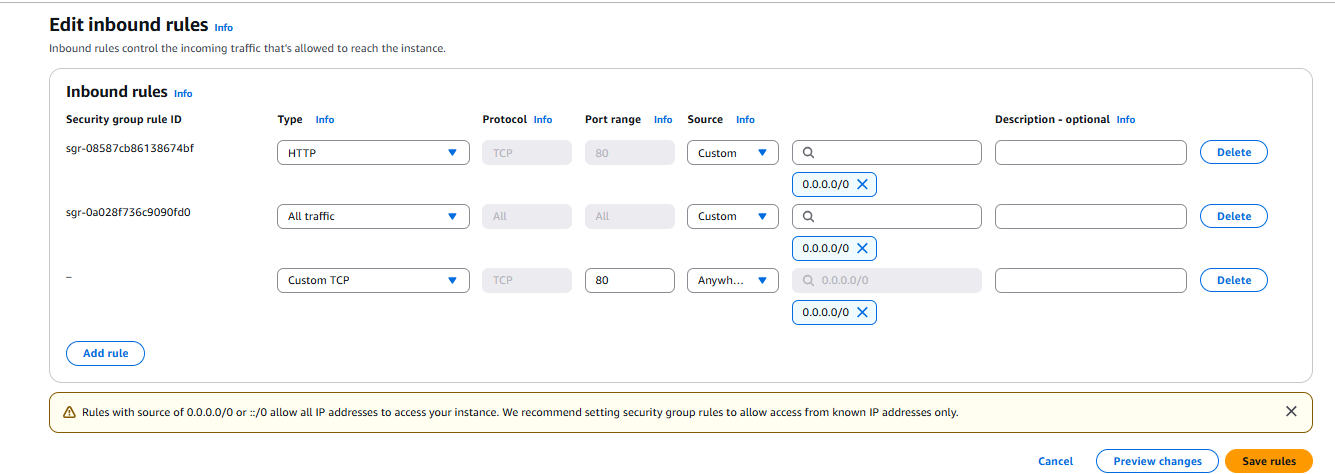
Clicking on the Add rule button allows you to add new network access routes on your EC2 machine. Already setup are the HTTP and TCP traffic routes.

The image above highlights all the included inbound rules in a demo application. Now let’s return to configuring our Networking settings.
Within the security groups in your dashboard, click on the Add rule button at the end of the page.
Select the TCP network type, set the host to 0.0.0.0.0/0, and set the port to port 3000. Lastly, to complete the IP address request setup, just click on the “allow from anywhere” option. Save the rule and refresh your tab. Within a few minutes, the endpoint will be made available on port 3000.
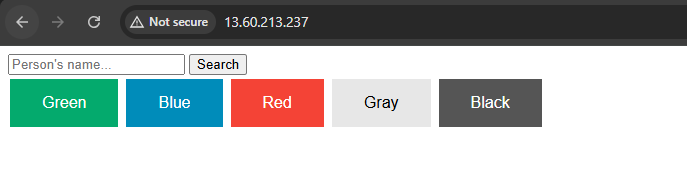
To see the application live in action, click on the external IP address of the EC2 instance and add a suffix port 3000 to view the backend application interface. And violà, your application should now be live.
But that’s not all – it’s inconvenient to include the sub-port number while browsing the IP address. So you’ll need a compatible effective reverse proxy tool which routes any information from port 3000 to port 80 (which is a general port). A reverse proxy in this scenario routes and forwards requests from clients to a server serving as a protective intermediary. To do this, you can use a tool called Caddy.
What is Caddy?
Caddy is a flexible, beginner-friendly, open-source tool which offers reverse proxy, load balancing, and caching features in addition to its role as a web server. It has an extensive user guide and documentation which you can lookup here.
Now, let’s set up Caddy on your EC2 instance.
Setting up Caddy
Install Caddy
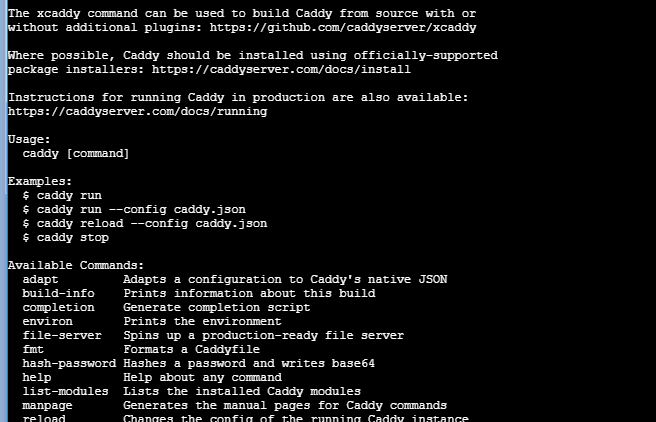
First, you’ll need to install Caddy on your Linux OS. You can do this by executing sudo apt install caddy.
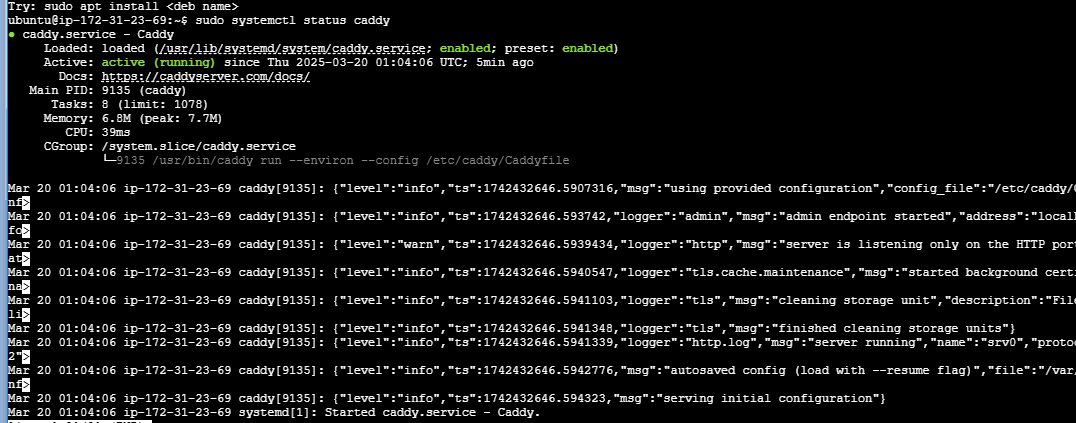
After completing the installation process, the above image should be what you should see on your screen. Once you’ve done this, make sure that Caddy is enabled and powered on by running this command:
caddy run
After running the command above, the Caddy tool should be enabled and active. Then you should see the below image on your screen:
Next, navigate to the external IP address available on your EC2 instance. There, displayed on the screen, should be the Caddy home page.
Configure Caddy
Going back to your console, you’ll need to tweak the Caddy configuration file to enable the reverse proxy of port 3000 to the default port 80.
To access the config file, navigate to the file from the route directory via the cd /etc/caddy/Caddyfile command.
You can then use the sudo nano command to open the config file for editing. The sudo prefix gives you admin privileges that allow you to make necessary changes on the config file.
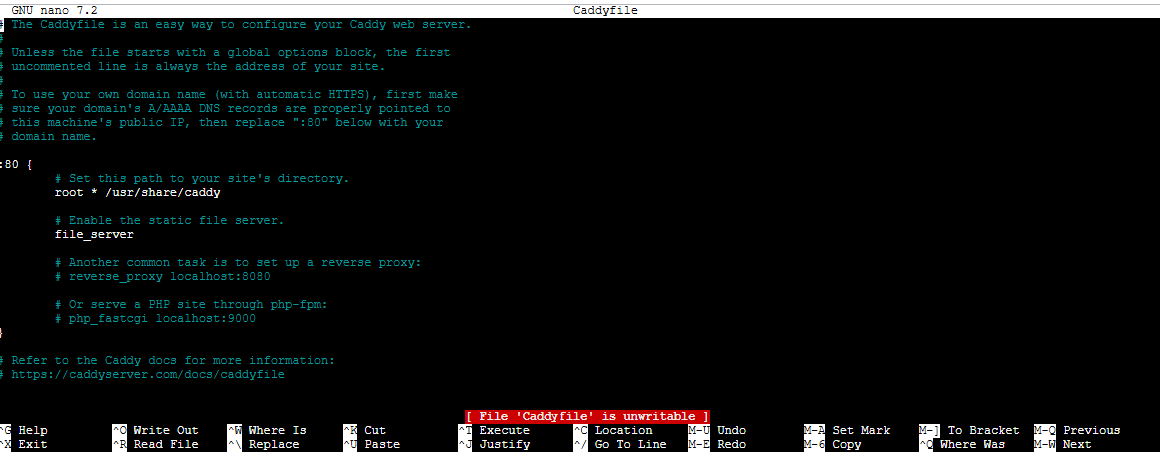
Within the port 80 section in the config file, add this line of code:
reverse_proxy :3000
Save the file – and now you’re done. You can restart the Caddy tool to reflect the new settings by running sudo systemctl restart caddy. Refreshing the IP address will display your powered-on Node.js application. With this, you’ve successfully hosted your Node.js application on EC2 and utilized a reverse proxy tool to bring it to life.
Additional Information
Going forward, it’s good practice to enable DNS features with domain name customization, as users may not always remember the IP address. You can also further increase your expertise in deploying backend applications by experimenting with powering backend functions with AWS lambda.
Conclusion
With this, we have come to the end of the tutorial. I hope you’ve learned about AWS operations and setting up a backend application on the cloud. You can also reach out to me on my blog and check out my other articles here. Till next time, keep on coding!
Source: freeCodeCamp Programming Tutorials: Python, JavaScript, Git & MoreÂ