


In modern system design, Event-Driven Architecture (EDA) focuses on creating, detecting, using, and responding to events within a system. Events are significant occurrences that can affect a system’s hardware or software, such as user actions, state changes, or data updates.
EDA enables different parts of an application to interact in a decoupled way, allowing them to communicate through events instead of direct calls. This setup lets components work independently, respond to events asynchronously, and adjust to changing business needs without major system reconfiguration, promoting agility.
New and modern applications now heavily rely on real-time data processing and responsiveness. The EDA’s importance cannot be overstated because it provides the framework that supports those requirements. By using asynchronous communication and event-driven interactions, systems can efficiently handle high volumes of transactions and maintain performance under unstable loads. These features are particularly appreciated in environments where changes are very spontaneous, such as e-commerce platforms or IoT applications.
Some key components of EDA include:
-
Event Sources: These are the producers that generate events when significant actions occur within the system. Examples include user interactions or data changes.
-
Listeners: These are entities that subscribe to specific events and respond when those events occur. Listeners enable the system to react dynamically to changes.
-
Handlers: These are responsible for processing the events once they are detected by listeners, executing the necessary business logic or workflows triggered by the event.
In this article, you will learn how to implement event-driven data processing using Traefik, Kafka, and Docker.
Here is a simple application hosted on GitHub that you can quickly run to get an overview of what you will be building today.
Table of Contents
Here is what we’ll cover:
Let’s get started!
Prerequisites
Before you begin:
-
Deploy an Ubuntu 24.04 instance with at least 4 GB of RAM and a minimum of 20 GB of free disk space to accommodate Docker images, containers, and Kafka data.
-
Access the instance with a non-root user with sudo privileges.
-
Update the package index.
sudo apt update
Understanding the Technologies
Apache Kafka
Apache Kafka is a distributed event streaming platform built for high-throughput data pipelines and real-time streaming applications. It acts as the backbone for implementing EDA by efficiently managing large volumes of events. Kafka uses a publish-subscribe model where producers send events to topics, and consumers subscribe to these topics to receive the events.
Some of the key features of Kafka include:
-
High Throughput: Kafka is capable of handling millions of events per second with low latency, making it suitable for high-volume applications.
-
Fault Tolerance: Kafka’s distributed architecture ensures data durability and availability even in the face of server failures. It replicates data across multiple brokers within a cluster.
-
Scalability: Kafka can easily scale horizontally by adding more brokers to the cluster or partitions to topics, accommodating growing data needs without significant reconfiguration.
Traefik
Traefik is a modern HTTP reverse proxy and load balancer designed specifically for microservices architectures. It automatically discovers services running in your infrastructure and routes traffic accordingly. Traefik simplifies the management of microservices by providing dynamic routing capabilities based on service metadata.
Some of the key features of Traefik include:
-
Dynamic Configuration: Traefik automatically updates its routing configuration as services are added or removed, eliminating manual intervention.
-
Load Balancing: It efficiently distributes incoming requests across multiple service instances, improving performance and reliability.
-
Integrated Dashboard: Traefik provides a user-friendly dashboard for monitoring traffic and service health in real-time.
By using Kafka and Traefik in an event-driven architecture, you can build responsive systems that efficiently handle real-time data processing while maintaining high availability and scalability.
How to Set Up the Environment
How to Install Docker on Ubuntu 24.04
- Install the required packages.
sudo apt install ca-certificates curl gnupg lsb-release
- Add Docker’s official GPG Key.
curl -fsSL https://download.docker.com/linux/ubuntu/gpg | sudo gpg --dearmor -o /etc/apt/keyrings/docker.gpg
- Add the Docker repository to your APT sources.
echo "deb [arch=$(dpkg --print-architecture) signed-by=/etc/apt/keyrings/docker.gpg] https://download.docker.com/linux/ubuntu $(lsb_release -cs) stable" | sudo tee /etc/apt/sources.list.d/docker.list > /dev/null
- Update the package index again and install Docker Engine with the Docker Compose plugin.
sudo apt update
sudo apt install docker-ce docker-ce-cli containerd.io docker-compose-plugin
- Check to verify the installation.
sudo docker run hello-world
Expected Output:
Unable to find image 'hello-world:latest' locally
latest: Pulling from library/hello-world
c1ec31eb5944: Pull complete
Digest: sha256:305243c734571da2d100c8c8b3c3167a098cab6049c9a5b066b6021a60fcb966
Status: Downloaded newer image for hello-world:latest

Hello from Docker!
This message shows that your installation appears to be working correctly.
How to Configure Docker Compose
Docker Compose simplifies the management of multi-container applications, allowing you to define and run services in a single file.
- Create a project directory
mkdir ~/kafka-traefik-setup && cd ~/kafka-traefik-setup
- Create a
docker-compose.ymlfile.
nano docker-compose.yml
- Add the following configuration to the file to define your services.
version: '3.8'

services:
  kafka:
    image: wurstmeister/kafka:latest
    ports:
      - "9092:9092"
    environment:
      KAFKA_ADVERTISED_LISTENERS: INSIDE://kafka:9092,OUTSIDE://localhost:9092
      KAFKA_LISTENER_SECURITY_PROTOCOL_MAP: INSIDE:PLAINTEXT,OUTSIDE:PLAINTEXT
      KAFKA_LISTENERS: INSIDE://0.0.0.0:9092,OUTSIDE://0.0.0.0:9092
      KAFKA_ZOOKEEPER_CONNECT: zookeeper:2181

  zookeeper:
    image: wurstmeister/zookeeper:latest
    ports:
      - "2181:2181"

  traefik:
    image: traefik:v2.9
    ports:
      - "80:80"       # HTTP traffic
      - "8080:8080"   # Traefik dashboard (insecure)
    command:
      - "--api.insecure=true"
      - "--providers.docker=true"
    volumes:
      - "/var/run/docker.sock:/var/run/docker.sock"
Save your changes with ctrl + o, then exit with ctrl + x.
- Start your services.
docker compose up -d
Expected Output:
[+] Running 4/4
 ✔ Network kafka-traefik-setup_default        Created                  0.2s
 ✔ Container kafka-traefik-setup-zookeeper-1  Started                  1.9s
 ✔ Container kafka-traefik-setup-traefik-1    Started                  1.9s
 ✔ Container kafka-traefik-setup-kafka-1      Started                  1.9s
How to Build the Event-Driven System
How to Create Event Producers
To produce events in Kafka, you will need to implement a Kafka producer. Below is an example using Java.
- Create a file
kafka-producer.java.
nano kafka-producer.java
- Add the following configuration for a Kafka Producer.
import org.apache.kafka.clients.producer.KafkaProducer;
import org.apache.kafka.clients.producer.ProducerRecord;
import org.apache.kafka.clients.producer.RecordMetadata;

import java.util.Properties;

public class SimpleProducer {
    public static void main(String[] args) {
        // Set up the producer properties
        Properties props = new Properties();
        props.put("bootstrap.servers", "localhost:9092");
        props.put("key.serializer", "org.apache.kafka.common.serialization.StringSerializer");
        props.put("value.serializer", "org.apache.kafka.common.serialization.StringSerializer");

        // Create the producer
        KafkaProducer<String, String> producer = new KafkaProducer<>(props);

        try {
            // Send a message to the topic "my-topic"
            ProducerRecord<String, String> record = new ProducerRecord<>("my-topic", "key1", "Hello, Kafka!");
            RecordMetadata metadata = producer.send(record).get(); // Synchronous send
            System.out.printf("Sent message with key %s to partition %d with offset %d%n",
                              record.key(), metadata.partition(), metadata.offset());
        } catch (Exception e) {
            e.printStackTrace();
        } finally {
            // Close the producer
            producer.close();
        }
    }
}
Save your changes with ctrl + o, then exit with ctrl + x.
In the above configuration, the producer sends a message with the key “key1” and the value “Hello, Kafka!” to the topic “my-topic”.
How to Set Up Kafka Topics
Before producing or consuming messages, you need to create topics in Kafka.
- Use the
kafka-topics.shscript included with your Kafka installation to create a topic.
kafka-topics.sh --bootstrap-server localhost:9092 --create --topic <TopicName> --partitions <NumberOfPartitions> --replication-factor <ReplicationFactor>
For example, if you want to create a topic named my-topic with 3 partitions and a replication factor of 1, run:
docker exec <Kafka Container ID> /opt/kafka/bin/kafka-topics.sh --bootstrap-server localhost:9092 --create --topic my-topic --partitions 3 --replication-factor 1
Expected Output:
Created topic my-topic.
- Check to confirm if the Topic was created successfully.
docker exec -it kafka-traefik-setup-kafka-1 /opt/kafka/bin/kafka-topics.sh --bootstrap-server localhost:9092 --list
Expected Output:
my-topic
How to Create Event Consumers
After you have created your producers and topics, you can create consumers to read messages from those topics.
- Create a file
kafka-consumer.java.
nano kafka-consumer.java
- Add the following configuration for a Kafka consumer.
import org.apache.kafka.clients.consumer.ConsumerConfig;
import org.apache.kafka.clients.consumer.ConsumerRecords;
import org.apache.kafka.clients.consumer.KafkaConsumer;
import org.apache.kafka.clients.consumer.ConsumerRecord;

import java.time.Duration;
import java.util.Collections;
import java.util.Properties;

public class SimpleConsumer {
    public static void main(String[] args) {
        // Set up the consumer properties
        Properties props = new Properties();
        props.put(ConsumerConfig.BOOTSTRAP_SERVERS_CONFIG, "localhost:9092");
        props.put(ConsumerConfig.GROUP_ID_CONFIG, "my-group");
        props.put(ConsumerConfig.KEY_SERIALIZER_CLASS_CONFIG, "org.apache.kafka.common.serialization.StringDeserializer");
        props.put(ConsumerConfig.VALUE_SERIALIZER_CLASS_CONFIG, "org.apache.kafka.common.serialization.StringDeserializer");

        // Create the consumer
        KafkaConsumer<String, String> consumer = new KafkaConsumer<>(props);

        // Subscribe to the topic
        consumer.subscribe(Collections.singletonList("my-topic"));

        try {
            while (true) {
                // Poll for new records
                ConsumerRecords<String, String> records = consumer.poll(Duration.ofMillis(100));
                for (ConsumerRecord<String, String> record : records) {
                    System.out.printf("Consumed message with key %s and value %s from partition %d at offset %d%n",
                                      record.key(), record.value(), record.partition(), record.offset());
                }
            }
        } finally {
            // Close the consumer
            consumer.close();
        }
    }
}
Save your changes with ctrl + o, then exit with ctrl + x.
In the above configuration, the consumer subscribes to my-topic and continuously polls for new messages. When messages are received, it prints out their keys and values along with partition and offset information.
How to Integrate Traefik with Kafka
Configure Traefik as a Reverse Proxy.
Integrating Traefik as a reverse proxy for Kafka allows you to manage incoming traffic efficiently while providing features such as dynamic routing and SSL termination.
- Update the
docker-compose.ymlfile.
version: '3.8'

services:
  kafka:
    image: wurstmeister/kafka:latest
    ports:
      - "9092:9092"
    environment:
      KAFKA_ADVERTISED_LISTENERS: INSIDE://kafka:9092,OUTSIDE://localhost:9092
      KAFKA_LISTENER_SECURITY_PROTOCOL_MAP: INSIDE:PLAINTEXT,OUTSIDE:PLAINTEXT
      KAFKA_LISTENERS: INSIDE://0.0.0.0:9092,OUTSIDE://0.0.0.0:9092
      KAFKA_ZOOKEEPER_CONNECT: zookeeper:2181
    labels:
      - "traefik.enable=true"
      - "traefik.http.routers.kafka.rule=Host(`kafka.example.com`)"
      - "traefik.http.services.kafka.loadbalancer.server.port=9092"

  zookeeper:
    image: wurstmeister/zookeeper:latest
    ports:
      - "2181:2181"

  traefik:
    image: traefik:v2.9
    ports:
      - "80:80"        # HTTP traffic
      - "8080:8080"    # Traefik dashboard (insecure)
    command:
      - "--api.insecure=true"
      - "--providers.docker=true"
    volumes:
      - "/var/run/docker.sock:/var/run/docker.sock"
In this configuration, replace kafka.example.com with your actual domain name. The labels define the routing rules that Traefik will use to direct traffic to the Kafka service.
- Restart your services.
docker compose up -d
-
Access your Traefik dashboard by accessing
http://localhost:8080on your web browser.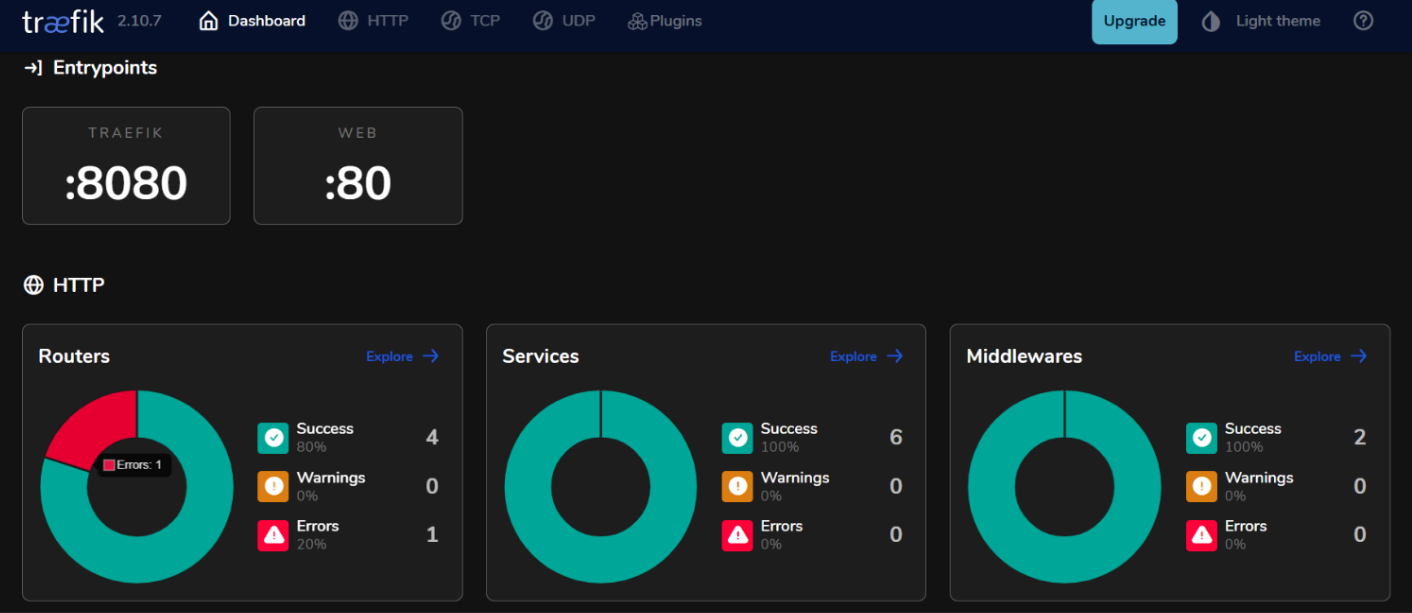
Load Balancing with Traefik
Traefik provides built-in load balancing capabilities that can help distribute requests across multiple instances of your Kafka producers and consumers.
Strategies for Load Balancing Event-Driven Microservices
- Round Robin:
By default, Traefik uses a round-robin strategy to distribute incoming requests evenly across all available instances of a service. This is effective for balancing load when multiple instances of Kafka producers or consumers are running.
- Sticky Sessions:
If you require that requests from a specific client always go to the same instance (for example, maintaining session state), you can configure sticky sessions in Traefik using cookies or headers.
- Health Checks:
Configure health checks in Traefik to ensure that traffic is only routed to healthy instances of your Kafka services. You can do this by adding health check parameters in the service definitions within your docker-compose.yml file:
    labels:
      - "traefik.http.services.kafka.loadbalancer.healthcheck.path=/health"
      - "traefik.http.services.kafka.loadbalancer.healthcheck.interval=10s"
      - "traefik.http.services.kafka.loadbalancer.healthcheck.timeout=3s"
Testing the Setup
Verifying Event Production and Consumption
- Kafka provides built-in command-line tools for testing. Start a Console producer.
docker exec -it kafka-traefik-setup-kafka-1 /opt/kafka/bin/kafka-console-producer.sh --broker-list localhost:9092 --topic my-topic
After running this command, you can type messages into the terminal, which will be sent to the specified Kafka topic.
- Start another terminal session and start a console consumer.
docker exec -it kafka-traefik-setup-kafka-1 /opt/kafka/bin/kafka-console-consumer.sh --bootstrap-server localhost:9092 --topic my-topic --from-beginning
This command will display all messages in my-topic, including those produced before the consumer started.
- To see how well your consumers are keeping up with producers, you can run the following command to check the lag for a specific consumer group.
docker exec -it kafka-traefik-setup-kafka-1 /opt/kafka/bin/kafka-consumer-groups.sh --bootstrap-server localhost:9092 --describe --group <your-consumer-group>
Monitoring and Logging
- Kafka Metrics:
Kafka exposes numerous metrics that can be monitored using JMX (Java Management Extensions). You can configure JMX to export these metrics to monitoring systems like Prometheus or Grafana. Key metrics to monitor include:
-
Message Throughput: The rate of messages produced and consumed.
-
Consumer Lag: The difference between the last produced message offset and the last consumed message offset.
-
Broker Health: Metrics related to broker performance, such as request rates and error rates.
- Prometheus and Grafana Integration:
To visualize Kafka metrics, you can set up Prometheus to scrape metrics from your Kafka brokers. Follow these steps:
-
Enable JMX Exporter on your Kafka brokers by adding it as a Java agent in your broker configuration.
-
Configure Prometheus by adding a scrape job in its configuration file (
prometheus.yml) that points to your JMX Exporter endpoint. -
Use Grafana to create dashboards that visualize these metrics in real-time.
How to Implement Monitoring for Traefik
- Traefik Metrics Endpoint.
Traefik provides built-in support for exporting metrics via Prometheus. To enable this feature, add the following configuration in your Traefik service definition within docker-compose.yml:
    command:
      - "--metrics.prometheus=true"
      - "--metrics.prometheus.addservice=true"
- Visualizing Traefik Metrics with Grafana.
Once Prometheus is scraping Traefik metrics, you can visualize them using Grafana:
-
Create a new dashboard in Grafana and add panels that display key Traefik metrics such as:
-
traefik_entrypoint_requests_total: Total number of requests received.
-
traefik_backend_request_duration_seconds: Response times of backend services.
-
traefik_service_requests_total: Total requests forwarded to backend services.
- Setting Up Alerts.
Configure alerts in Prometheus or Grafana based on specific thresholds (e.g., high consumer lag or increased error rates).
Conclusion
In this guide, you successfully implemented Event Driven Architecture (EDA) using Kafka and Traefik within the Ubuntu 24.04 environment.
Additional Resources
To learn more you can visit:
-
Vultr guide for for setting up Traefik Proxy on Ubuntu 24.04
Source: freeCodeCamp Programming Tutorials: Python, JavaScript, Git & MoreÂ
