Automatically-generated transcripts from audio and video files are a lot more useful and readable when punctuation, casing, and formatting are added to the transcription result.
Take this short segment for example. The text on top has no punctuation, casing, or formatting, and doesn’t filter out disfluencies. Meanwhile, the text at the bottom does have punctuation, casing, formatting, and no disfluencies.
Notice the differences?
The “ah” is a disfluency that was removed
The beginning of sentences, I’s, and proper nouns are capitalized,
Each sentence ends with a punctuation mark.
In this tutorial, you’ll explore how to add punctuation, casing, and formatting to your transcripts using the AssemblyAI JavaScript SDK.
Step 1: Set up your environment
First, install Node.js 18 or higher on your system.
Next, create a new project folder, change directories to it, and initialize a new node project:
mkdir stt-formatting
cd stt-formatting
npm init -y
Open the package.json file and add type: “module”, to the list of properties.
{
…
“type”: “module”,
…
}
Then, install the AssemblyAI JavaScript SDK which lets you interact with AssemblyAI API more easily:
npm install –save assemblyai
Next, get a free AssemblyAI API key here; or, if you already have one, you can copy your API key from your dashboard. Once you’ve copied your API key, configure it as the ASSEMBLYAI_API_KEY environment variable on your machine:
# Mac/Linux:
export ASSEMBLYAI_API_KEY=<YOUR_KEY>
# Windows:
set ASSEMBLYAI_API_KEY=<YOUR_KEY>
Step 2: Transcribe and filter the audio file
Now that your environment is set up, you can submit an audio file for transcription. For this tutorial, you’ll be using this example file. If you want to use your own file, you can use either a local file on your system or a remote file as long as it is a publicly accessible download URL. You can also use video files.
Create a file called index.js, and in the file, import the assemblyai package and create an AssemblyAI client.
import { AssemblyAI } from ‘assemblyai’;
// create AssemblyAI API client
const client = new AssemblyAI({ apiKey: process.env.ASSEMBLYAI_API_KEY });
Create a variable for the URL or the path to the audio file you want to transcribe:
// replace with local file path or your remote file
const audioFile = “https://storage.googleapis.com/aai-docs-samples/espn.m4a”
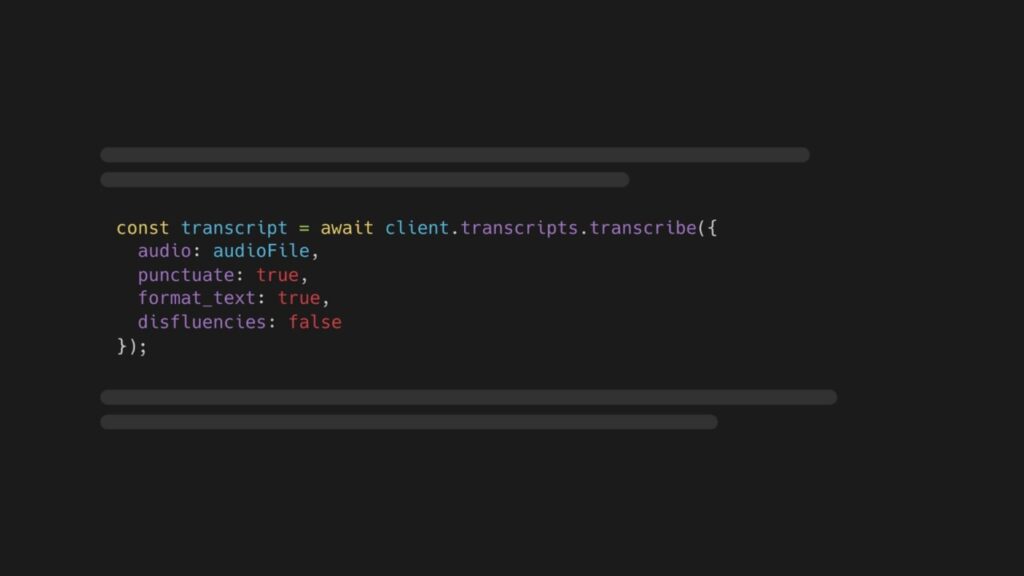
Transcribe the audio file with the following options:
punctuate: true which adds punctuation,
format_text: true which adds casing and formatting,
disfluencies: false which removes disfluencies like “uhm”.
// transcribe audio file with punctuation and text formatting and no disfluencies
const transcript = await client.transcripts.transcribe({
audio: audioFile,
punctuate: true,
format_text: true,
disfluencies: false
});
You can reverse the options’ boolean values to get the raw unformatted transcript.
Step 3: Print the filtered text
You can print the formatted transcript text as follows:
// throw error if transcript status is error
if (transcript.status === “error”) {
throw new Error(transcript.error);
}
// print transcript text
console.log(transcript.text);
Save your file and execute it by running node index.js in the project directory.
What’s next
There are a lot more options you can configure when creating a transcript, and the transcript object also contains a lot more information about the transcribed audio file, like word-level timestamps and more, which you can access through the object’s properties. Check out the AssemblyAI docs to learn more about Transcript Parameters and the Transcript objects and the other information you can get back from the AssemblyAI API. Additionally, you can retrieve the transcript segmented by paragraphs which further enhances how you present the transcript to your users.
Source: Read MoreÂ

