


In this article, you’ll learn how to set up a VPN which you can host on a Raspberry Pi. I am a fan of Raspberry Pis because these small form factor computers are a favourite tool for tinkerers, like me.
This VPN will allow you to access your home network from anywhere as if you’re still at home. So why is this useful, you might ask? Well, it allows you to use your home network IP, no matter where you are, which is a good for privacy.
In this article, we’ll use Tailscale, an open-source mesh VPN (Virtual Private Network) service that streamlines connecting devices and services securely across different networks. It enables encrypted point-to-point connections using the open-source WireGuard protocol. This means that only devices on your private network can communicate with each other.
Table of Contents
Prerequisites
-
Raspberry Pi (I am working with a Raspberry Pi 5)
-
A Micro SD Card (8GB is enough)
-
A Micro SD Card reader for your computer.
-
Home Router
-
A Tailscale account
Install Raspberry Pi OS Lite (32-bit)
We’ll start this process by installing the Raspberry Pi OS Lite (32-bit) on the micro SD card we have. We will be making use of the Raspberry Pi Imager software which is available for free here.
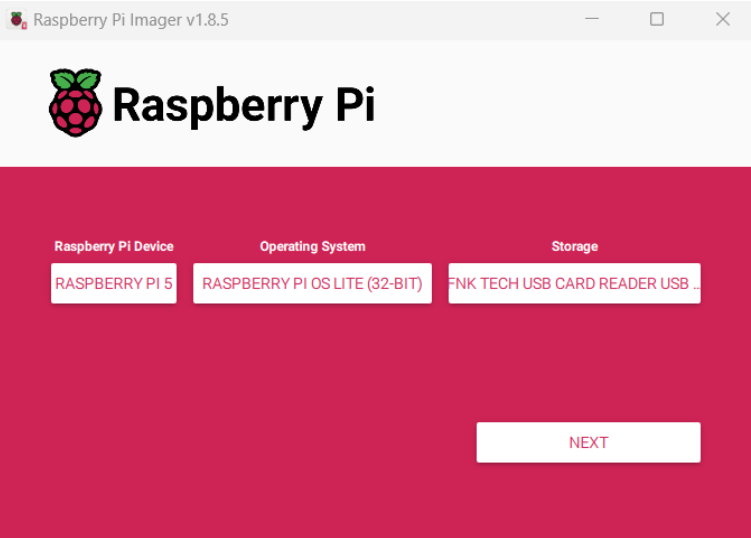
When you run the imager software, pick the Raspberry Pi Device, which for me is a Raspberry Pi 5.
Then in Operating System, click on Raspberry Pi OS (other), then scroll down to Raspberry Pi OS Lite (32-bit)
Next, select your SD card which you have inserted into the card reader, and the card reader into the computer. Your screen should look similar to what you see below. Click on next.
After next, you should see a pop-up asking if you would like to apply OS customisation settings.
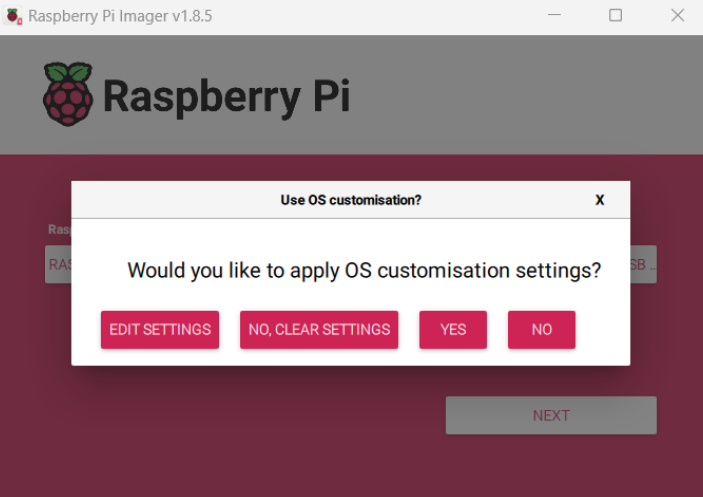
Next, click on edit settings. Enable set hostname and write the name you want to give the Pi. For this tutorial, I will be using dapivpn. Then enable set username and password. Pick a username and a strong and secure password
You can enable configure wireless LAN if you plan to use Wifi, but if you are team Ethernet cable, you can skip this. I will be using WiFi in this tutorial though.
Now you’ll need to enable set local settings and pick your correct time zone and keyboard layout.
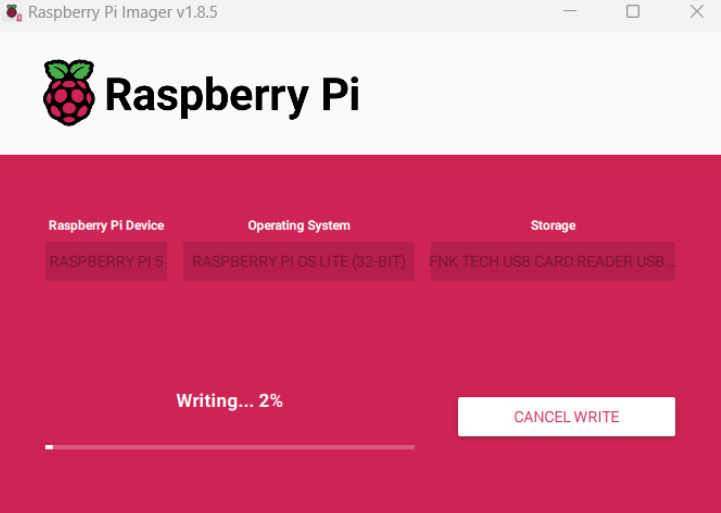
After that, go to the Services tab, then enable SSH and click on “Use password authentication”. Then click save, then yes on the apply customisation screen, and yes again. Remember this will erase all the data on the SD card, so make sure you’re using one without any important files on it.
This is how your Raspberry Pi Imager should look now:
Boot the Raspberry Pi
After this is done, take the SD card and insert it into your Raspberry Pi. Then plug the power cable into the Raspberry Pi and wait some minutes for it to boot properly. You will know it is ready when the green LED light stays on.
Now you should go to your router and set a static IP to the Raspberry Pi. For mine, I set it to 192.168.8.21.
SSH into the Raspberry Pi and Login
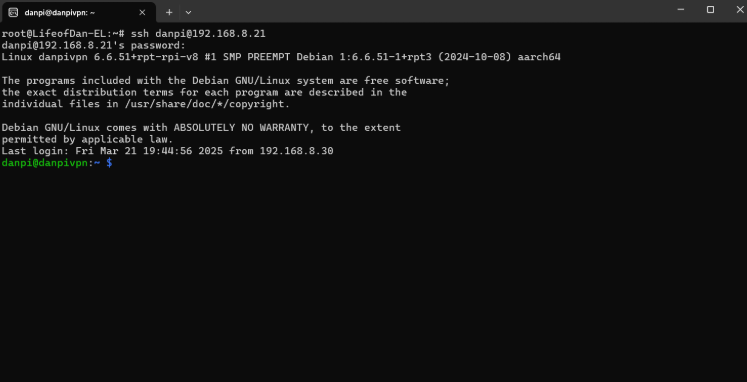
Open up your command line terminal. Type “ssh <pi username>@<raspberry_pi_ip_address>”. For me, this would be:
ssh danpi@192.168.8.21
Then type in the password you used. You should see your username and the Pi hostname and this confirms you have logged in successfully to it.
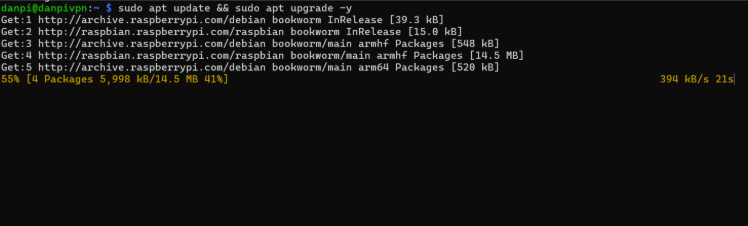
Type in:
sudo apt update && sudo apt upgrade -y
You run this command to make sure everything is up to date locally.
Now reboot your Pi after this by typing:
sudo reboot
Install Tailscale on Raspberry Pi
Now you’re going to add Tailscale’s package signing key and repository.
curl -fsSL https://pkgs.tailscale.com/stable/debian/bookworm.noarmor.gpg | sudo tee /usr/share/keyrings/tailscale-archive-keyring.gpg >/dev/null
curl -fsSL https://pkgs.tailscale.com/stable/debian/bookworm.tailscale-keyring.list | sudo tee /etc/apt/sources.list.d/tailscale.list
Install Tailscale using these commands:
sudo apt-get update
sudo apt-get install tailscale
Next, you need to connect your Pi to your Tailscale network and authenticate. You can do that with the following command:
sudo tailscale up
Your browser should look like this.

To locate the Tailscale IPv4 address for the Raspberry Pi, run this command:
tailscale ip -4
You can also see it on the Tailscale dashboard in your browser.
At this point, you’re done installing Tailsacle and you just need to do some finishing touches.
Key Expiry
There is something you need to know when it comes to adding a device to Tailsacle. By default, and as a security feature, Tailscale requires devices to re-authenticate after a certain period of time has elapsed, usually 180 days.
If the re-authentication does not occur, keys expire and the connection stops working. It’s up to you to choose what you prefer, as this is a security feature that comes with some inconvenience.
I will be disabling the key expiry on the Raspberry Pi, as I fully trust it. To do this, you need to:
-
Open the Machines page of the Tailscale admin console.
-
Find the Raspberry Pi on the row and select the option menu there.
-
Click on the Disable Key Expiry option. You should see an Expiry Disable label below the machine name.
How to Configure the Raspberry Pi as an Exit Node
Another thing you’ll need to know about when it comes to Tailscale is what an exit node is. A Tailscale exit node is a designated device in your Tailscale network that routes all of your internet traffic through it. No matter where you are, once you have this device activated as an exit node, when you turn on Tailscale, it routes your internet traffic through the device.
Ideally, you want a device that is powered on 24/7 to serve as your exit node. That’s why we are picking the Raspberry Pi, as it is a low-powered computer.
We are already 90% of the way, as we have Tailscale running on our Pi. Remember to also have Tailscale installed on as many devices on your local network as possible. What’s left is to allow your Pi to act as an exit node, so all your internet traffic or LAN traffic routes through it, giving you access to:
-
Local network devices at home
-
Your home public IP
-
Internal services like NAS, printers, cameras, and so on
To do this, SSH into your Raspberry Pi and follow these steps:
-
Enable IP Forwarding. IP forwarding allows your Raspberry Pi to pass traffic between its network interfaces. Run the commands below line by line:
echo "net.ipv4.ip_forward=1" | sudo tee -a /etc/sysctl.conf echo "net.ipv6.conf.all.forwarding=1" | sudo tee -a /etc/sysctl.conf sudo sysctl -p /etc/sysctl.conf -
Advertise the Raspberry Pi as an exit node:
sudo tailscale up --advertise-exit-node -
Open the Machines page of the Tailscale admin console.
-
Find the Raspberry Pi on the row. You should see an Exit Node label on its name.
-
Click on the options menu there and select Edit Route Settings.
-
Check the box for Use as an exit node, then save.
Now you should see the option of routing the internet through an exit node when you open up your Tailscale app on mobile or PC or anywhere you have it installed. When you see that option, you will also see the Raspberry Pi as an exit node option. You can also add more devices as an exit node if you want more options.
Conclusion
Using the Tailscale app on other devices, you can now route traffic securely through the Raspberry Pi by selecting it as an exit node. Tailscale also provides clear, step-by-step guides tailored to each device type for setting up and using an exit node.
You can now be away from your home internet but still connect to the internet as if you were home. See you next time.
Source: freeCodeCamp Programming Tutorials: Python, JavaScript, Git & MoreÂ
